
After flying internationally, you can speed up the US Customs and Border control process by using the easy-to-navigate Airside Mobile Passport app! Anyone who holds a US or Canadian passport is eligible to use it in 30 US international airports and 4 US seaports. We’ll show you how to use the Mobile Passport app for an easier and faster US Customs experience.
StepsMethod 1Method 1 of 5:Downloading the App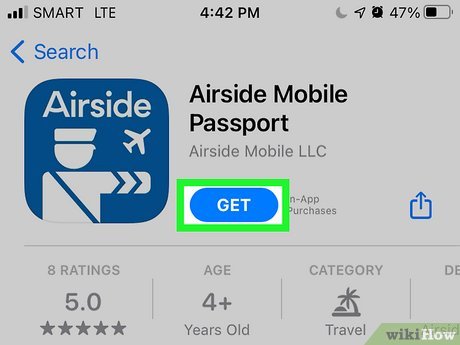
1Download the Airside Mobile Passport app. You can access it through the Apple App Store or Google Play Store.
2After opening the Apple App Store, tap the ‘Search’ icon in the lower right corner. If you are using Google Play instead, simply tap on the search bar at the top of your screen.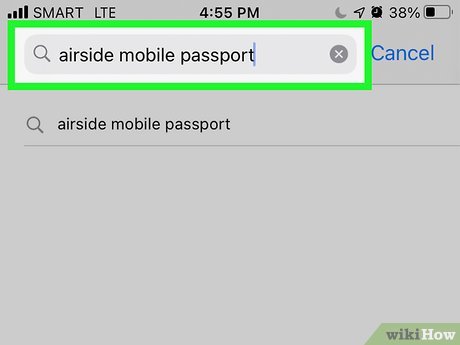
3Type in ‘Airside Mobile Passport’ and look for the app titled ‘Airside Mobile Passport’. It should be one of the first apps in the list of search results and is a blue icon with a silhouette of a pilot and a plane. Method 2Method 2 of 5:Creating Your Profile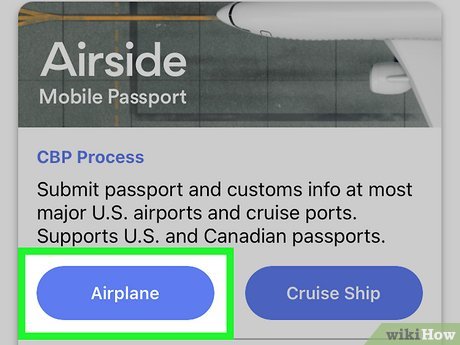
1Create a profile. On the home screen of the app, tap ‘Airplane’ or ‘Cruise Ship’ (select whichever one is applicable to your travel) to begin the setup process.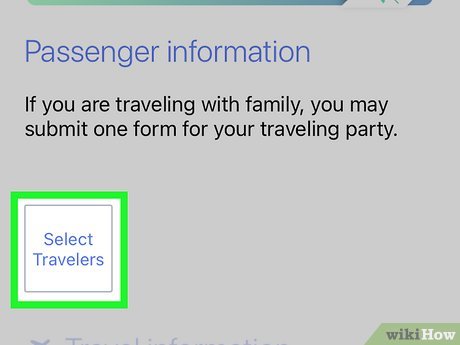
2Tap the ‘Select Travelers’ button and add your passport information. You will be asked to submit a passport number, name, date of birth, sex, country of citizenship, date of expiration, and issuing authority. Airside’s privacy policy ensures that all of this information is secure.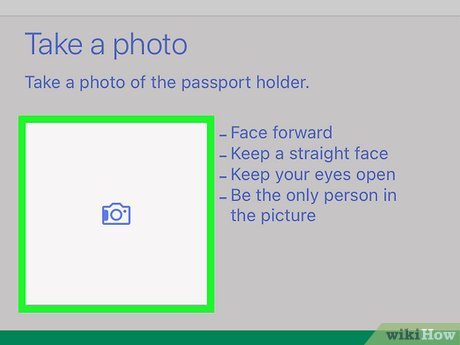
3Take a selfie by tapping on the square photo icon in the bottom left corner of the screen. Tap the green ‘Save’ button at the bottom of the screen.One thing to keep in mind is that the free version will only save this information for four hours. If you want to keep your information on the app for longer, you can upgrade to a monthly ($4.99/month) or yearly plan ($14.99/month). Or try out the 7-day free trial!Method 3Method 3 of 5:Filling Out Travel Information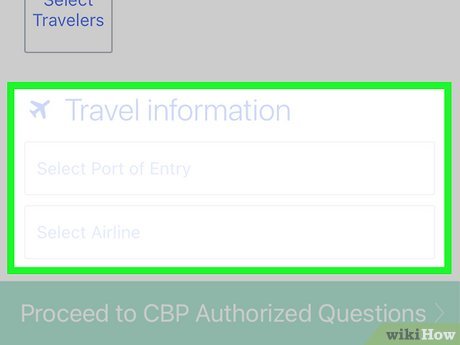
1Once you have arrived in the US, fill out travel information. On the same screen that shows the icons of your traveler(s), enter your Port of Entry, Airline, and Terminal (only applicable for cruise ships) into the boxes at the bottom of the screen. The app will show a drop-down list of your options.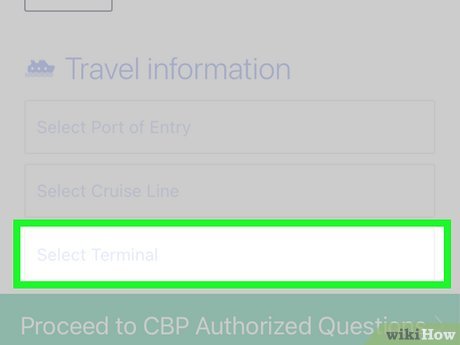
2If arriving by ship into a seaport, you must enter your terminal. The ship will announce your terminal as you enter the port. XMethod 4Method 4 of 5:Filling Out Customs and Border Patrol Questions
1Fill out the CBP questions. First, tap the ‘Proceed to CBP Authorized Questions’ button at the bottom of your screen. The app will ask you to fill out five CBP questions (this is your online declaration form).
2Tap the ‘Submit Now’ button. X You will then receive a QR code receipt. You are all set to go once you have your receipt! XThese questions are also secured through Airside’s privacy policy.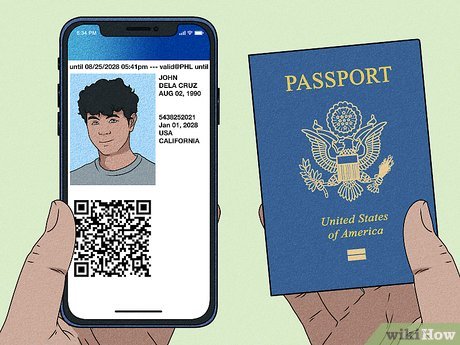
3Take the QR Code and your physical passport to the Mobile Passport Control inspection line. You will show this information, along with your physical passport, to a CBP officer for a final inspection.Ther is a specific line at Customs in the airport for users of the Mobile Passport app – this is what greatly reduces your wait time!Method 5Method 5 of 5:Making Family Profiles on Mobile Passport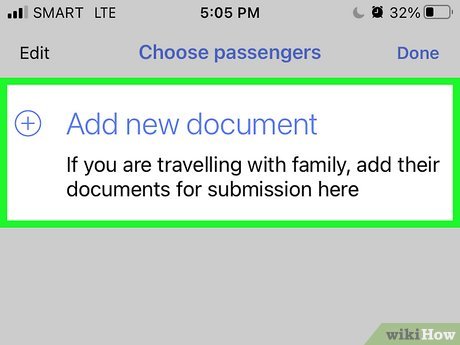
1Create profiles for each member of your family. Follow the normal steps for creating a profile, but this time add additional members. Do this by simply tapping on the same ‘Select Travelers’ icon.XIf you are traveling with a single household family, you can make the process easier by only submitting one transaction!Keep in mind that your family must be in a single household.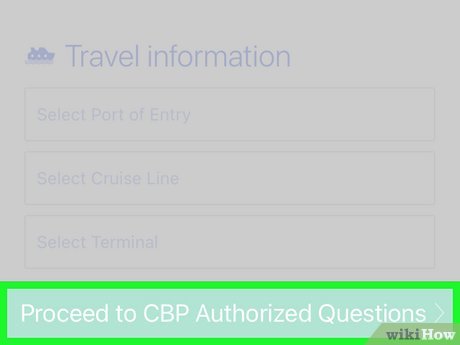
2Fill out all CBP information for each member. Once again, you will follow the normal steps for filling out CBP information. X However, this time, simply fill out information for every member of your group.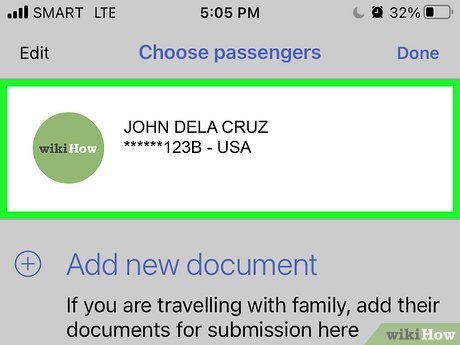
3Select all passports when submitting your information. Make sure you select all passports before you submit. X This way, Airside will send you multiple QR codes (one per person) that you can take to the inspection line. XTake note that everyone in your group must also have their physical passport with them.


