If you’re planning a trip, you might be wondering how to figure out where to go and in what order. Luckily, Google has a free tool that you can use in order to get a better sense of your travel plans. We’ll walk you through how to make a travel itinerary with Google Maps through its My Maps feature. In a few easy steps, you can master an excellent organizational tool that’ll help you plan the best trip possible.
StepsPart 1Part 1 of 2:Setting Up Your Map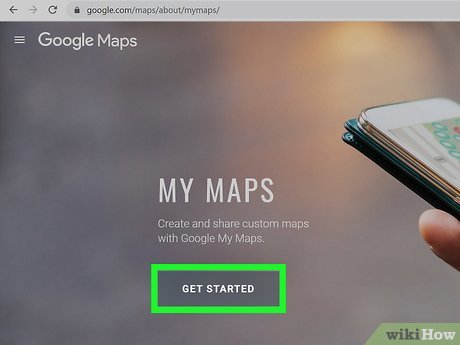
1Sign in to My Maps on your web browser. In order to use the “My Maps” function of Google, you’ll need to first have a Google account. Then, enter into your internet browser the following web address: mymaps.google.comXUnfortunately, as of October 2021, Google no longer supports the “My Maps” app on phones. If you’re on mobile, you’ll have to use your phone’s web browser to access the site while on the go.XIf you don’t already have a Google account, setting one up is a quick process. A Google account gives you a number of benefits, including a new gmail address. Check out this link to start the set-up process: https://accounts.google.com/signup/v2/webcreateaccount?flowName=GlifWebSignIn&flowEntry=SignUp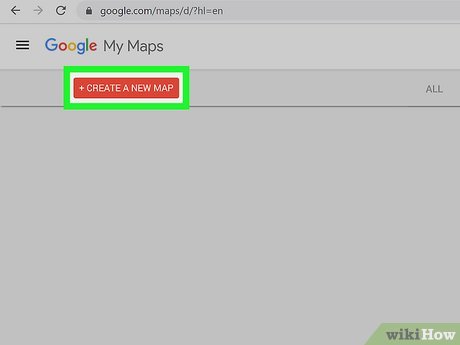
2Create a new map through the home screen. At the top left of the “My Maps” home screen, you’ll see a red box with the text “+Create a New Map.” Click on it to be redirected to a map screen.X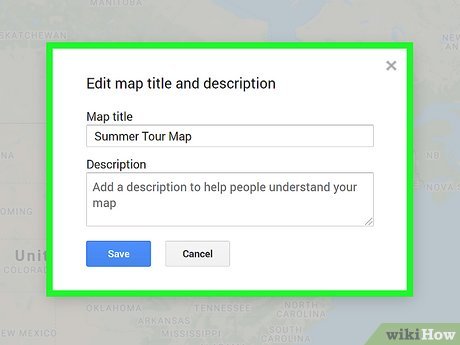
3Give your map a descriptive name. To keep yourself organized, give your map a name to remind you what it contains. On the white box on the top left of the screen, click on the line of text saying “Untitled map.” Another white box will pop up, where you can enter a name and description.XFor instance, your might name your map something like “California Summer Trip 2022,” and you could enter a description like, “Places to see and eat during two-week California road trip.”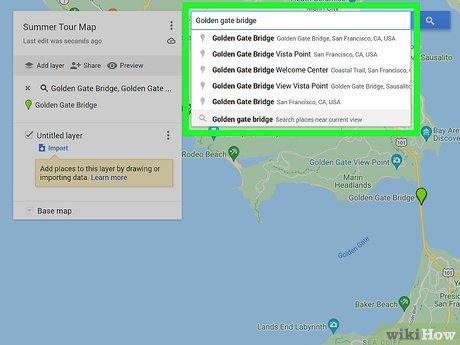
4Search for places to visit on your trip. Enter the name of any location into the Google Maps search bar, and you’ll quickly be directed to it with a pointer icon on your screen. You can enter restaurants, sight-seeing locations, or even whole cities.XFor example, for a California road trip, you might enter “Golden Gate Bridge” into the search box. My Maps will automatically direct you to its location.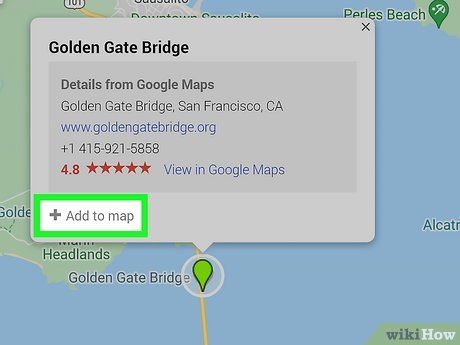
5Add the locations of any places you want to visit to your map. A white box will appear with some additional information on the location. At the bottom of this box, there will be a text that says “Add to map.” Click on this text, and it will appear on the white box on the left side of your screen.XFor instance, if you’ve searched for “Golden Gate Bridge,” there will be a a white box that offers some information on the location, and even a rating from other users. Click on the “Add to map” button to send it to your saved locations.Part 2Part 2 of 2:Creating an Itinerary and Planning Routes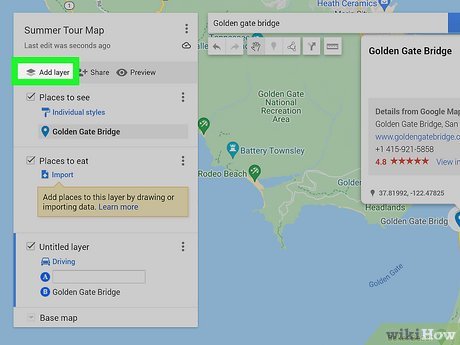
1Organize your selected places with the “layers” function. The layers function will group all of the places you’ve chosen. Click “Add layer” at the top of the white box on the left side of your screen, and give it a title. You’re nearly unlimited in how many layers you can create, so add as many layers as you’d like. You can then drag your locations in the white box into the right layer to organize them.XFor example, you might have a layer titled “Places to see,” one titled “Places to eat,” and one titled “Places to sleep.” You can then put sightseeing destinations, restaurants, and hotels you want to stay at in their respective layers.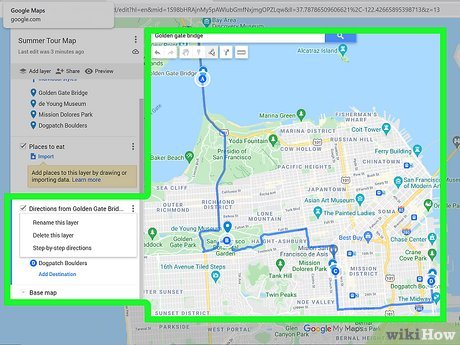
2Plan your travel routes using your Google Map. With the My Maps function, you can easily map out the distance between two locations. Select one of your locations from the white box on the left side of the screen, then select the arrow sign on the box that pops up. A new layer will be created which has the location you’ve selected as an endpoint on a route. Select another location and add it to this layer, and My Maps will automatically create a route for you between the two points.XYou can add more than one location to a single route. For example, if you wanted to plot a route from Big Sur to the Golden Gate Bridge, and then to Palo Alto, you can add all three locations to your route layer and create a multi-stop path.XBy clicking on the three dots next to the layer with your travel route, then selecting “Step-by-step directions,” My Maps will create a set of directions for your travel. Handy!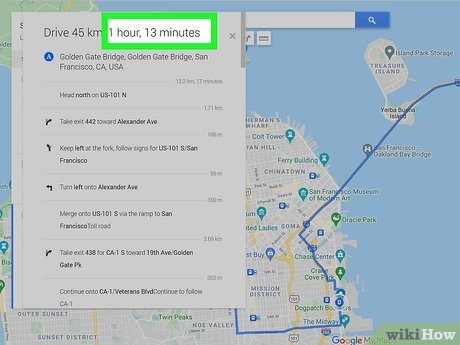
3Use your map to create a daily schedule. Although My Maps won’t give you a day-by-day itinerary of plans, it can make the process much easier. Use My Maps to give yourself a clear idea of where you’d like to go, and how long it would take you to get there.For example, by using My Maps, you might notice that seeing the Golden Gate Bridge, walking around San Francisco, and eating at a restaurant in Berkeley are close enough to all doable in one day, while visiting Big Sur might be better saved for another afternoon. My Maps can help you plan out the most efficient trip possible, so you can enjoy your travels even more.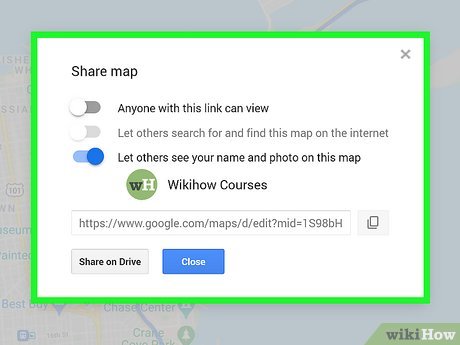
4Use the “Share” option to loop your friends in on travel plans. Near the top of the white box on the left side of the screen, you’ll see an icon of a person with a plus sign to their left. By clicking this link, you’ll receive a link to your map that you can share with your friends.XWhen sharing your map, you can also choose the option that allows others to edit the map as well. With this option selected, your friends can pick places that they’re interested in as well, so you can have them all on the same document.X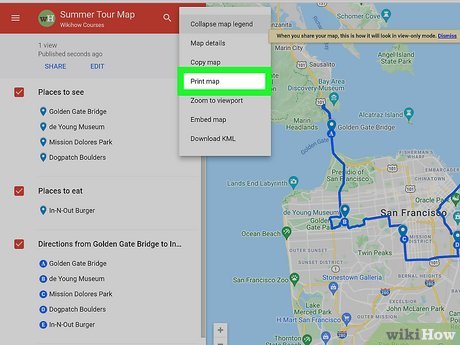
5Print your map for offline use. Traveling sometimes means running into areas with spotty Wi-Fi. In these situations, it’s great to have a print out of your travel plans. Click on the three dots located next to your map’s name in the white box on the left side of the screen. Then, select “Print map” from the menu.X


