
If you love traveling but can’t stand the long customs lines, then it might be worth it for you to get a Known Traveler Number (KTN). A KTN is a number that’s issued by either the US Transportation Security Administration (TSA), Department of Homeland Security (DHS) or Department of Defense (DoD). This number indicates that the person who has it has undergone a pre-flight background check before checking in for their flight and is eligible for an expedited customs experience. To get a KTN, apply for TSA Precheck, Global Entry, NEXUS, or SENTRI.
StepsMethod 1Method 1 of 4:Getting a KTN through TSA Precheck
1Go for TSA Precheck if you only travel within the United States. If you’re a lawful U.S. citizen or permanent resident and you just travel within the United States, this may be the program for you. Get your KTN through TSA Precheck so that you don’t have to bother with getting a passport.[1]XExpert Source
Amy TanTravel Planner & Founder, Planet HoppersExpert Interview. 12 March 2020.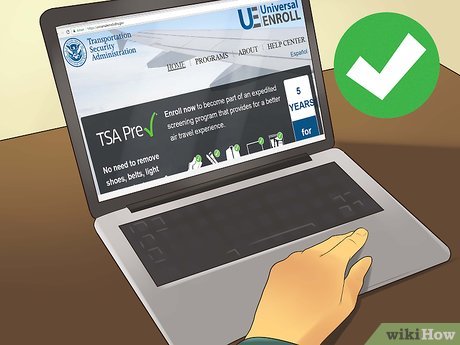
2Pre-enroll for TSA Precheck online. In order to start the application process, visit https://universalenroll.dhs.gov. Here, you’ll disclose basic biographical information, such as your name, birthdate, and address.[2]XExpert Source
Amy TanTravel Planner & Founder, Planet HoppersExpert Interview. 12 March 2020.Advertisement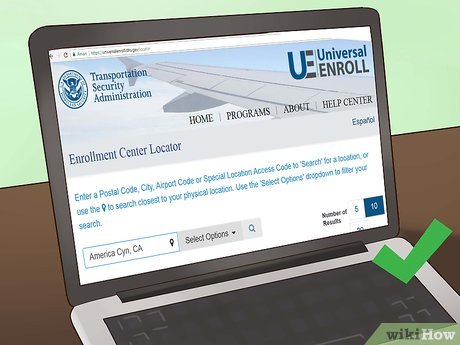
3Make an appointment at an application center. After you finish filling out the brief form, you’ll be prompted to make an appointment for your interview. For TSA Precheck, you can choose from over 300 locations within the United States. Find a location near you by going to https://universalenroll.dhs.gov/locator.[3]XResearch source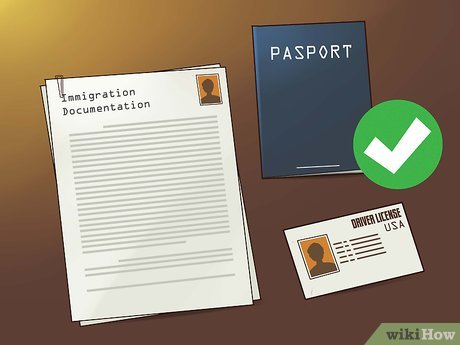
4Go to your in-person interview. Before you head to your scheduled interview, make sure that you have a valid photo ID, a valid proof of citizenship, and immigration documentation if applicable. The interview should only take about 15 minutes, and you’ll be asked questions about yourself and your travel habits, and you’ll also be fingerprinted during this time.[4]XResearch sourceYour driver’s license can serve as a valid photo ID.Your passport or birth certificate can serve as a valid proof of citizenship.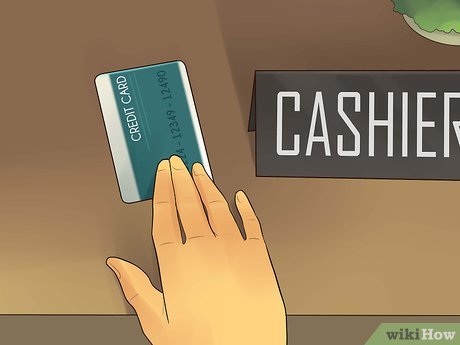
5Pay the $85 application fee. At the interview, you’ll need to pay your nonrefundable application fee, which will cover the cost of having a background check done. You can pay with a credit card, money order, company check, or cashier’s check.[5]XResearch source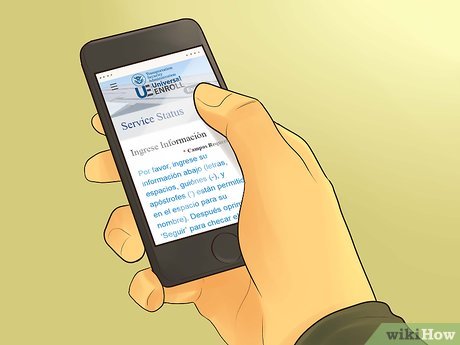
6Check your application status online. After your interview, check the status of your application by going to https://universalenroll.dhs.gov/workflows?workflow=service-status&servicecode=11115V. You’ll likely receive a notification letter within 1-2 days of your interview, but it can sometimes take up to 45 days. If you’re approved, your notification letter will include your 9-digit KTN.[6]XResearch source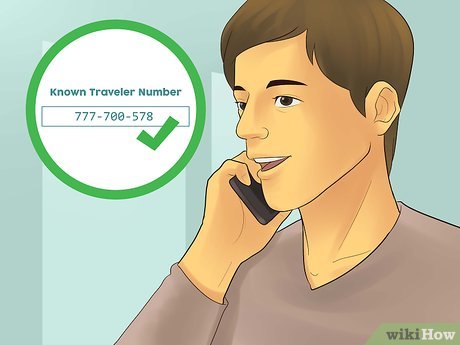
7Add your KTN to each reservation. Every time you book a flight, type in your KTN number wherever it’s asked for. This way, you’ll be recognized as a known traveler, which means you won’t have to take off your shoes, belt, or jacket, or take out your laptop or liquids.[7]XExpert Source
Amy TanTravel Planner & Founder, Planet HoppersExpert Interview. 12 March 2020.If you book through a travel agent, be sure to give the travel agent you KTN.Contact your airline via phone or online to add your KTN to your reservation after you’ve already booked it.[8]XTrustworthy SourceU.S. Transportation Security AdministrationU.S. government agency responsible for ensuring safety by setting and enforcing travel protocolsGo to sourceAdvertisementMethod 2Method 2 of 4:Applying for Global Entry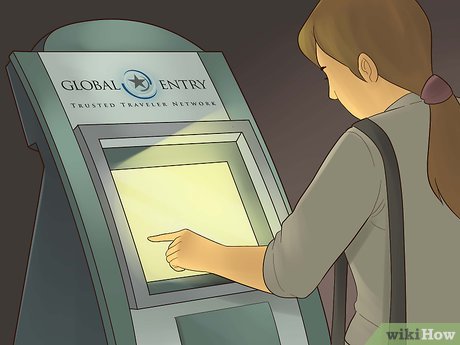
1Choose Global Entry if you travel internationally. While TSA Precheck allows you to to enjoy a faster customs experience while traveling within the United States, Global Entry allows you to breeze through customs while traveling within the United States and also internationally. Get your KTN through Global Entry if you’re a lawful U.S. citizen or permanent resident and you travel outside the country.[9]XResearch sourceYou can also apply for Global Entry if you are a citizen of India, citizen of Colombia, citizen of the United Kingdom, citizen of Germany, citizen of Panama, citizen of Singapore, citizen of South Korea, citizen of Switzerland, or a Mexican National.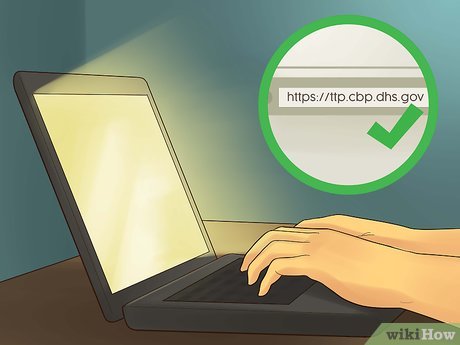
2Create a GOES account and apply for Global Entry. Navigate to https://ttp.cbp.dhs.gov. Click “Get Started” to create an account. Then, log into your account. You’ll have several different programs to choose from, so make sure you click on “Global Entry” and then fill out the application. This should take about half an hour and will require information such as your passport information, your residence history, and your employment history. [10]XResearch source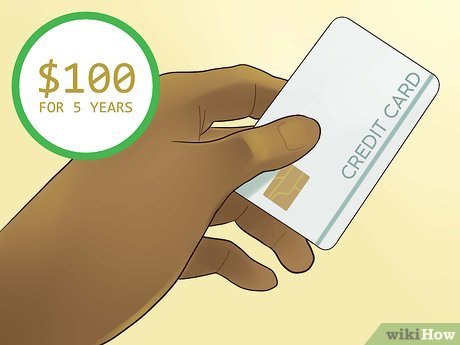
3Pay the $100 application fee online. At the end of the Global Entry application, you will be prompted to fill in your credit card or bank account information in order to pay for the application fee. The fee is $100 and is valid for 5 years.[11]XResearch sourceSome credit cards, specifically the ones designed for frequent fliers and corporate travelers, may reimburse you for this fee.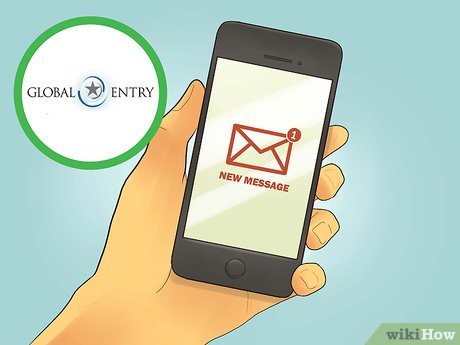
4Wait to receive an email. Once you’ve applied and paid the fee, check your inbox for an email. You can expect this email to come within a week or so of submitting the application. The email will prompt you to log in to your GOES account, which will notify you that you’re approved, pending your interview, if everything on your application checked out.[12]XResearch sourceIf you don’t receive an email, try calling the Global Entry customer service phone line at 866-530-4172.[13]XResearch source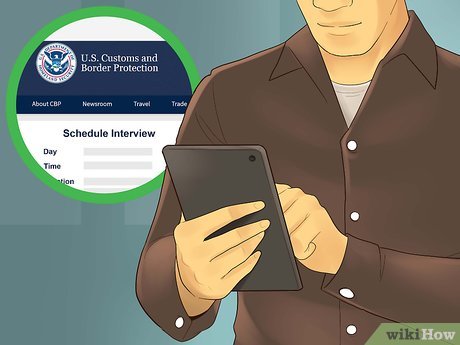
5Schedule an interview at an enrollment center. While logged into your GOES account, you’ll be prompted to pick an interview day, time, and location. Here, you can look up the enrollment centers that are closest to where you are. If you live in or near a major city, look into a few different locations, as some may be able to take you the next day but others may have a month-long wait.[14]XResearch source
6Go to your scheduled interview. The interview questions are typically simple and straightforward. You can expect to be asked about basic topics such as your traveling tendencies and your employment status. If you’re approved, your fingerprints will be taken and you’ll get your KTN at the end of the interview.[15]XResearch source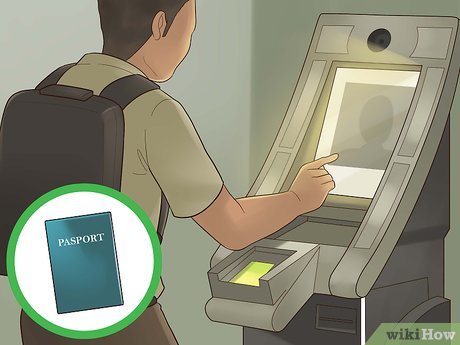
7Scan your passport at an airport kiosk to use your KTN. Bring your passport to the airport every time you fly, and scan your passport at a Global Entry kiosk. Then, the kiosk will take your photo, scan your fingerprints, and print out your receipt, which you’ll hand to the customs agent. This will get you access to an expedited customs experience.[16]XResearch sourceAdvertisementMethod 3Method 3 of 4:Becoming a Member of NEXUS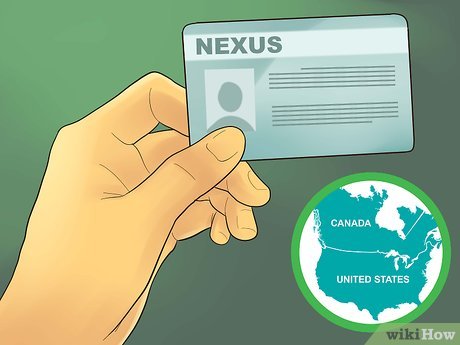
1Apply for NEXUS if you travel to Canada often. NEXUS is similar to Global Entry, but it only allows you to move through customs quicker when you’re traveling domestically within the U.S. or you’re crossing the border of the United States and Canada. Choose this program if you’re a lawful Canadian citizen/permanent resident or a lawful U.S. citizen/permanent resident who needs to frequently cross the border.[17]XResearch sourceYou can go to Canada without a passport if you’re a U.S. citizen and you become a member of NEXUS.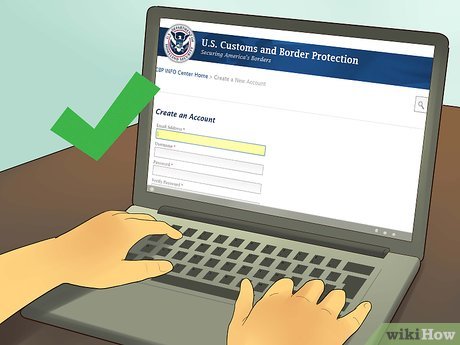
2Create a GOES account. Get online and navigate to ttp.cbp.dhs.gov. Click on “Register in English” and fill out the prompted information to create a GOES account. When you’re done, you’ll receive an identification number and be a registered GOES user.[18]XResearch source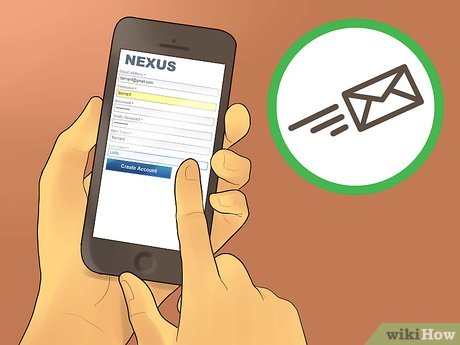
3Complete the NEXUS application online. Through your GOES account, download the NEXUS application online. Complete it, and provide copies of all of the government documents that the application requires, including your proof of citizenship or permanent residence, a valid passport, and proof of your current residence. Submit the application when you’re finished with it.[19]XResearch source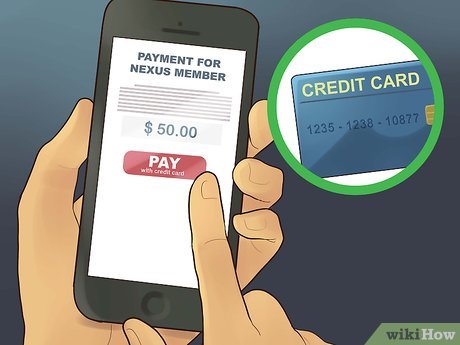
4Pay the $50 fee online. The processing fee for applying to become a member of NEXUS is $50, which is the most affordable of all of the program fees. Pay this online with a credit card through your GOES account.[20]XResearch source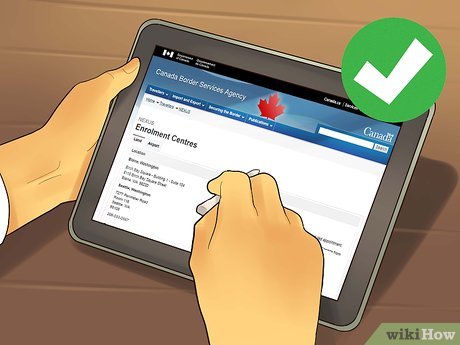
5Schedule an interview through your GOES account. Once your application has been processed, you’ll get a notification through your GOES account that you need to schedule an interview at an enrollment center. There are only a few locations where you can do this, and all of them can be found at http://www.cbsa-asfc.gc.ca/prog/nexus/location-eng.html.[21]XResearch source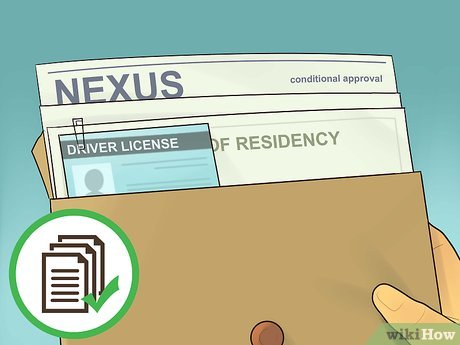
6Gather required documents and forms of ID for your NEXUS interview. You’ll need to bring a valid driver’s license, proof of residency, your NEXUS conditional approval letter, and any documents that you used on your application to prove you’re a U.S. citizen, U.S. permanent resident, Canadian citizen, or Canadian permanent resident.Bring your vehicle’s title and registration if you plan to drive across the border.Bring your proof of custody if you plan to take a child under the age of 18 across the border.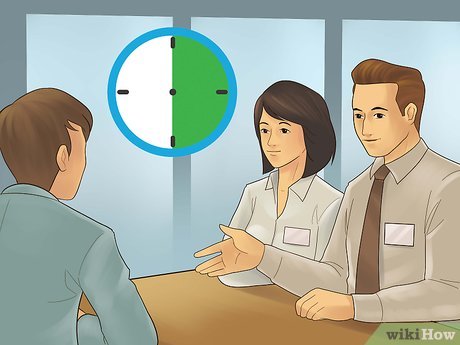
7Go to your NEXUS interview. Attend your scheduled interview at the location you chose. Your interview should take about 30 minutes, and you’ll be asked questions by both a U.S. customs officer and a Canadian customs officer during this time.[22]XResearch source If the interview goes well and you’re approved for membership, you’ll also be fingerprinted.During the interview, you might be asked questions like, “Why do you want a NEXUS card?” or “Do you still live at this address?”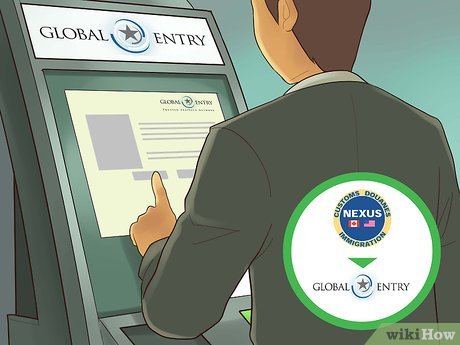
8Scan your passport at Global Entry kiosks when you travel. As a NEXUS member, you can use your KTN the same way that Global Entry members use it. When you travel, find a Global Entry kiosk, scan your passport, and proceed as the kiosk guides you to. Just like with Global Entry members, you can give the receipt that ‘s printed at this kiosk to the customs agent in order to have an expedited customs experience.[23]XTrustworthy SourceU.S. Customs and Border ProtectionFederal law enforcement agency responsible for monitoring U.S. borders, facilitating international trade, and upholding customs lawsGo to source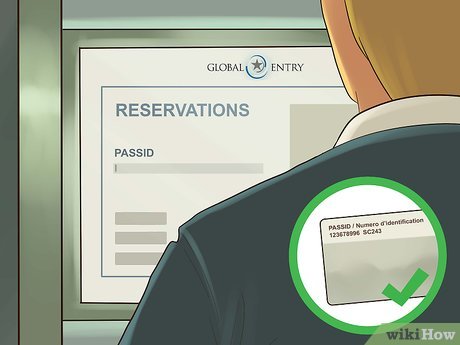
9Add your PASSID to your reservations and frequent flier profiles. When you become a NEXUS member, you’ll be issued a PASSID, which is exactly the same as a KTN. If you’d rather check in before heading to the airport, be sure to include your PASSID in the appropriate field when you fill out your flight registration information. AdvertisementMethod 4Method 4 of 4:Acquiring Your KTN through SENTRI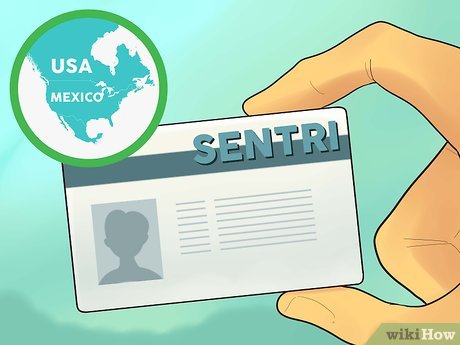
1Choose SENTRI if you travel to Mexico often. The benefits of being a SENTRI member are specific to crossing the U.S. and Mexican border. Go with this program to get your KTN if you’re a lawful U.S. citizen who travels to Mexico on a regular basis.[24]XResearch source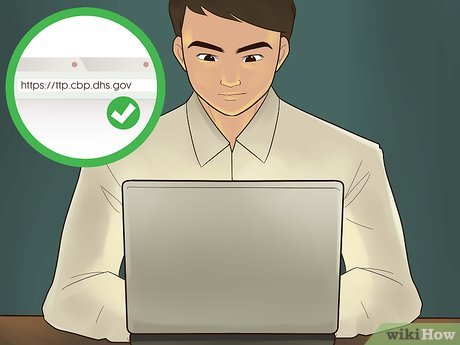
2Create a GOES account online. SENTRI is another program that requires you to have a GOES account. Register by clicking “Get Started,” and filling out all of the prompted information on https://ttp.cbp.dhs.gov.[25]XTrustworthy SourceU.S. Customs and Border ProtectionFederal law enforcement agency responsible for monitoring U.S. borders, facilitating international trade, and upholding customs lawsGo to source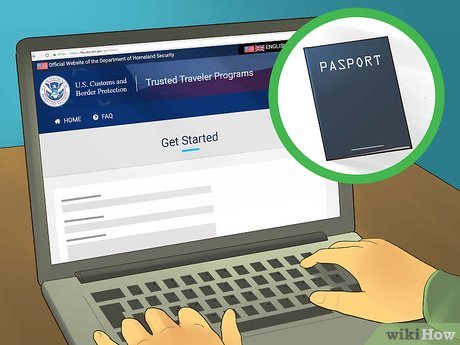
3Complete an online application. After you’ve gotten a GOES account, you can log in and find the application for SENTRI. Fill it out entirely and include copies of any documents that the application requires of you.[26]XTrustworthy SourceU.S. Customs and Border ProtectionFederal law enforcement agency responsible for monitoring U.S. borders, facilitating international trade, and upholding customs lawsGo to source You’ll likely need to supply copies of your passport and your proof of citizenship or proof of permanent residence.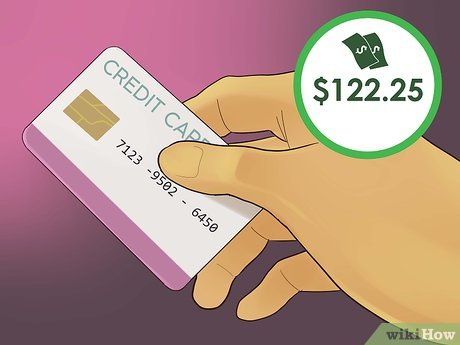
4Pay the SENTRI fee of $122.25. This fee covers the application fee, the fingerprint fee, as well as the system cost fee. After you finish filling out the application, you’ll have an opportunity to pay this nonrefundable fee. Make the payment with a credit card, certified check, money order, or through electronic bank transfer.[27]XTrustworthy SourceU.S. Customs and Border ProtectionFederal law enforcement agency responsible for monitoring U.S. borders, facilitating international trade, and upholding customs lawsGo to source
5Schedule to your SENTRI interview at an enrollment center. Once your application is conditionally approved, you’ll be instructed through your GOES account to make an appointment for your interview. There are many different locations that you can choose from, all of which are considered “enrollment centers.”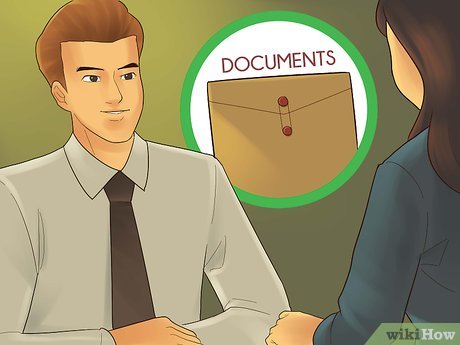
6Go to your scheduled interview with the required documents. Bring the required documents with you and answer the interviewer’s questions truthfully. You’ll then be approved and fingerprinted if the interview goes well.[28]XTrustworthy SourceU.S. Customs and Border ProtectionFederal law enforcement agency responsible for monitoring U.S. borders, facilitating international trade, and upholding customs lawsGo to source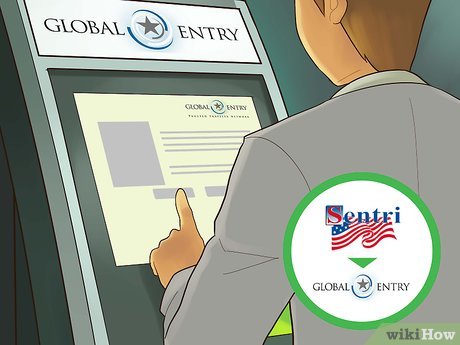
7Scan your passport at a Global Entry kiosk. To reap the benefits of your SENTRI membership, head to the Global Entry kiosk and scan your passport before you go to customs. The kiosk will prompt you to answer a couple of questions and it will take your photo and scan your fingerprints. It will then print out a receipt that you can give to the customs agent so that you can move quickly through.[29]XTrustworthy SourceU.S. Customs and Border ProtectionFederal law enforcement agency responsible for monitoring U.S. borders, facilitating international trade, and upholding customs lawsGo to source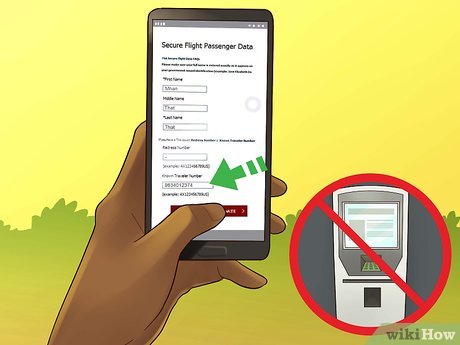
8Include your PASSID in your flight reservations. If you’d rather not worry about dealing with the kiosk before your flight, you can simply include your PASSID (KTN) on your reservation when you book your flight. That way, your precheck privileges will be noted on your boarding pass and you can skip the kiosk altogether. Advertisement


