
While you may not think you have to clean your can opener often, rust and gunk on the can opener can prevent its gears from working properly. Fix a dirty can opener by soaking it in white vinegar to loosen all the dirt and rust. Then, scrub it with a toothbrush to remove gunk from the gears. If you have an electric can opener, then detach the blade bracket and soak it in white vinegar as well. Prevent further rust buildups by using a stainless steel can opener and drying it after every use.
StepsMethod 1Method 1 of 3:Scrubbing Handheld Can Openers
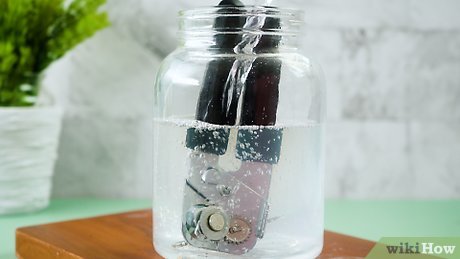
1Place the can opener into a jar pour white vinegar in. A glass jar, coffee can, or any similar container will work. Take the can opener and insert it top-first into the jar. Then, pour white vinegar into the jar so it covers all of the can opener’s moving parts.[1]XResearch sourceYou can use a bowl instead of a jar as long as all of the can opener’s moving parts fit inside it.Vinegar’s acidity helps to break down built up rust and gunk.White vinegar is sometimes called distilled vinegar.
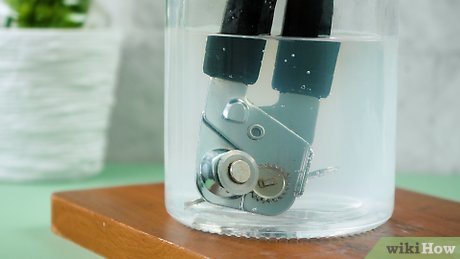
2Let the can opener soak for 20-60 minutes. The vinegar needs some time to loosen the gunk and rust. Let it sit for at least 20 minutes, and up to an hour. Some of the gunk may start flaking off and floating in the vinegar, indicating that it’s working.
[2]XResearch sourceIf your can opener is so dirty or rusty that the moving parts don’t work well, then you’ll have to soak it longer. Try leaving it overnight so the vinegar can really work at the gunk.
[3]XResearch sourceAdvertisement
[4]XResearch sourceDepending on the can opener type, you may have to open it up to reach the gears.If rust is built up outside the moving parts, scrub here as well.
[5]XResearch source
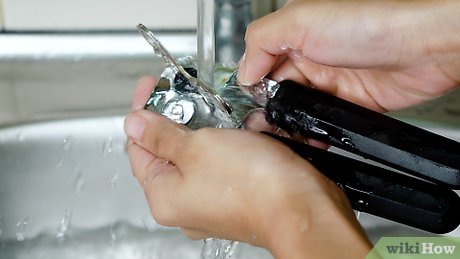
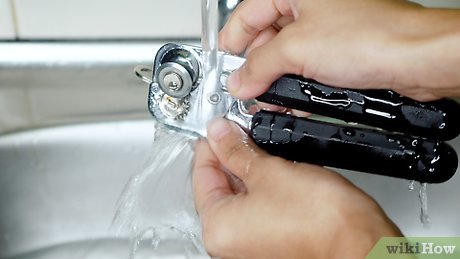
5Rinse the can opener with clean water. Hold the can opener under the faucet and rinse it well. Make sure no suds are left behind.[6]XResearch sourceSoap scum can attract dirt and cause rusting, so make sure to rinse the can opener well.
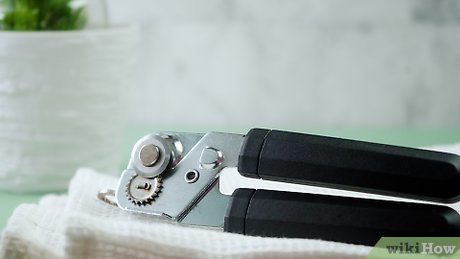
6Dry the can opener thoroughly. Leftover water will cause further rusting, so make sure your hard work isn’t wasted. Take a dry cloth and wipe all the moisture off the can opener. Dry the entire device, especially the moving parts. Then leave the can opener out in the sun so the rest of the water evaporates before you put it away.[7]XResearch sourceIf the cloth can’t reach into the gears, then blow hard into them to push off any hidden moisture.AdvertisementMethod 2Method 2 of 3:Cleaning Electric Can Openers
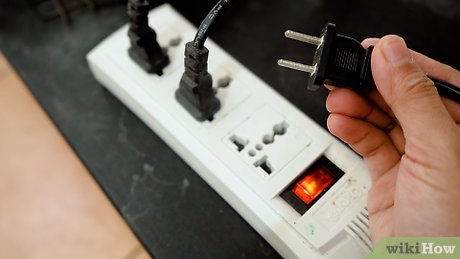
1Unplug the can opener’s power cord. Never try to clean the can opener without unplugging it first. This can result in a serious injury if your finger gets stuck.[8]XResearch source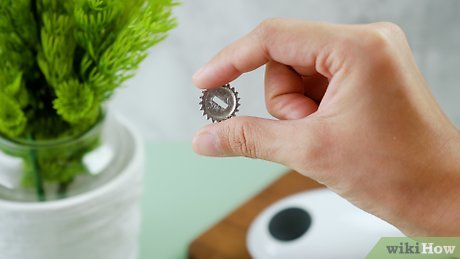
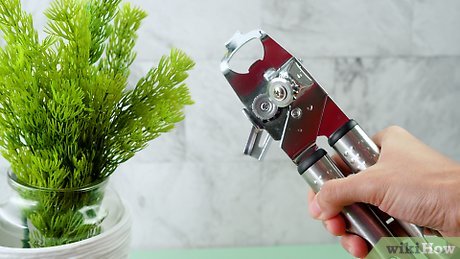
2Remove the blade bracket if it comes off. On some electric can opener models, the black bracket is removable for cleaning. If yours works this way, look for a switch or knob to detach the bracket. Then lift it out of position.[9]XResearch sourceDifferent models may have different methods for detaching the bracket. Check the instruction manual for your can opener for the correct process.If your can opener bracket is not detachable, you can still clean the gears with a toothbrush and white vinegar.
[10]XResearch sourceIf your can opener was so rusted or dirty that the gears wouldn’t move, then leave it soaking longer. Wait overnight so the grime loosens better.If your blade bracket isn’t removable, then skip to the next step.
[11]XResearch sourceIf the blade bracket isn’t removable and hasn’t been soaking in vinegar, then you’ll have to scrub more. Really soak the toothbrush in vinegar and scrub hard from multiple different directions to work the grime off.
[12]XResearch source
[13]XResearch source[14]XResearch sourceSoap scum can attract dirt and cause rust, so be sure to rinse the bracket well.Dry the bracket thoroughly. If the cloth can’t reach into the gears, then blow on them to push off any hidden moisture.
7Place the bracket back onto the can opener. Once the bracket is completely dry, follow the steps in the instruction manual for connecting it back onto the can opener. Plug the cord back in and test the can opener to make sure all the moving parts work properly.[15]XResearch sourceAdvertisementMethod 3Method 3 of 3:Preventing Rust
1Get a stainless steel can opener to resist rust. Stainless steel resists rusting and gunk buildup much better than other metals. Look for a stainless steel type to cut down on the amount of cleaning you’ll have to do.[16]XResearch sourceA stainless steel can opener may be a bit more expensive than other models, but it’s the best can opener to resist rusting.
2Rinse and dry the can opener after every use. Moisture and leftover food particles encourage rusting and mold growth. Rinse your can opener under the faucet after every use to get rid of trapped food and gunk. Then, dry it thoroughly with a cloth to prevent rusting.[17]XResearch sourceLeave the can opener out on the countertop to dry, even after you’ve wiped it with a cloth. Moisture doesn’t evaporate as well inside drawers.
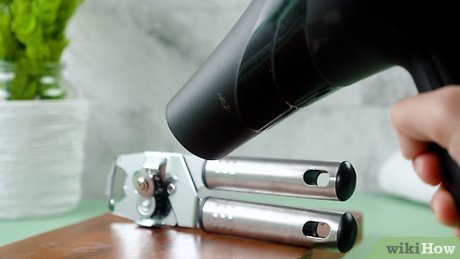
3Use a hair dryer to dry hard-to-reach areas. If your can opener rusts often, then you may not be drying it enough. After cleaning the can opener, try holding it up to a hair dryer for a few minutes to blast hidden moisture out of the gears and moving parts.[18]XResearch sourceHold the can opener with a rag or oven mitt while you do this. The metal could get very hot from the hair dryer.Advertisement


