After you’ve purchased a Uniden HomePatrol, it’s nice to know how to set it up. This article will help introduce you to the items it will need to complete its setup.
Steps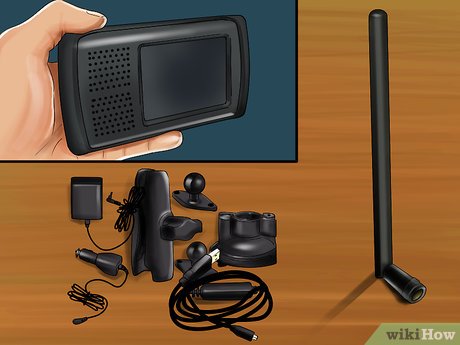 1Open the box and unbox all the items, including the item and antenna, power cord(HomePatrol-II doesn’t contain one, but there’s a workaround described later), the holder/dock and most other parts. Find the USB cord to connect the scanner to the computer for programmer there along with any firmware updates to the device.
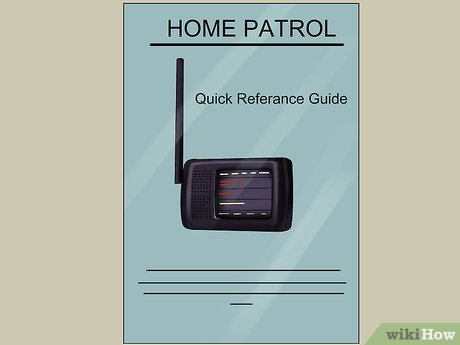
2Peruse the Quick reference guide (that is included in the box with the device) and read your owner’s manual to your HomePatrol device. All HomePatrol’s have a owners manual, but their manual can only be found online (especially for the HomePatrol-II). Both contain valuable information on how this device can be operated once you set it up as well as information all scanner users must know about listening to transmissions. Use this page to find your device’s manual (use “HomePatrol-II if you own one or type “HomePatrol” if you own the previous version and select the product that best looks like your device (including color cover design)Advertisement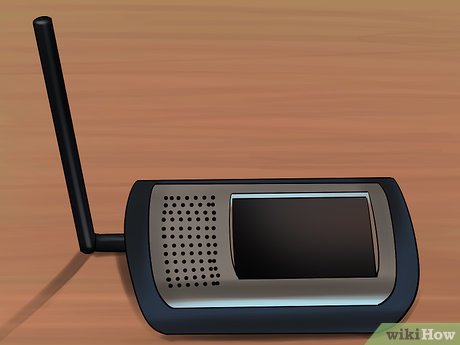
3Connect the antenna to the device. The placement of the antenna is located on the left side of the device towards the top. Turn the antenna, so the antenna sticks upwards and not the initial sideways position. If you’ve bought a HomePatrol-II, this stick should be bent into the correct V-shaped way.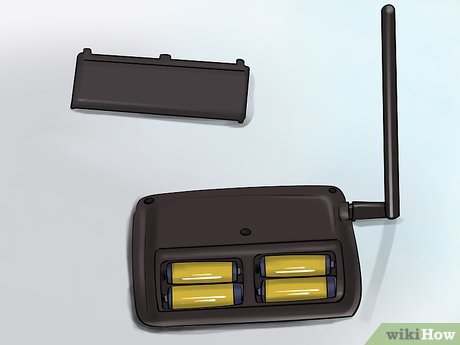
4Place the batteries that came with your device into the HomePatrol device. If your device’s originally batteries stop working correctly, you can place a pair of rechargeable double-A batteries into the device and have it charge for the full 14 hours without using. The batteries serve as the “juice” when the device is off it’s charging cord and away from a power source, and can help provide some backup in cases of emergencies when the power goes out unexpectedly.Don’t use non-rechargeable batteries. They don’t last for too long – even when the device is fully off and not functioning…and they don’t recharge too when the juice runs out.Turn the device over to the back.Unlock the battery door. There’s a tiny switch that anyone with tiny fingers can flick (a thin edge to a key can also help). There are symbols that look like a pad lock if you look at the device closely.Open the battery door.Place the batteries into the device. If you want to make sure the power cord actually sticks to it’s intended use, use either the batteries that came with the device, or rechargeable ones at all times.Replace the battery door to the back of the device.Lock the battery door again.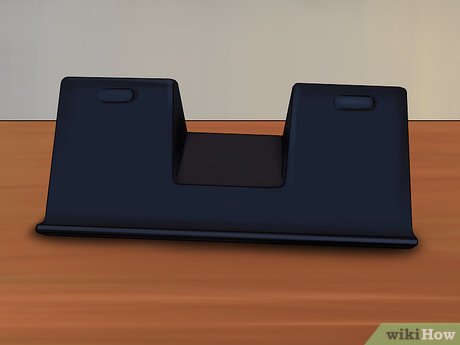
5Place the scanner stand on a flat surface in an uncrowded room/corner where signals and reception will tend to be good. Test out where in the room this is. If you don’t receive much (or any) activity, move the device someplace else and try again. Try on mediocre-high locations near windows, but even where windows just don’t exist, you may need to try elsewhere in the room.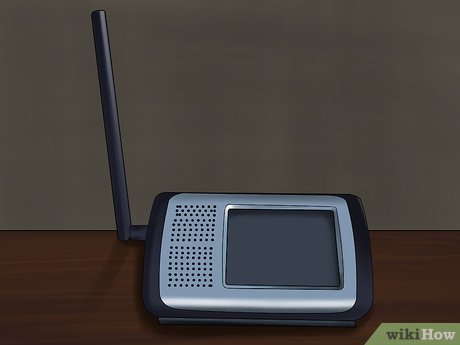
6Place the HomePatrol on this scanner stand so that the antenna is on the left side of the device and facing you. You will feel a click-like feeling when it’s securely placed in it’s cradle. The cradle is provided to make sure the device doesn’t move around a lot (which can sometimes be a pain when trying to find the best place to hear signals and stations.)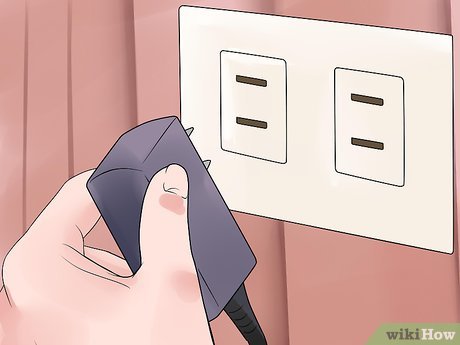
7Power the device for charge. Plug in the device’s USB cord on the top (if running on a HomePatrol-II) and secure it to the wall via a USB converter plug (with the traditional USB-end) and let it charge for the minimum 14 hours. HomePatrol-II has a color-coded light that says “CHARGE” in the bottom left corner of the device near the device’s speaker. The USB cord location plug-in point to the device is on the side (top right).For those on the older first-generation HomePatrol, you can plug in the power cord to the right side of the device towards the middle.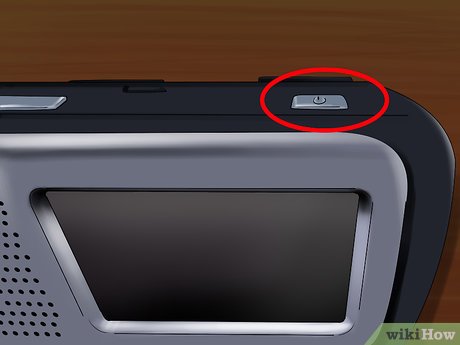
8Power the device on for the first time after the full fourteen hour charge. The power button is at the top of the device. Hold it down for a few seconds (but no more than 10 seconds), until you here a beep sound and either “Welcome to HomePatrol” displays. If you’ve bought the newer HomePatrol-II and you are moving the batteries (which were charged in the HomePatrol first gen, your device will still need this 14 hour charge, and the red light will not go to green until this is complete for the first time)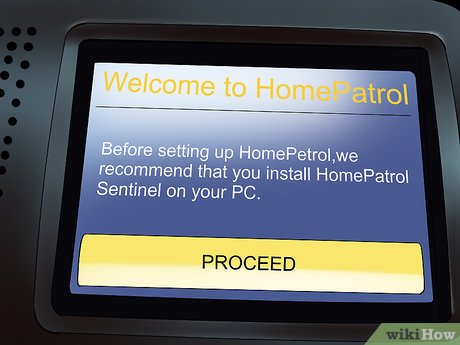
9Set the device up on the screen. The rest of this part of the process can be set up right on the device itself, as it has a touch screen display.Press the Proceed button on the bottom of the device. Uniden wants you to install their software and will tend to do everything in their power to get you to take care of this. The device will alert you at the start to install it, but you can press Proceed at least the minimum six times and run this software installation at a better time later. Uniden calls this software Sentinel. You’ll have to do this six times, if you’d like to skip this step which you will eventually need to do to get accurate software and the weekly (for HomePatrol-II) database updates as well as firmware updates (on occasion, sometimes yearly or biyearly).A copy of the software’s installation files can be found in a zipped folder at this page, though the software package folder’s file can also be found under it’s skin when it’s plugged into your computer with it’s USB cord. And as long as you update its database every few weeks, you’ll never run out of the correct data for which your device carries the frequencies of.Don’t ignore any firmware updates that are needed on the device. Firmware updates are major fixes to problems the device has been confirmed to encounter but was fixed by Uniden after it was shipped from the factory.Press the Proceed button at the bottom of the sixth page, to enter the next step of initialization.Fill in the owner card on the device using the keypad that will come up, if you don’t want the device saying “Welcome to HomePatrol-II” or “Welcome to HomePatrol” everytime you begin the device. You can only fill in up to six lines of text with the non-Qwerty keyboard on the right side of the device.Press the Next Line button at the bottom of the screen when the device’s information has been fully entered on each line. You’ll need to know your name, and at least part of your address (two entry lines devoted to this), a phone number, and potentially your email address.Press the Finish button when you are satisfied that everything is entered correctly.Set the time zone where the device is located or will be operated in. Make sure the device is set to the correct time zone.Set the device’s time and date manually, by typing in this data on the next screen. The date will be set as MM/DD/YYYY. It will adjust for the 2007 DST time update dates, but this will adjust if the date and time is properly set initially.Press the Accept button, when you are satisfied that everything is entered correctly.Set the device’s location. Set it up by zipcode for best results at first. You’re best and easiest bet is to do this by zip code, but you can choose whatever you feel is right.Before you can enter your zip code, it will ask for the country of origin. However, the device will only recognize zip codes from either of the two known countries: USA and Canada. Tap the correct entry.Fill in the zip code data that it requests using the keyboard on the device’s screenPress the Accept button, when you are satisfied that everything is entered correctly.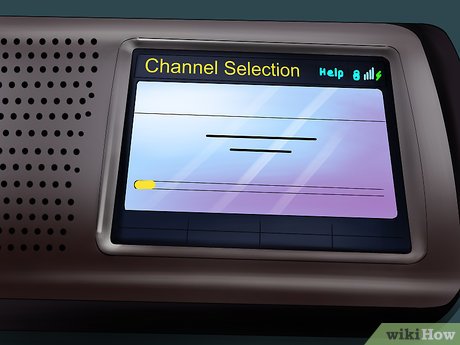
10Accept the fact that the device will need a few moments to initialize and install the nearest frequencies to your device every time you turn it on, but the wait is definitely worthwhile. Wait for the device to fully program the device for nearby frequencies including any frequencies in nearby states where your states are bordering.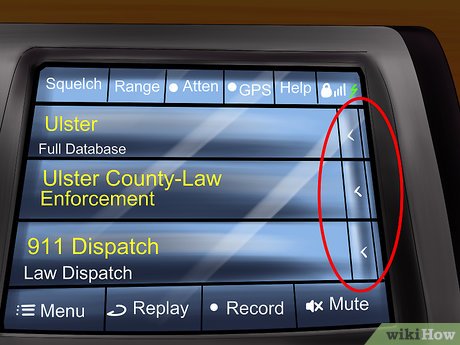
11Recognize some of the channels it programs into the device, that you don’t want to hear/scan/listen to. Understand the process for which you must remove these items. Tap the button at the right of the frequency/set you’d like to remove.Tap “Avoid”.Tap the Avoid Permanently button, if you’d like to always avoid this frequency when scanning the airwaves.
12Set the volume control. THe volume button is on the top of the device near the left hand side.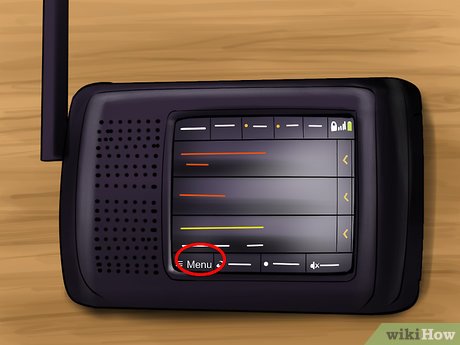
13Set the squelch. Although Uniden sets their squelch rather low, to get more transmissions, turn this up to a medium level. Touch the Squelch button, then press the up and down buttons (that were originally used to turn the volume up and down) until the orange bar on the screen is about half-way up. As soon as that is at that point, leave the screen go and it will set from there and the box will go away.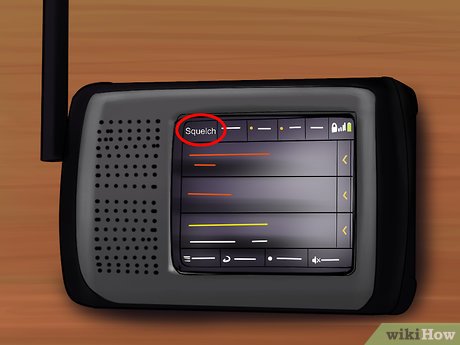
14Add or subtract more services. There are two things you will want to manage in terms of stuff you can listen to (for those who just bought the device and not the additional trunking information service card stuff – for those who listen as a hobby). One is for regional systems (tap the menu button and select Set Service types, select your services; three services are selected at start up) as well as some additional national services that are affected (tap menu, tap advanced, tap Set Nationwide Systems then select your systems by tapping on them).Be careful, though. The more systems you select from both, the longer the search will take and the less likely the scanner will stop later on the intended frequency.Once done on each screen, and back out to the main menu, tap “Listen” in yellow to go back to listening to the police transmissions.Don’t enable the “National Weather Service – USA” listing. The scanner will always stop on the Weather station every turn of the dial, and by “avoiding” it, will cause some major symptoms that won’t allow you to listen to it with the correct way. Open the Menu and select “Weather Mode”, touch Monitor NOAA Weather, wait for it to find the closest station and you got yourself a weather radio also like the pros and scanner enthusiasts – all devoid of the Federal stations of Weather and the weather frequency problem.Advertisement


