Recording loved ones’ stories ensures they’re available for future generations. Luckily, with a variety of high-tech (and low-tech) options available, it’s never been easier to record your family’s most personal stories than it is today.
StepsPart 1Part 1 of 3:DIY Recording Basics
1Record in a location with good acoustics. Capturing good audio in your recording is crucial. Use a decent-quality digital recorder, a peripheral mic connected to your computer, or a recording app on your smartphone and follow the directions below:Position the mic as close to the storyteller as possible. If you’re participating and you only have one mic, put it between you. Be sure to speak into the mic.Pick an indoor spot that’s as quiet as possible. Background noises like airplanes and construction sounds get picked up by mics easily.Avoid places with lots of bare, hard surfaces like empty rooms, kitchens, bathrooms, and so on. These places can give your recording a noticeable echo. Soft furniture, rugs, blankets, and wall coverings can help.
2For video recordings, make sure you’re getting a good image. Video recordings of family stories present their own challenges. Use these tips to ensure your recording looks as good as possible:Keep the storyteller’s face and upper body centered in the frame. You don’t have to shoot head-on — slight angles are fine.Use a tripod or prop your camera on something sturdy to keep the frame still.Shoot somewhere with soft, even lighting. Avoid harsh fluorescent lights and the outdoors.Consider putting a gentle light in front of the storyteller to completely eliminate shadows.
3Make a quick test recording. Nothing’s worse than making an hour-long recording only to discover that something didn’t work. To avoid this, take 10 seconds to test your recording devices.If the storyteller’s voice is too loud, move the mic away or reduce its recording volume. If the storyteller’s voice is too quiet, move the mic closer or turn up its recording volume.XIf you’re picking up background noise, move to a different spot or turn off whatever is making the noise.If the storyteller’s face has distracting shadows or is being lit too harshly in a video recording, adjust your lighting or find a different spot.
4Get stories directly from the source if possible. It’s often best to get stories from the people who experienced them firsthand. These people tend to have the most reputable version of events because none of their story has been affected by hearsay or secondhand accounts. Exceptions to this rule exist, so use your own judgment; only you know your family.
5Make your family member as comfortable as possible. Most family members will be willing to cooperate so you can get a good recording. However, children and the elderly can sometimes be hard to work with. Make the recording process as smooth as possible by ensuring everyone is comfortable before you start. See below:Make sure the storyteller understands that s/he is being recorded and consents to this.Offer the storyteller a rough time limit for the recording so s/he knows when it will be over.Ask the storyteller if s/he would like a drink or snack before you begin.Make sure the storyteller has a comfortable place to sit or stand. Offer a pillow or blanket if needed.Offer to take breaks if the story is a long one.
6Ask open-ended questions to get personal responses. It’s perfectly acceptable to say something like, “Tell us about the war, Grandpa” to get the ball rolling. To keep the interview going, try asking lots of open-ended questions rather than factual or descriptive ones. These allow the storyteller to explore his or her thoughts and even come to illuminating new conclusions. Below are just a few example questions:”How did that make you feel?””What were you thinking at the time?””What was your relationship with this person like?””What are your thoughts on how things stand now?”Part 2Part 2 of 3:Choosing Recording Options
1Try a digital audio recorder. One simple option for recording family stories is to use a digital audio recorder. These portable devices allow you to capture audio files and transfer them to a computer. Best of all, they work roughly like tape recorders, making them easier for older members of your family to use.
2Try smartphone recording options. Many different apps allow quick, easy recording of family stories on the go. Just a few recommendations are below:Story-recording apps like StoryCorps. This app comes with built-in recording functionality (using your device’s mic) for up to 45-minute recordings and a “question-maker” option that can suggest interview questions (or help you figure out your own).Other digital services like StoryWorth and FamilySearch Memories offer comparable experiences.XSimple voice-recording apps like Smart Voice Recorder (available on Android) usually offer streamlined options for recording, sharing, and saving audio.
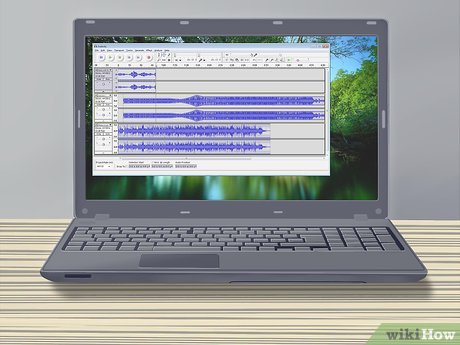
3Record from a computer. All you need is a cheap peripheral mic to turn your computer into an impromptu recording device. Most modern computers come with some form of audio-recording utility installed. If you don’t have this software, you can also try downloading a free recording program (like Audacity).
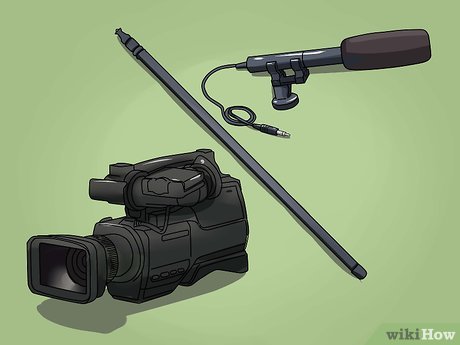
4Capture video to add a visual component to stories. Video recordings are slightly less convenient to capture than audio recordings, but there’s nothing like being able to see a family storyteller in action. Future generations are likely to appreciate having a visual component to the story.The easiest video option is to point a cheap digital camcorder at the storyteller and simply hit “record.” Most modern camcorders offer at least a few hours of storage space.For short stories, a smartphone will often suffice. Nearly all modern smartphones come with the ability to capture video. However, many lack the storage space and image quality for anything other than a few short clips.
5If you lack access to technology, take notes. If all else fails, you can always type or write down a family member’s story as it is told. This is the most labor-intensive option, but having a written record of the story is usually better than simply trying to remember it and record it later.It can be tough to capture an entire story in your notes while someone is speaking it. Try this: as your family member tells the story, take only broad, cursory notes — enough to make a rough outline. When s/he is done, try to tell the story yourself using your notes as a reference. Fill in any details you left out the first time and note any corrections your family member makes.Part 3Part 3 of 3:More Ideas for Recording a Legacy
1Make a scrapbook to go along with your family stories. Scrapbooks are a great way to save important family memories for decades. One idea is to try filling your scrapbook with old pictures of the people in the stories. You can also include documents like newspaper clippings, diplomas, certificates, and so on — anything that goes with the story.See our scrapbooking article for lots of ideas.
2Make a compilation of treasured family footage. Any family story is better if you can see the people in it in action. Restoring old home videos and compiling them on a DVD with your recorded family stories makes a great present for a grandparent. You can also try setting your family stories to a slideshow of old photos if you don’t have home videos you can use.Many locations that develop photos can perform these services for you if you can provide the raw footage. For example, Costco Photo Centers can compile footage from VHS and film reels on a DVD for under $20.X
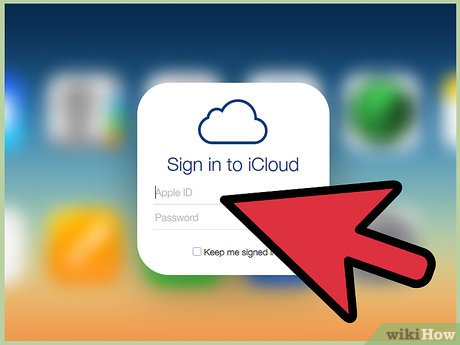
3Make an archive of family stories. Once you have a few family stories recorded, store them together so that they can be shared and passed down through the generations. You may want to consider making copies of the recordings and giving them to multiple members of your family. As you record more stories, add them to your archive for safekeeping.Today, cloud storage services offer a convenient way to store your family’s memories. Cloud drives like Google Drive, Apple iCloud, and others let you store several gigabytes of information for free.
4Write a family memoir. Written accounts of family history can be major undertakings, but they’re prized for a reason. There’s nothing quite like having a book of your family’s entire story in your hands. Knowing that all there is to know about your family is contained in a single tome is a remarkably satisfying feeling.See our memoir-writing guide to get started.Self-publishing is probably the most convenient option if the book is just for yourself and your family members.
5Consider enlisting professional help. Looking for a unique way to preserve your family’s stories? Using a professional’s services will get your family a high-quality recording that’s sure to stand the test of time. Some non-profits even do this for free.StoryCorps (the maker of the app mentioned above) operates three permanent recording studios: one in Atlanta, one in Chicago, and one in San Francisco. In addition, one mobile studio regularly tours the country. Click here to make a free appointment online.XOther companies like Life History Services offer the ability to pay for professional-quality recordings and other products.XAnother option is to pay for time at a recording studio in your local area. The advantage of this is that a sound engineer will be able to ensure you get a good-quality recording. Hourly rates can vary by location and services provided.


