
A “police scanner” is another name for a radio scanner, a communication device that monitors radio signals in your local area. In addition to emergency personnel communications like police and firefighters, scanners can also be programmed with frequencies to a variety of other public communication offices including schools, media, and utilities companies. Scanners are often used by hobbyists for fun, but they can also be used as a part of business communication or to keep people safe in emergency situations. While using a scanner is a simple process, the initial process of programming which frequencies you want to receive can be a bit of work. Once you have successfully added a frequency, you can easily customize your scanner to include the frequencies for all agencies within your county.
StepsPart 1Part 1 of 3:Programming a Base Model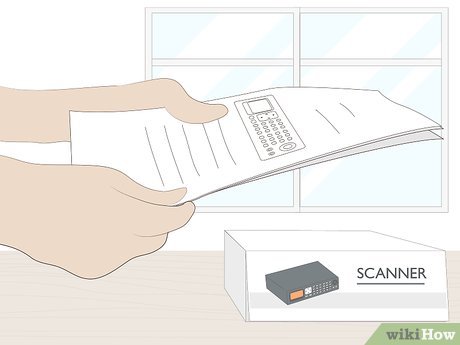 1Read the manufacturer’s information. When you purchase a scanner at an electronics or hobby store, it should come with a brochure that will provide the details for its particular make and model.Each scanner make and model is set up a bit differently, so it’s a good idea to follow individual directions.
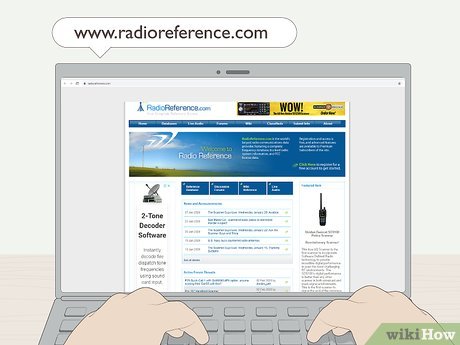
2Find frequencies. Various regional agencies use different frequencies or “channels” for communication purposes, and you can find the frequencies for the agencies you would like to follow in your area.A frequency is the number you will need to program in your scanner to listen to the specific service provider you would like to hear. Since scanners work by radio waves, you can only receive signals from local frequencies, just as you can only listen to local radio stations that broadcast in your area.To find local frequencies, search online for the information, or inquire at the retailer where you purchased your scanner.You can also try www.radioreference.com, which is searchable by city. Once you’ve located your city, you can choose frequencies that you are interesting in receiving, which can include businesses, airports/aviation, utilities companies, news media, schools, and many other types of agencies.[1]XResearch sourceIf you’re interested in national frequencies, check out www.dxing.com/scanfreq.htm, where you’ll find a list of frequencies like the National Guard and the National Weather Service.As you find frequencies you want to program into your scanner, write their reference numbers in a list. You’ll need the list to be easily accessible as you program the scanner, so place the list where you can see it.Advertisement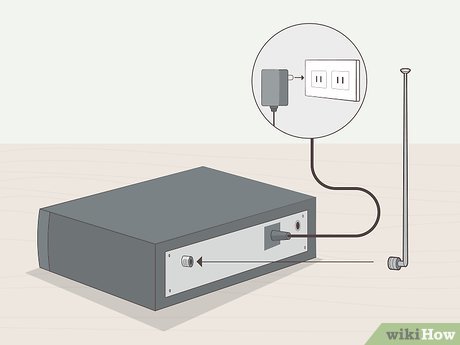
3Connect the antenna and plug in the scanner. You can go ahead and turn it on now to make sure that its working with no problems.Because you have not yet programmed any local frequencies, don’t be surprised if you only hear white noise. This is totally normal.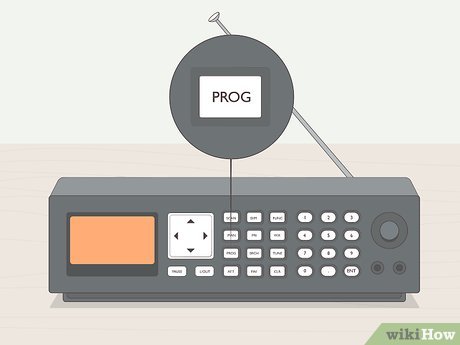
4Locate the programming button. Depending on your scanner model, it might be labeled “Prog” or “PGM.”This button may be located in a variety of places on different scanner models. Ask your retailer to show you the location if it is difficult to find, or look at your user manual.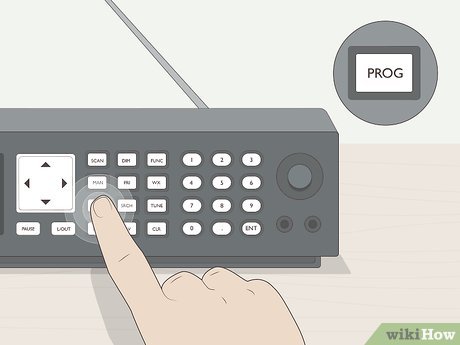
5Press the programming button. You may need to hold down the button briefly to activate the programming function.Look at the top of the screen. On most models, you will see “CH” flashing on the display, to indicate it is ready to program a channel.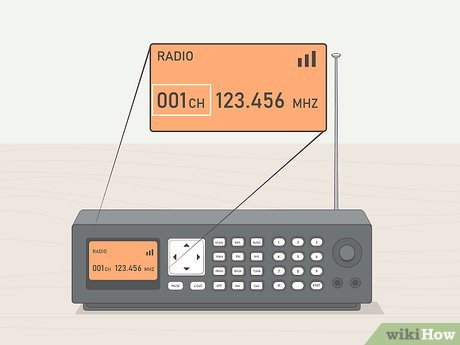
6Insert the channel number. A channel is where you store your frequencies in order to easily access them when you need them. Think of it like the preset buttons on your car radio.[2]XResearch sourceThe channel number is a 3-digit number used to store your frequencies.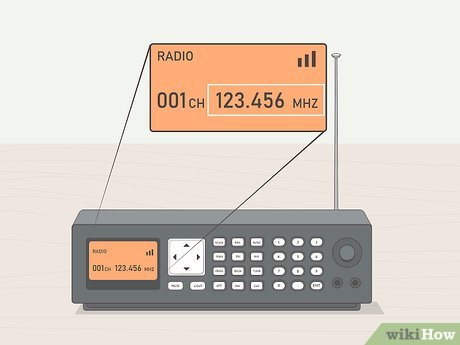
7Enter one of your frequency numbers. You should do this directly after you have entered your channel number, as this will locate that particular frequency within that particular channel.The frequency number is usually five or six digits long and contains a decimal point. Use the numeric keypad to enter the digits. For example, if your number is 123.456, you will press the keys in that order: 1-2-3-decimal-4-5-6.You can organize the channels and their frequencies as you like, but one method is to use a particular channel for emergency agencies like police, fire, etc.; another channel for local news media; another channel for utilities companies; etc. Keep a running list of where you put everything to make it easier to find later.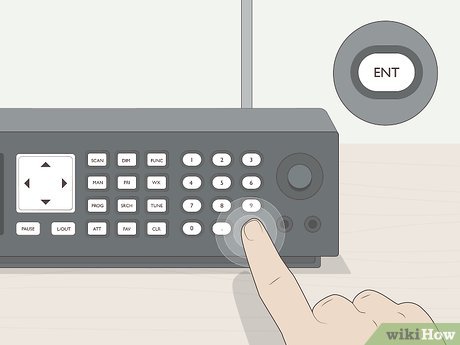
8Press “Enter.” You should do this directly after you have entered the channel followed by the frequency.Now the frequency you entered is in that channel.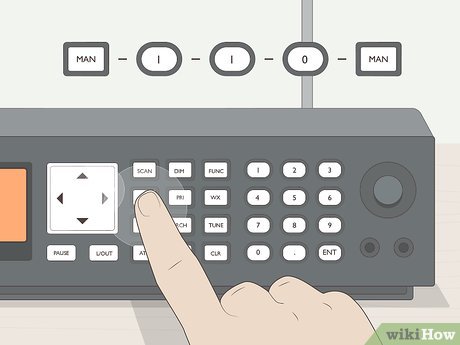
9Verify the process was successful by going to another frequency and enter “MAN, 110, MAN.”After entering the MAN, 110, MAN sequence, your channel and frequency should appear.Re-program the scanner if the test was unsuccessful by using the same process.Repeat the process with all frequencies you would like programmed in your scanner until you have the frequencies organized among the channels to your liking.When you are finished programming the scanner, hit your programming button (“Prog” or “PGM”) again to exit programming mode.AdvertisementPart 2Part 2 of 3:Programming a Handheld Model
1Charge the battery. Because a handheld model relies on batter power, you will need to fully charge it before you begin the process of programming in frequencies.You will also need to connect the antenna.Use the time while the scanner is charging to locate and write your list of frequencies, as you would if you were programming a base model.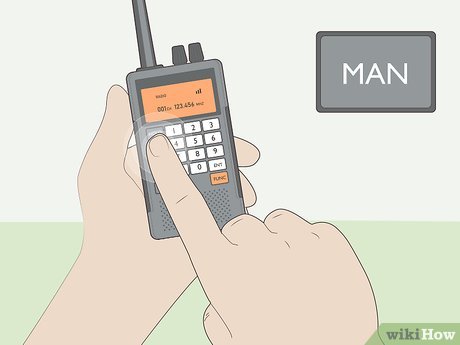
2Put the scanner in manual programming mode. Press the button that is labeled “Manual” to manually enter frequencies.After you hit “Manual,” enter the channel number you wish to use, followed by “Manual” again.Alternately, if you do not have a list of frequencies or just want to explore a bit, you can hit the “SCAN” button and the scanner will scan available frequencies.
3Enter your frequencies. Just as with a base model, you will enter the digits you wish to use within the channel you are working in.The frequency number is five or six digits and contains a decimal point. Use the numeric keypad to enter the digits. For example, if your number is 123.456, you will press the keys in that order: 1-2-3-decimal-4-5-6.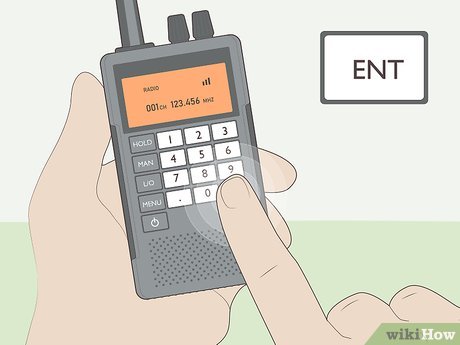
4Enter the frequency. To store the frequency, you press “E” or “Enter” after you are done entering the digits of the frequency.When the display flashes, you will know you’ve successfully stored that frequency.If the scanner does not flash but instead beeps, it means you’ve already entered that frequency elsewhere (either in the same or a different channel). You can hit “Enter” again to go ahead and store it a second time.AdvertisementPart 3Part 3 of 3:Choosing a Police Scanner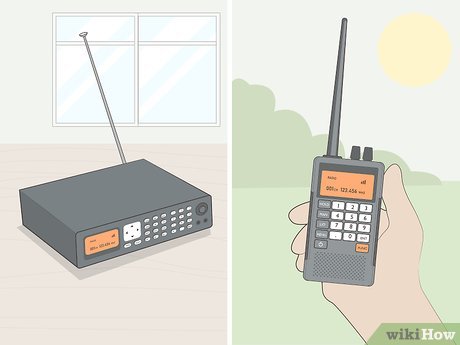
1Choose a tabletop or handheld. Depending on how you plan to use it, one or the other is likely a better fit for your needs.You might prefer something that is portable like a walkie-talkie if you plan to use it at work, in the car, or away from a particular room or location.On the other hand, a tabletop model tends to have a higher quality, does not require batteries or charging, and can often hold more channels.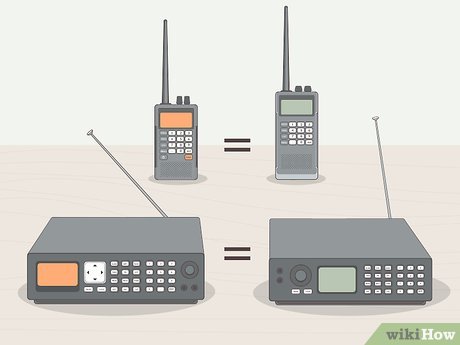
2Know that most scanner models are similar. There are more and less expensive ones, but the difference is not in quality of sound but rather in the amount of frequencies you are able to program.If you are a beginning hobbyist, you probably don’t need hundreds of channel, but even the basic models usually have at least 200. But if you want to upgrade to a better model, a more expensive type is likely to hold more channels and frequencies.[3]XResearch source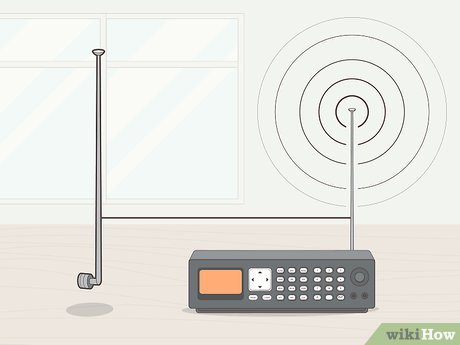
3Know that the antenna matters as much as the model. Actually, it matters more. The size and placement of your antenna will determine the range of frequencies and their clarity.To upgrade an existing scanner, consider purchasing a longer or larger antenna or placing it higher. This can help you receive a clearer signal.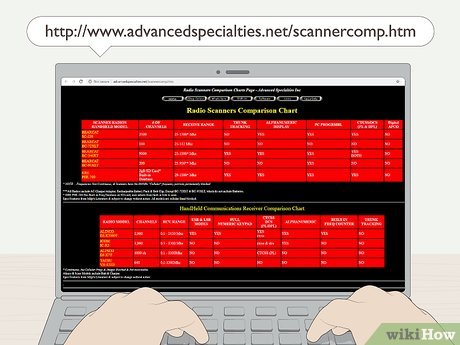
4Let the hobbyists do the work for you. There are many websites online where you can check out purchasing guides based on the specifications of various scanner manufacturers and models, so take advantage of these great resources as you make your selection:Check out www.advancedspecialties.net/scannercomp.htm, which has charts that compare the most popular manufacturers.For even more detailed charts, check out www.wiki.radioreference.com/index.php/Digital_Scanner_Comparison_Chart.Advertisement


