
Making a meal plan for your family can help cut costs on food, as well as make sure everyone is happy with what they are eating. This article will help you plan a meal for your family using Microsoft Office Excel. Exact button layout may differ depending on your version of Excel, but the steps are similar in any edition of the program.
StepsPart 1Part 1 of 2:Making the Plan
1Open Microsoft Excel. The icon is green.

2Plan. Decide how you want to categorize the chart. This depends on how many meals there are and how much time you want the plan to cover.For this demonstration, we will create a three day plan for a family that eats together for breakfast, lunch, and dinner.
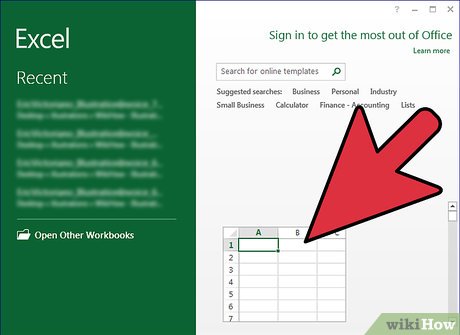
3Select a blank WorkBook. If you are using Microsoft Office Excel 2013, the start page will ask you if you want to create a blank WorkBook or use a template.
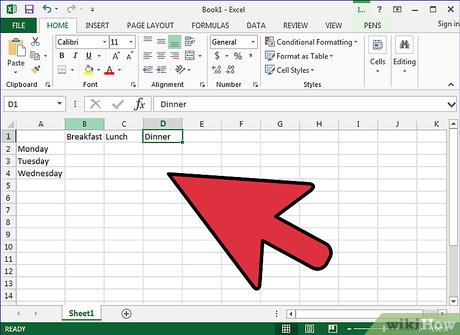
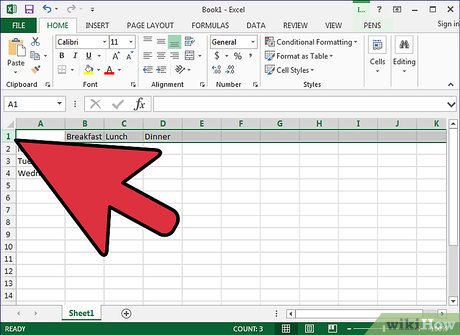
4Label. Across the top of the chart, label the meals. Down the sides, label the days that you will be doing the plan.
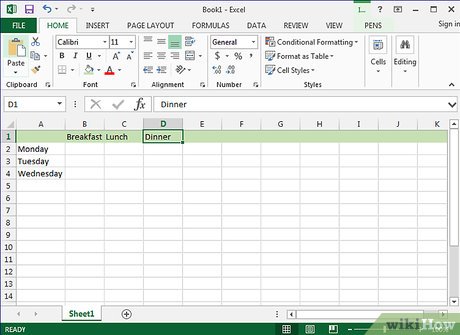
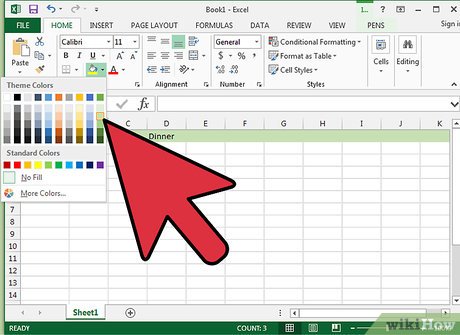
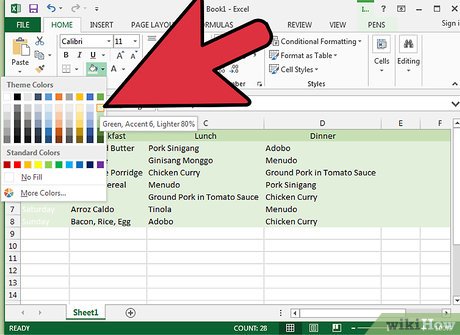
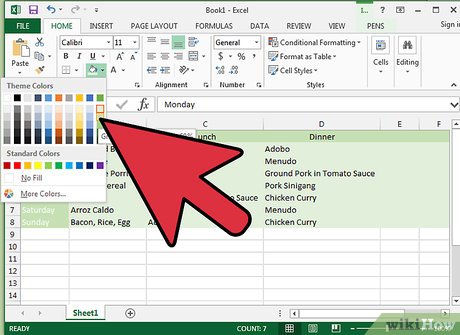
5Color in columns and rows, if desired. It may help you to color in the parts of the chart that are headings so that it doesn’t get confusing and cluttered.Select a column or row by clicking the letter or number that it corresponds with.
Click the paint can near the top of the screen. It is under the font selector.

The default color is yellow, but you can change it by clicking the downwards triangle to the right of the paint can.
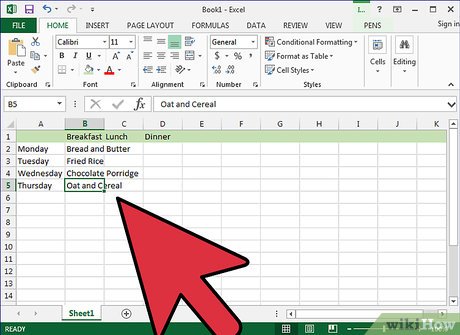
6Decide what you are going to eat. A good way to do this is to have a family meeting. Make sure you have your chart up and type down what you decide on. To fill in the chart, click the cell that corresponds with the meal and day you have chosen and type.Be as brief or as detailed as suits your needs. You can use a basic label like “stew” or go into detail on ingredients and side dishes. You can even find recipes online and copy the links to them into the chart, if desired.
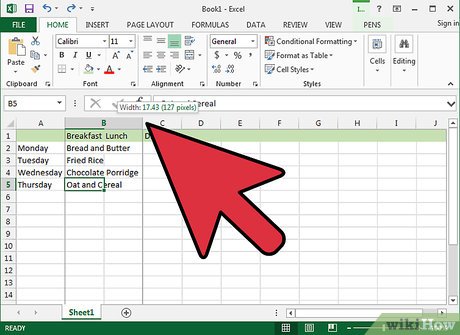
7Expand the Cell Width in case the text are too long to display. Drag the line between the cells to adjust its width.
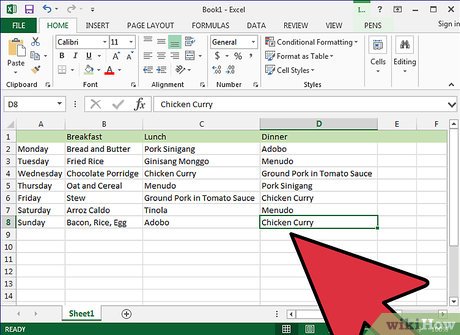
8Complete the meal plan. Input the days from Monday to Sunday and put the desired meal according to your preferences.Part 2Part 2 of 2:Customizing Your Design![]()
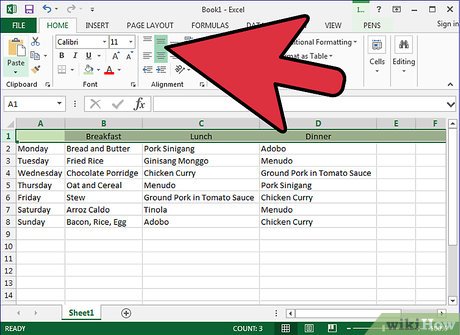
1Align the header in center to make it more visible by highlighting the top row then click the “Align to Center” button in the toolbar.
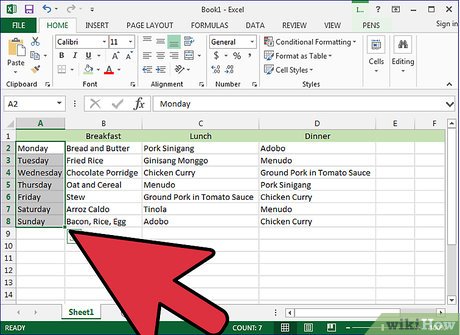
2Select the cell with the name of days from Monday to Sunday.
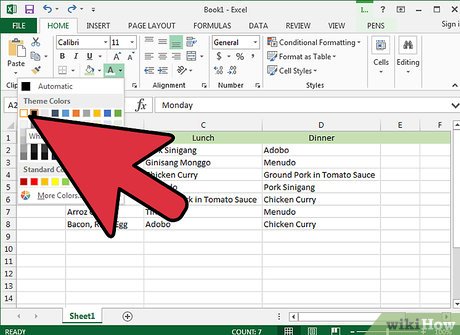
3Change its font color. Click on the button beside the Fill Color button and change it into what ever color your want.
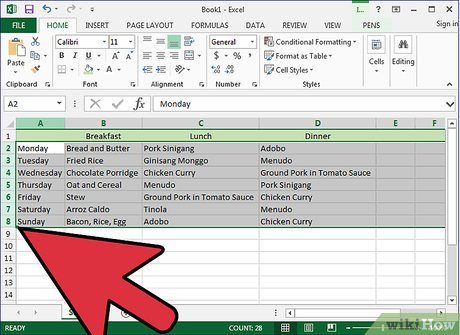
4Select the rows of the day. Select Rows 2 to 8
5Change the background color. Click on the Fill Color button and change it into any color your want.
6Select again the cell with the name of days from Monday to Sunday and change its color same as the color of the header column.
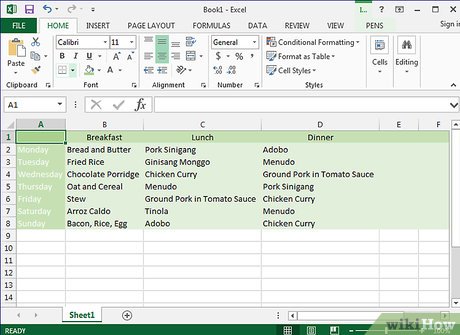
7Make the table more presentable. You can add grid lines or any other color depends on what you want.

8Change the plan as needed. You may want to change the plan from week to week, or even during the week to use up leftover ingredients, accommodate a change in daily routine/schedule, or adjust based on preferences or cravings. When this happens, make sure you plan ahead of time, but don’t be afraid to be flexible. A meal plan shouldn’t lock your family into a pattern that’s set in stone.


