
Raking Manilla clams or “steamer” clams can be a fun activity to partake in while camping or visiting the coast. Sure, you can just buy some at any seafood restaurant, but chances are you’re going to pay way too much for them. By raking them yourself, you get to experience harvesting your clams from start to finish, making them just that more satisfying. Raking Manilla clams isn’t as easy as going to the beach to pick up seashells, however. With these instructions you will be able to follow all regulations and be able to harvest and consume your raked clam prize.
StepsPart 1Part 1 of 3:Comply with Regulations: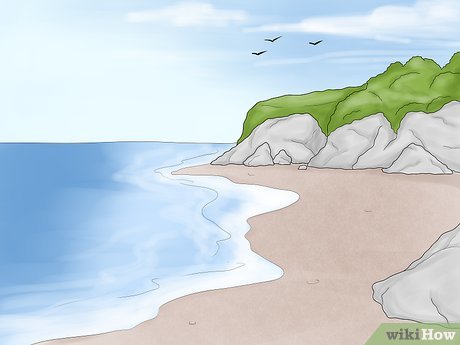
1Find an open beach. Before you can begin to rake, you will need to find a beach in your area that is open for the harvest of clams. In Washington State, the Department of Fish and Wildlife can directs you to any open beaches in your area and tells you of any regulations on those beaches at this website: https://wdfw.wa.gov/places-to-go/shellfish-beaches.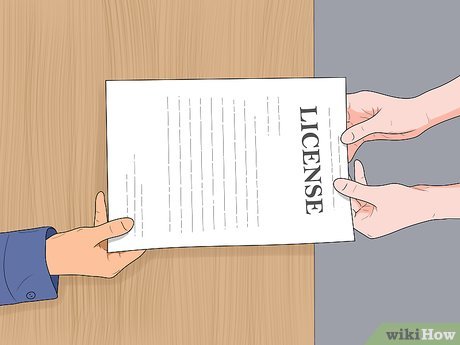
2Get a shellfish license. Before you can head to your selected beach, you need to be sure you have purchased your shellfish license. Rules will vary by jurisdiction. In Washington state, everyone over the age of 15 who will be raking the clams is required to have a license
3Collect necessary gear. To harvest the clams comfortably you will need a pair of hip boots or waders, a rake, a bucket, a fine mesh bag, gloves, and a bucket.Part 2Part 2 of 3:Start your Dig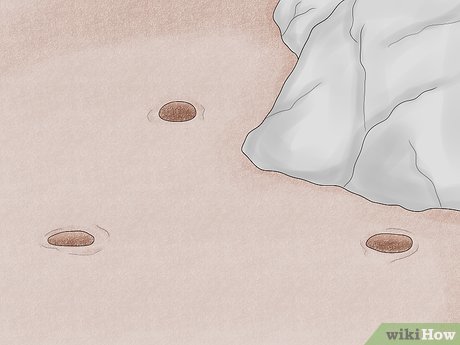
1Look for holes that will lead to the clams. The holes can be hard to spot, especially if your beach is more gravely or rocky. You will look for an area of holes in the ground, the denser the better.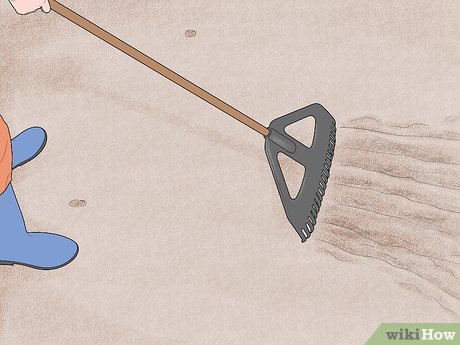
2Once you have spotted some clam holes, carefully kneel with your rake and insert the rake around 4 inches deep and carefully pull the sandy soil over, revealing any clams. Be sure to be cautious while inserting your rake, for you don’t want to break any shells by accident.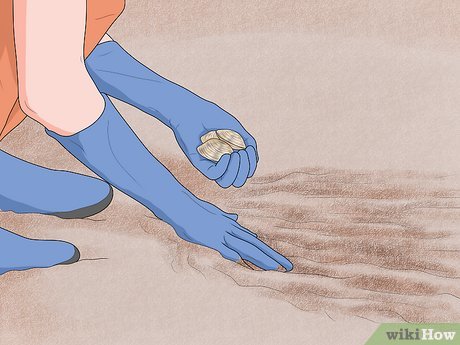
3Start gathering all the clams you can see, then using your fingers feel around in the upturned soil for any more clams that are hidden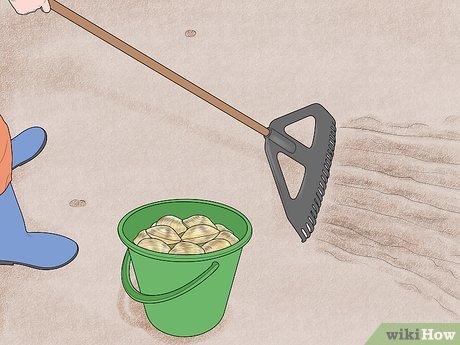
4Keep raking clams and putting them in your bucket until you have reached your limit provided by Washington Department of Fish and Wildlife.Part 3Part 3 of 3:Clean and Prepare your Clams for Eating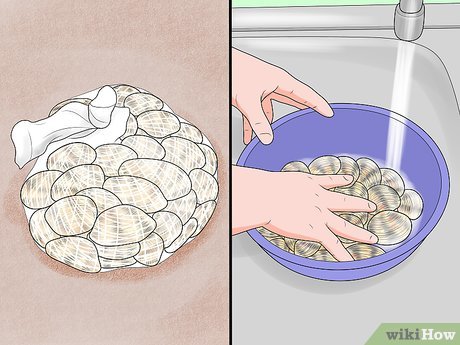
1Once you have your limit of clams in your bucket, dump them into your mesh bag and take them to the water to wash.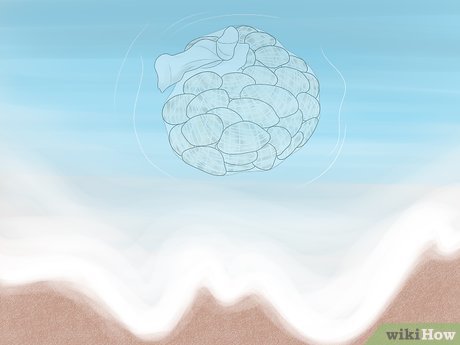
2Once you have thoroughly rinsed your clams, it is best to find a pool of water that you can put your clams in that will stay submerged at low tide. By leaving your clams in this pool of water for a day, it will allow the clams to pump out any mud or grit they have in their system, making them much more enjoyable to consume.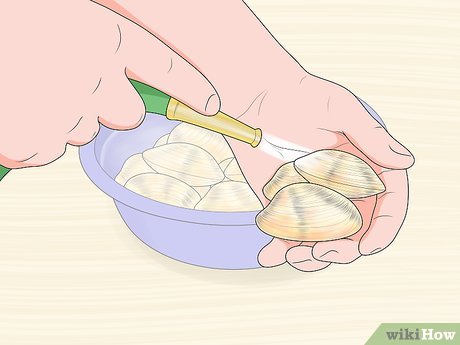
3After leaving your clams to pump out, your next step is to thoroughly wash them. It is easiest to use a garden hose and carefully clean and check that each clam is alive. You don’t want to accidentally keep a dead clam! All the clams will have a very tight seal so that you can not open them.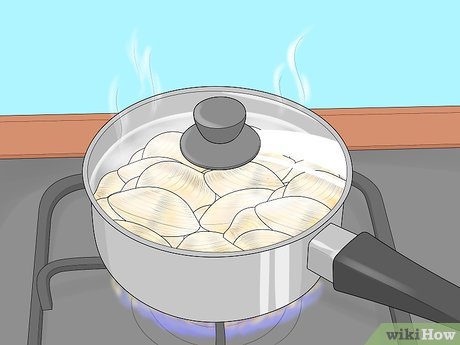
4Once your clams are clean and healthy, they are ready to be consumed! The easiest way to cook Manilla clams is to steam them, hence their alias “steamer” clams. You can put your clams in a large pot with a little but of water on the bottom, put the lid on and heat them up! You’ll know when they’re done when the shells pop open revealing the tasty clams. They are best served in their shell with a little bit of garlic butter.


