
Malting is the process of partially germinating and then drying grain to preserve its enzymes. To malt your own corn, you’ll need to first steep and germinate the kernels, and then dry, kiln, and clean them. By using the right tools and sticking to a schedule, you can turn corn into malt to use for things like baking and brewing.
StepsPart 1Part 1 of 4:Steeping the Corn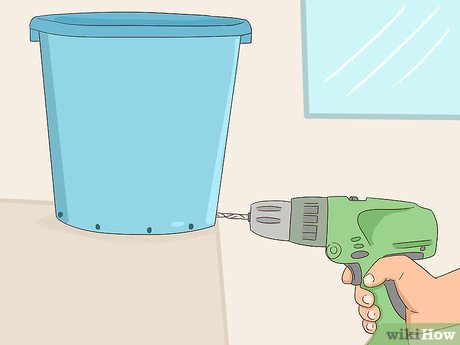
1Use a drill to drill holes in the bottom of a five gallon (20 liter) bucket. Make sure each hole is smaller than the size of a corn kernel.X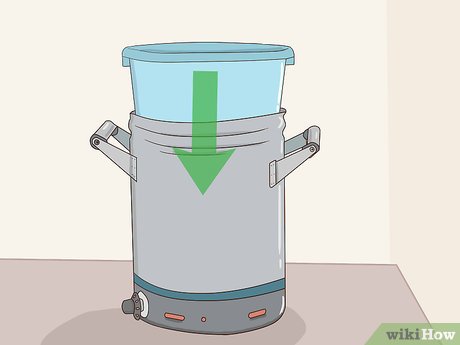
2Place the bucket in an urn of the same size. Remove the lid of the urn so you can set the bucket inside. It’s OK if part of the bucket is sticking up out of the top of the urn.X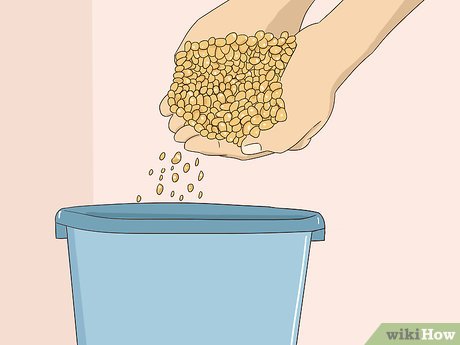
3Fill the bucket with about four pounds (1.8 kilograms) of corn. The corn kernels shouldn’t reach the top of the bucket as they will expand during the steeping process.X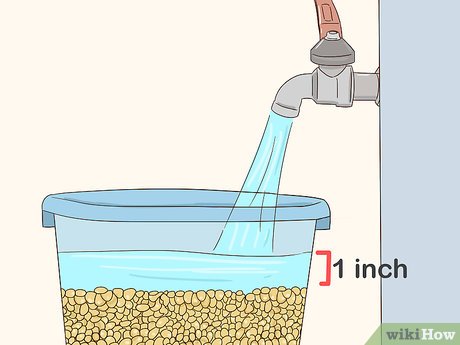
4Pour water into the bucket until the water is one inch higher than the corn. You want the extra inch of water because a lot of the water will be absorbed into the corn during the steeping process.X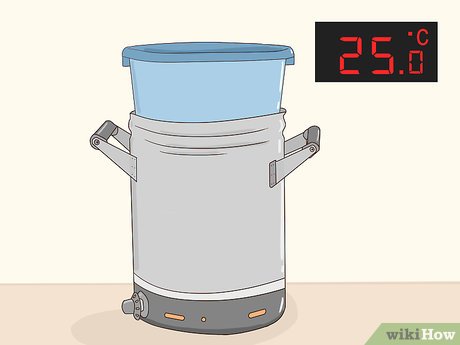
5Set the urn thermostat to 77 degrees Fahrenheit (25 degrees Celsius). You want the water to remain this temperature during the entire steeping process.X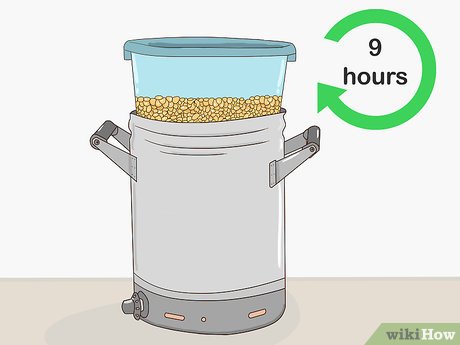
6Let the corn steep in the water for nine hours. Check back after nine hours and lift the bucket of corn out of the urn. Let the water in the bucket drain into the urn through the drilled holes.X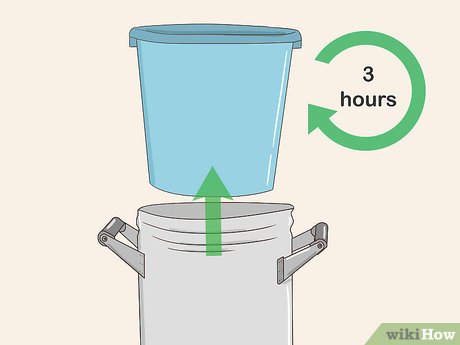
7Let the bucket of corn rest on an elevated surface for three hours. The rest period, called an “air rest,” will help get rid of CO2 and encourage the corn to take up more water during the steeping process. When it’s finished resting, place it back in the urn so it fills up with water.X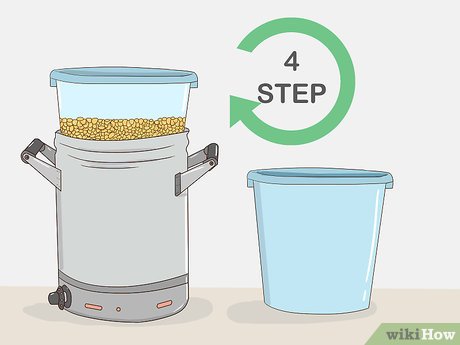
8Alternate between steeping and resting the corn. Your steeping schedule should look like:First steeping: nine hours.First air rest: three hours.Second steeping: nine hours.Second air rest: three hours.Third steeping: nine hours.Third air rest: three hours.Fourth steeping: nine hours.Part 2Part 2 of 4:Germinating the Corn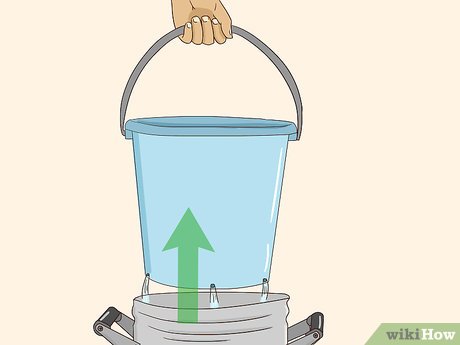
1Remove the bucket of corn from the urn. Let the water drain back into the urn so only the corn is left in the bucket.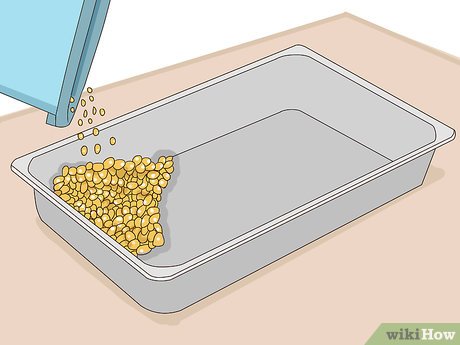
2Pour the corn into an eight gallon (30 liter) tray. You can make the tray yourself out of wood or buy an aluminum tray at the store. Make sure the sides of the tray are tall enough to keep in all of the corn.X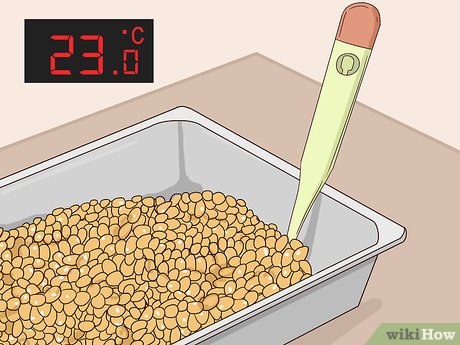
3Place a thermometer in the tray to monitor the temperature. You want the temperature to be between 72 and 82 degrees Fahrenheit (22 and 28 degrees Celsius) while the corn is germinating.XIf the thermometer reads too high of a temperature, move the tray to a darker, cooler place.If the thermometer reads too low of a temperature, place a portable heater or small heat fan that allows you to adjust the temperature near the tray. Check the thermometer regularly to make sure the tray isn’t overheating.X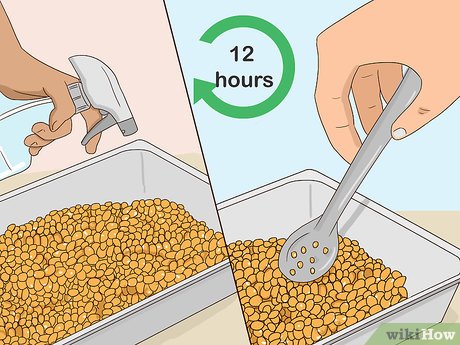
4Rinse and stir the corn every 12 hours while it’s germinating. This will keep the grain moist and prevent heat buildup that naturally occurs during germination.X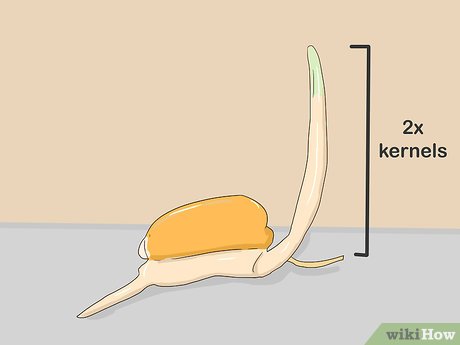
5Let the corn germinate until the shoots are twice as long as the kernels. The shoots are the long, root-looking parts of the corn that emerge during germination.You can start the drying process once 70 to 80 percent of the corn has shoots that are twice the length of the kernels.XPart 3Part 3 of 4:Drying and Kilning the Corn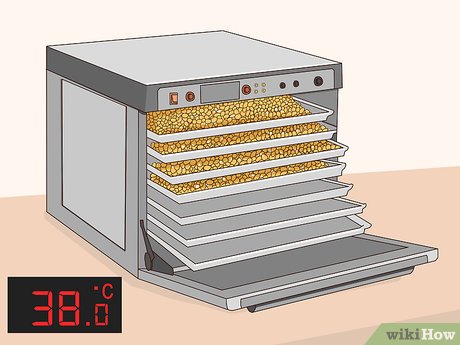
1Dry the corn in a food dehydrator to stop the germination process. Set the food dehydrator to between 100 and 125 degrees Fahrenheit (38 to 52 degrees Celsius) and leave the corn inside to dry.X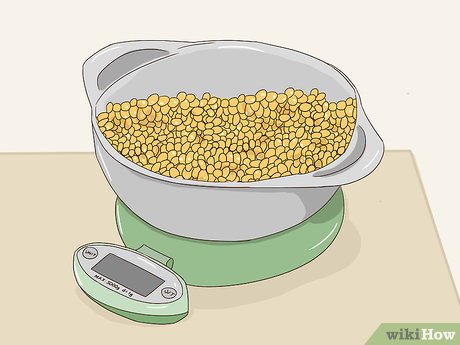
2Weigh the corn after several hours to check the moisture content. You want the corn to be at 10 percent moisture before you increase the temperature in the food dehydrator. You’ll know the corn is at ten percent moisture when it weighs .5 ounces (14.2 grams) less per pound (.45 kilograms) than it did before you started the malting process.X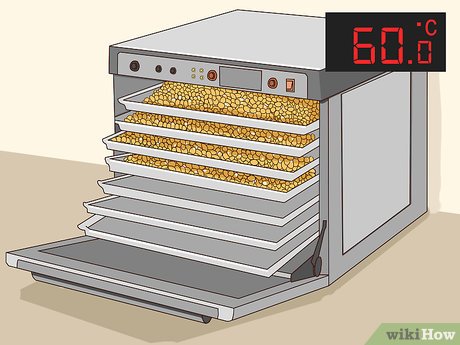
3Increase the temperature when the corn is at ten percent moisture. Raise it to between 140 and 160 degrees Fahrenheit (60 to 71 degrees Celsius). The corn will be finished drying when it’s between three and six percent moisture content, or when it’s lost three ounces (85 grams) per pound (.45 kilograms) of its original weight. The entire drying and process can take between six to eight hours.X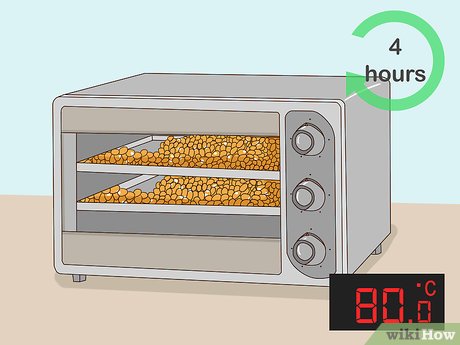
4Transfer the corn to a baking sheet and put it in the oven for four hours. Set the oven between 176 and 185 degrees Fahrenheit (80 to 85 degrees Celsius). After four hours, the corn will be finished kilning and malting.XPart 4Part 4 of 4:Cleaning the Malt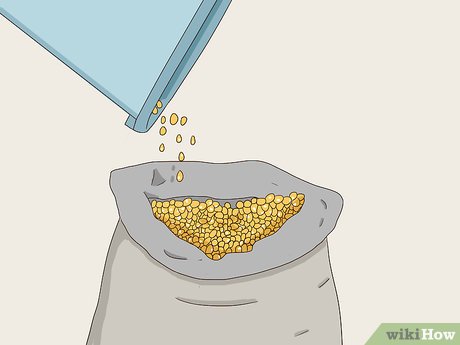
1Pour the dried malt into a pillowcase. Tie the pillowcase shut so none of the malt can escape.X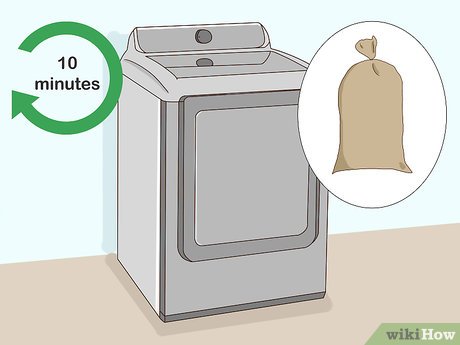
2Put the pillowcase in the dryer for ten minutes. Run the dryer on the coolest setting so you don’t heat up the malt. Tumbling the malt will help remove the bitter-tasting roots and shoots of the corn.X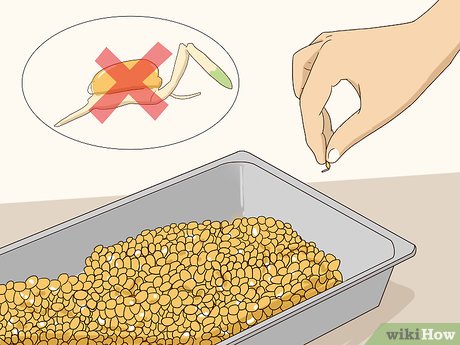
3Separate the malt from the broken off roots and shoots. You can do this by hand, or you can use a sieve to separate them more easily. The malt will look like small, dried-up corn kernels.X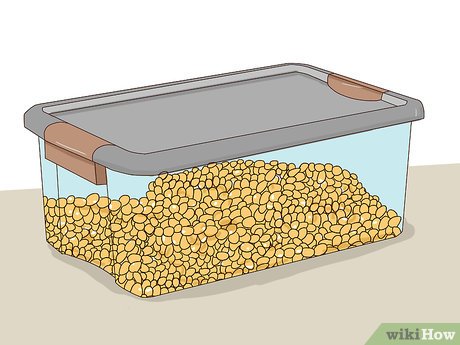
4Store your malt in a plastic container with an airtight lid. This will prevent oxygen and moisture from damaging the malt over time. Properly stored malt is good for up to a year.XDid you make this recipe?Leave a review


