Edible arrangements are a delicious, unique, and beautiful way to wish somebody a happy birthday or say thank you. They are also perfect for anniversary presents, and make a romantic gift for Valentine’s Day. Store-bought arrangements are expensive, so why not save money and make your gift more personal by making it yourself! Typically, edible arrangements are made with fruit, but there are also fun and creative vegetable arrangements you can make, as well as beautiful bouquets of edible flowers.
StepsMethod 1Method 1 of 3:Making a Fruit Arrangement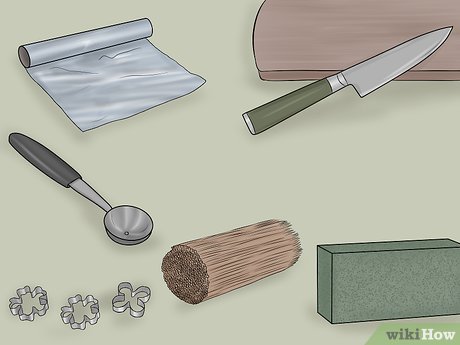
1Get your supplies. Along with the fruit you’re going to need, you will also need something to hold your fruit arrangement. You can use a carved out watermelon or pumpkin, a flower vase, a planter, or a bowl. Choose a holder that’s appropriate to the size and shape you want your arrangement to be. Other supplies you’ll need include:A good sharp knife and cutting boardFloral foam (alternatively, use a head of cabbage or lettuce)Bamboo skewers and toothpicksFlower-shaped metal cookie cuttersAluminum foil and plastic wrapA melon baller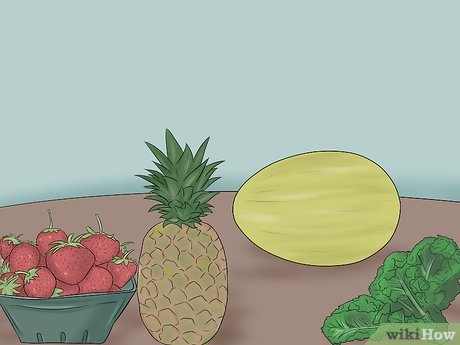
2Choose your fruit. Most fruit is suitable for an edible arrangement, but there are common ingredients that get used because of their color variety, size, and texture. Of the common fruits that are used, you can make a basic arrangement with one:PineappleCantaloupe and one honeydewQuart of strawberriesPint each of blueberries and blackberriesBag seedless grapesBunch of kale or another large, leafy green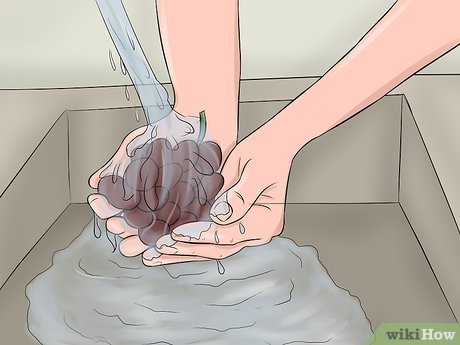
3Wash and dry your berries, grapes, and kale. Leave the leaves on the strawberries for additional color. Remove stems from other fruit, such as grapes. Cut the excess stems off the kale. Set it all aside.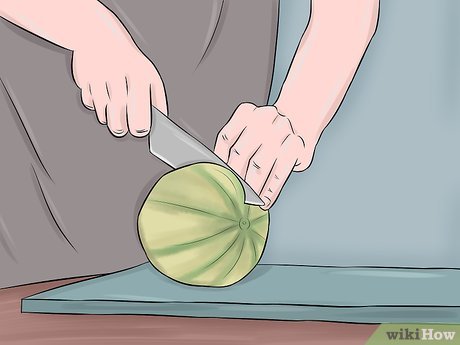
4Cut the melons in half. Scoop out the seeds. Clean out the two halves of the cantaloupe by scooping out spheres with the melon baller. Set the melon spheres aside with the berries.Peel the honeydew. Place the melon halves flat-side down on a flat surface. Follow the rounded contour of the melons with a knife to remove the rind.XCut each melon half into crescent-shaped wedges that are about an inch thick on the bottom. Cut the wedges in half widthwise. These will be used as flower leaves.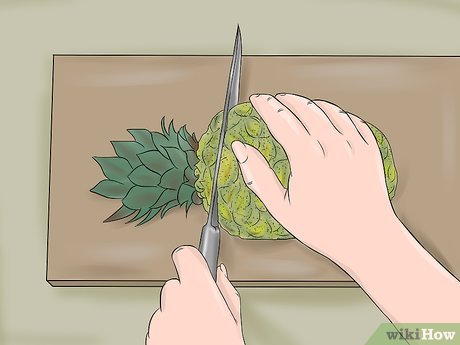
5Prepare the pineapple. Cut off the top and set it aside with the melon balls and berries. Cut off the bottom inch and discard. Without peeling it, slice the remaining pineapple into rounds that are half an inch to three-quarters of an inch thick. Use the cookie cutters to press out the center of each pineapple slice into flower shapes.You can use different sizes and shapes, or you can make each flower-shaped pineapple piece the same.You can also use other shapes for the pineapples, such as hearts (great for Valentine’s Day) stars, or even holiday-themed shapes.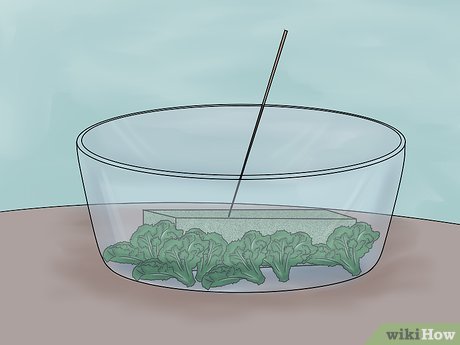
6Prepare your bowl. Fill the bowl with floral foam. Cut the foam to fit if necessary. Cover the foam in a layer of foil, tucking the foil inside the bowl to cover the sides of the foam. This will prevent pieces of foam from getting on the fruit.X Then, lay some kale over top to cover the foil. Position the kale so the leaves spill out over the sides of the bowl.A head of cabbage will also work as a base into which you can place your fruit skewers. Put it in your bowl and cut it to size if necessary. Lay kale over it and position the leaves to overhang the top of the bowl.The overhanging kale will create a nice green base for the arrangement, and make it look a little more like a traditional flower arrangement.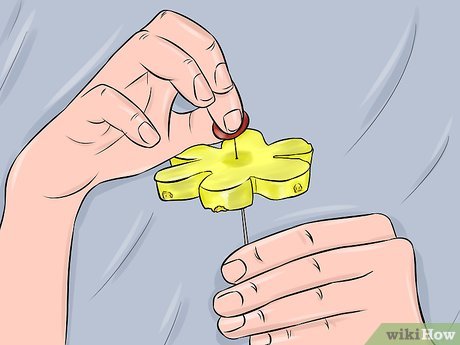
7Assemble the pineapple flower heads. Cut your toothpicks in half. Use the toothpick halves to fasten a melon sphere, grape, blackberry, or blueberry to the center of each pineapple flower.X Make sure the toothpick doesn’t stick out the top of the melon or the back of the pineapple.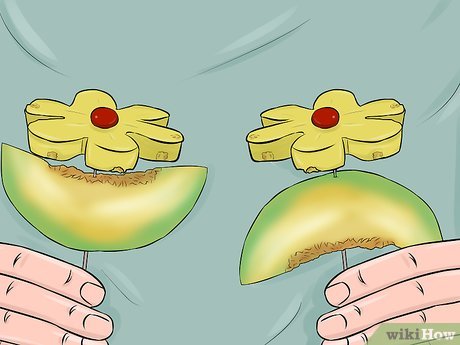
8Create the pineapple flowers. For each flower, you will need two honeydew half-crescents and one pineapple flower head. Skewer a melon wedge so it sticks out perpendicular to the skewer with the crescent facing the ceiling. Skewer the second wedge in the same fashion but on the other side, and with the crescent facing the floor.Insert the top of the skewer through the bottom of the pineapple flower and insert it about halfway into the pineapple flower. Make sure the flower is vertical, with the flower head facing outward, not the ceiling.Position the two melon wedges so they are about an inch below the bottom of the pineapple, like leaves on a flower stem.Repeat until all the pineapple flowers have been put on stems and given melon leaves.Use mini marshmallows or gumdrops to secure the flowers in place if they won’t stay positioned on the skewers.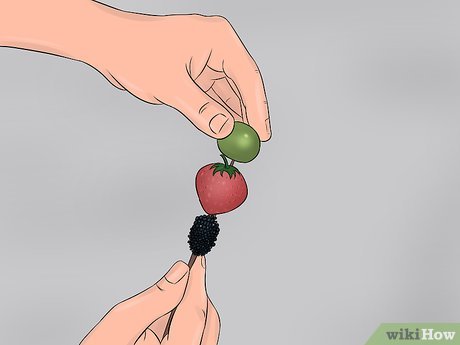
9Skewer the remaining fruit. Fill each skewer about halfway down with assorted fruit: blueberries, blackberries, grapes, and melon balls. Top each one with a strawberry, with the pointed end facing up (skewer the stem end first).Make sure the skewer doesn’t stick out the top of the strawberry.If you run out of strawberries, top the remaining skewers with a melon ball, honeydew crescent, or blackberry.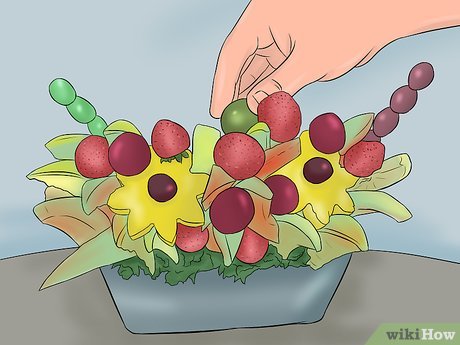
10Assemble the arrangement. Start by arranging the pineapple flowers. Spread them out evenly around the arrangement, securing them in place by sticking them into the foam. Cut the skewers to different lengths to create depth. X When you have the flowers in place, fill in the holes with the remaining fruit skewers. Again, cut the skewers to different lengths and place them evenly around the arrangement.XYou can also use the pineapple top as the center of the arrangement, and arrange the flowers and skewers around it.Fill in any open areas at the bottom with kale.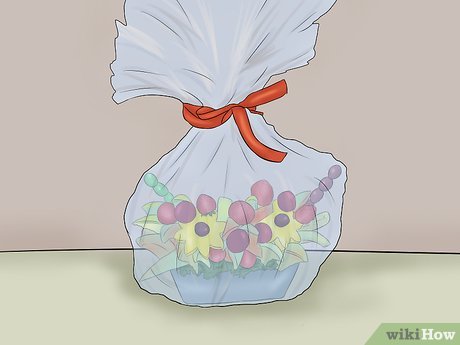
11Wrap the arrangement in plastic. Store in the fridge until you need it. To guarantee freshness and the brightest colors, make your arrangement the day you need it.Method 2Method 2 of 3:Making a Vegetable Tree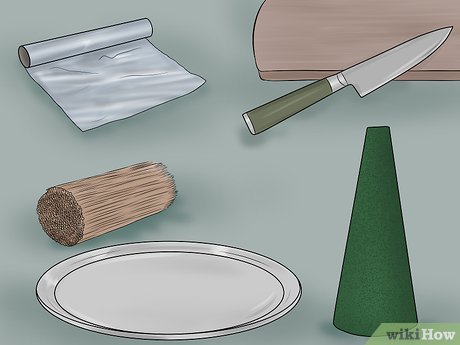
1Gather your supplies. Along with your vegetables, you will also need a knife and cutting board, toothpicks, a serving platter, a large floral foam cone, and aluminum foil.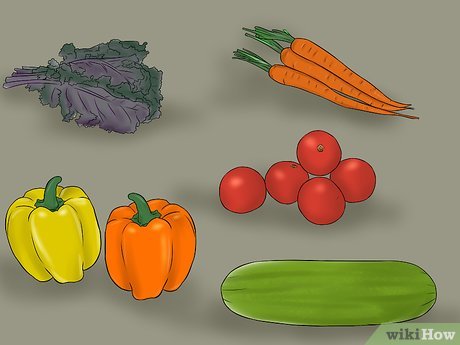
2Select your vegetables. You can use most vegetables to make a vegetable tree, but broccoli and cauliflower work well to create the bulk of the tree. You can experiment with other vegetables, but a good start will include:A bunch of red kaleThree or four carrotsA pint of cherry tomatoesOne yellow and one orange pepperOne cucumber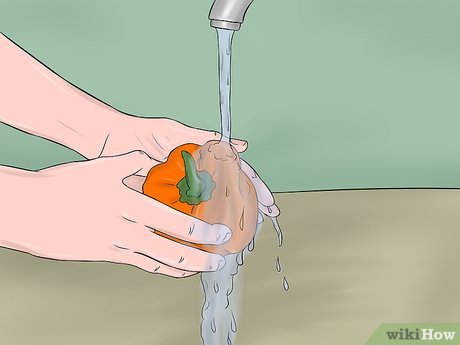
3Prepare the vegetables. Wash and dry all the vegetables. Remove stems and seeds from the kale, peppers, and carrots. Peel the carrots as well.Cut the carrots and cucumber into two-inch long chunks, and cut each chunk lengthwise into quarters.Cut the peppers into very thin strips.Remove the stalks from the broccoli and cauliflower and cut them into bite-sized florets.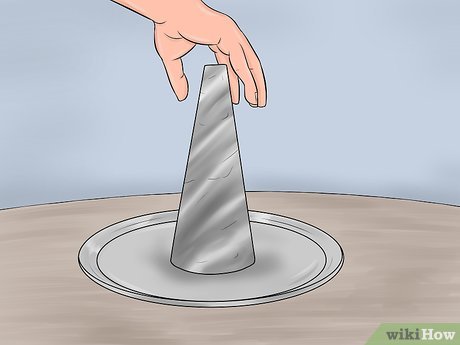
4Ready the foam tree. Cover the cone with aluminum foil. Place it in the center of the serving platter. Surround the tree base with kale.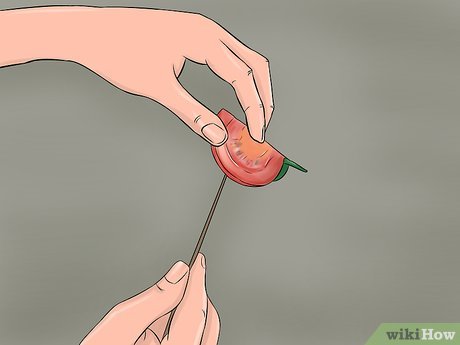
5Skewer the vegetables with toothpicks. Insert the toothpicks into the remaining stalks on the broccoli and cauliflower florets and into the bottom of the cucumber and carrot sticks. Skewer the tomatoes.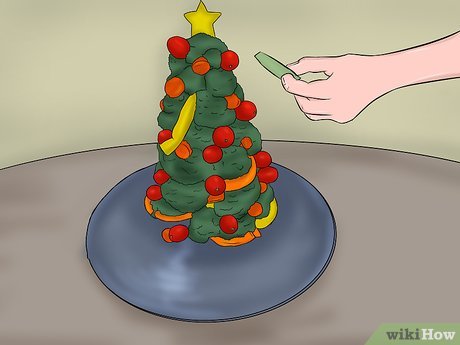
6Assemble the tree. Starting at the bottom, stick the other end of the toothpicks into the cone and create a circle of alternating cauliflower and broccoli florets around the base of the cone. Try not to leave any open spaces.Directly above that row, insert a row of vegetables, alternating between carrots stick, cucumber sticks, and tomatoes. Continue up the tree, alternating between rows of broccoli/cauliflower and other vegetables, until you have covered the entire cone, including the tip.Overlap the vegetables as much as possible so there are no open spaces.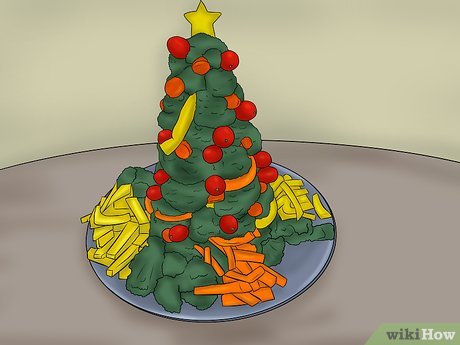
7Decorate the tree with pepper slices. Use the natural curve of the pepper slices to stick them into the spaces between the other vegetables and string the slices around the entire tree like ribbon.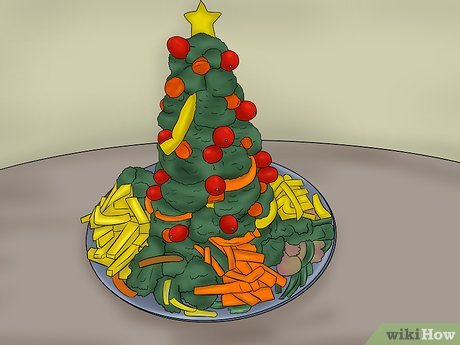
8Arrange remaining vegetables on the kale. If you have any vegetable pieces left over, remove the toothpicks and arrange them at the base of the tree on the bed of kale. Wrap the tree in plastic and store in the fridge until you are ready to serve or present it.Consider serving the vegetable tree with vegetable dip, hummus, or spinach dip.Method 3Method 3 of 3:Putting Together an Edible Flower Bouquet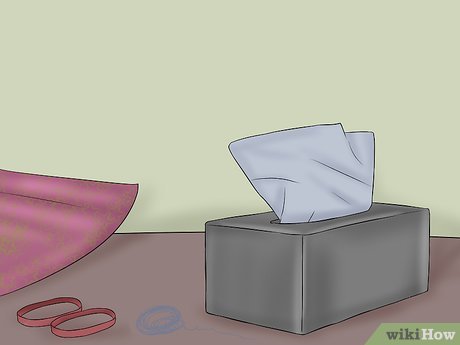
1Gather your equipment. To give the bouquet as a gift, you’ll need tissue paper, clear plastic gift wrapping, an elastic band, and twine. Grab a vase as well that you can use to arrange your bouquet before packaging it.You can also leave the bouquet in the vase if you aren’t giving it as a gift or don’t want to package it.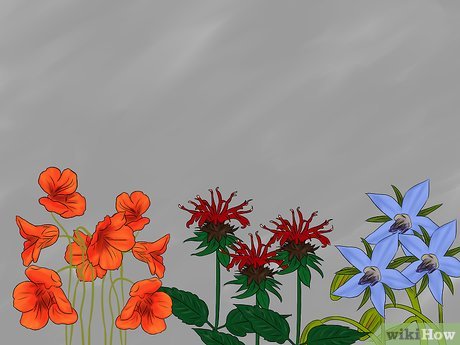
2Choose your edible flowers. While not all flowers are edible, there are many that are, and they are delicious in salads, soups, teas, sorbets, and many other dishes. You can select flowers based on color, look, or just what’s available.Edible blue or purple flowers include: borage, hyssop, chive, violet, lavender, cornflower,X lilac, clover, and dame’s rocket.Edible pink or red flowers include: honey suckle, bee balm, waxed begonias, tuberous begonias, apple blossoms, banana blossoms,X English daisy, and carnations.Edible orange or yellow flowers include: nasturtium, mustard, zucchini and squash blossoms, daylily, calendula, and dandelions.Multicolored flowers or flowers that come in multiple colors include: Johnny jump ups,X roses, and chrysanthemums.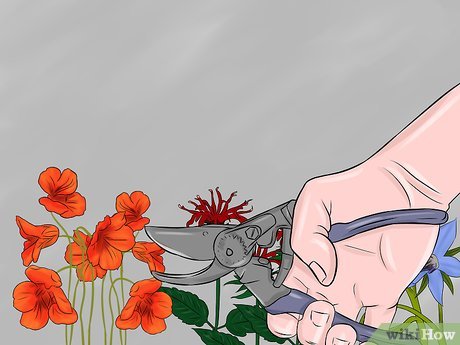
3Arrange the flowers. Leave the stems long, but if you need to trim them down, cut them with garden clippers or a sharp knife.X Start with the largest flowers (all of the same kind), and place them in the vase. Space them around so they’ll be balanced (though not even) throughout the arrangement. Always work with uneven numbers of flowers.XThen select your second largest flowers and space them around in the arrangement as well. Constantly turn the vase around so you can see it from all angles.Fill in empty spaces with bunches of smaller flowers, and add some depth and height by adding tall flowers like lavender.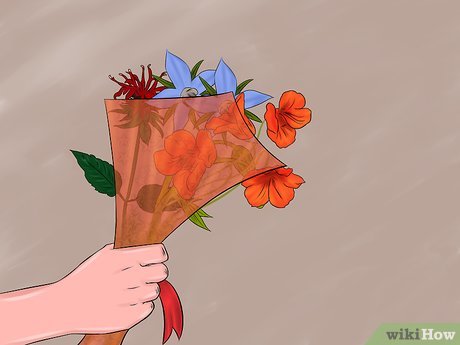
4Wrap the bouquet. When you have finished arranging your bouquet, remove it from the vase, being careful not to let the flowers slip out of place. Hold the bouquet near the top of the stems and place an elastic band around them loosely to keep them in place.Use tissue paper to wrap the stems and surround the flowers. Wrap the paper with clear plastic wrap. Tie the bouquet closed with the twine just below where the flowers meet the stems.


