
If you like to cook, recipes can accumulate and become cluttered in a short time. A great way to organize recipes is to make a decorative scrapbook that you can also use in the kitchen. Spend time gathering your favorite recipes and photos of ingredients or people cooking. Visit a scrapbooking store, a stationery store or a craft store to collect decorations for your scrapbook pages. You can also gather information and photos and make and print a scrapbook using the computer. A recipe book functions as both a personal treasure and a good gift for family and friends. Learn how to make a scrapbook of recipes.
StepsMethod 1Method 1 of 2:Planning a Recipe Scrapbook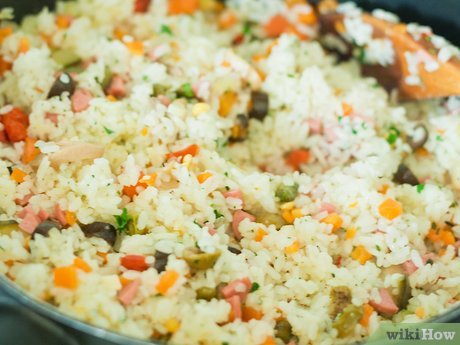
1Choose a theme for your scrapbook. Consider family recipes, Christmas recipes, garden recipes, desserts, soups or another subject. Focusing your scrapbook project will help you to limit the number of recipes you have and make the project more useful in the kitchen.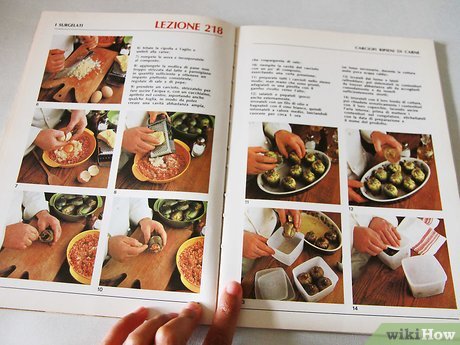
2Gather your recipes. Type them out on a computer in the same format or hand write them onto recipe cards.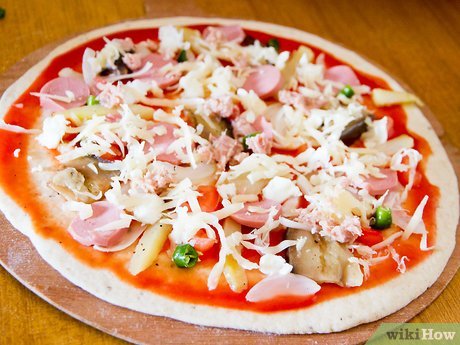
3Gather photographs of the completed recipes, author of the recipes or ingredients that go into the recipes. Photos are a great decoration and they add extra dimension to a photo project. If you are making a family recipe scrapbook, take photos of everyone in your family in the kitchen.
4Decide if you want a digitally made or handmade recipe scrapbook. The following are choices you can make in printing your book:Create an account on Snapfish.com, Shutterfly.com or Blurb.com. Use their software to upload your text and photos. Review your book and then send it to be printed. This is the best decision if you want to make recipe scrapbooks for friends or family. They make excellent gifts for Christmas, weddings and birthdays.Create a bound scrapbook by hand. If you want to create a personalized recipe book, then you can follow the directions on making a recipe scrapbook.Method 2Method 2 of 2:Making a Recipe Scrapbook1Buy a ringed recipe binder or a scrapbook binder that is no bigger than 8.5 by 11 inches (21.6 by 27.9 cm). Choose a book with a binder that can be opened and shut, so that you can add pages.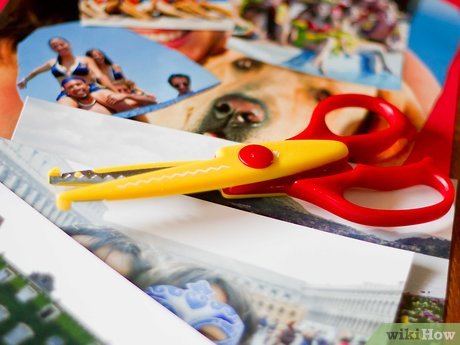
2Buy paper, glassine envelopes, stickers and other scrapbooking materials.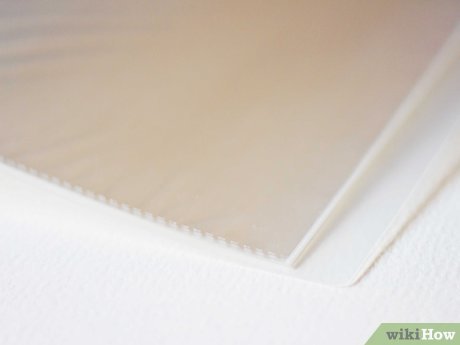
3Find plastic page protectors that are the same size as your pages. Choose protectors that can be clipped into your binder. The plastic covers will protect your recipes when there are spills in the kitchen.
4Begin building your book page by page. Write the recipes and shopping list directly onto the pages or print onto the scrapbook paper using your printer.5Make envelopes for your recipe cards. By cutting slits in the pages and attaching the envelopes to the back of the page, you can hold your cards and take them out when you need them.Place a mat or large straight edge beneath a page. Measure out several horizontal lines that are just slightly wider than your recipe cards. Use a utility knife to cut 1 to 5 slits into each page. Align the slits on the page.Cut as many glassine envelopes as you have recipe cards. Measure them so that they are slightly smaller in height than your cards, approximately 2 inches (5 cm). This way, when the cards are inserted you will still be able to see the title of the recipe. Affix an envelope to the back of each page, just above the slot, with adhesive tape. One horizontal strip of tape on the back of the envelope and just above the slot will work well.Repeat the process on each page that you want to have recipe cards. Check that each card slides into the slot and is easily removable.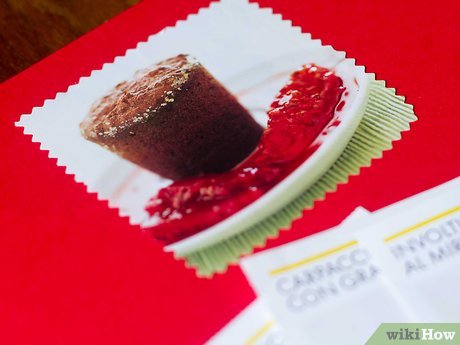
6Add stickers, tags, layered paper and illustrations to each page. Frame photos on paper and glue them onto each page.
7Create divider pages to organize your recipe scrapbook. For example, desserts, appetizers, main courses, soups and salads may all be in different sections. Decorate the divider page with photos and illustrations.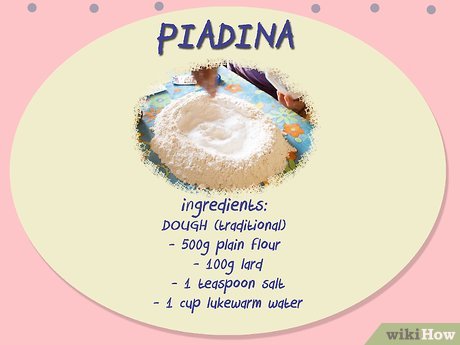
8Stick each page inside a plastic protector. Open the rings on the binder and place the pages in order.


