
This wikiHow teaches you how to use the Apple Pencil on your iPad Pro. The Apple Pencil is only compatible with the iPad Pro line of iPads and is not compatible with iPhones. Once the Apple Pencil is paired, you can draw, markup screenshots, sign documents, as well as take notes directly from the lock screen.
StepsPart 1Part 1 of 4:Pairing to the iPad
1Open Settings 
. It’s the gray image with two gears.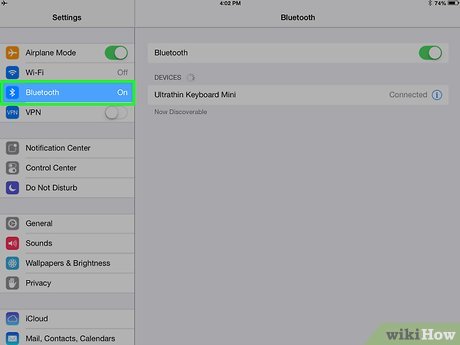
2Tap Bluetooth. It’s the fourth option in the settings menu. If it says “On” next to Bluetooth, then Bluetooth is already enabled and you don’t need to go any further.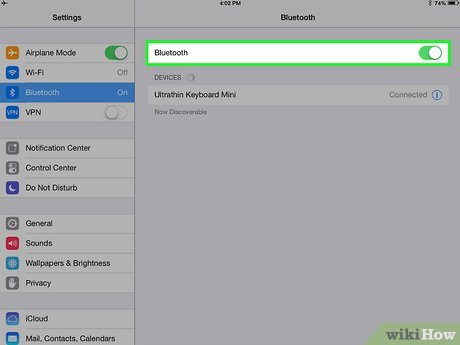
3Tap 
across from Bluetooth. If the switch icon is green, Bluetooth is on. If it is white, Bluetooth is off. Make sure it is in the ‘ON’ 
position.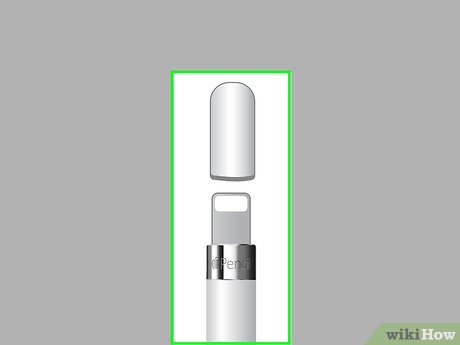
4Remove the Apple Pencil cap. There is a cap on the end of the Apple Pencil and underneath is a connector that can be used to plug your Apple Pencil into your iPad and charge the Apple Pencil.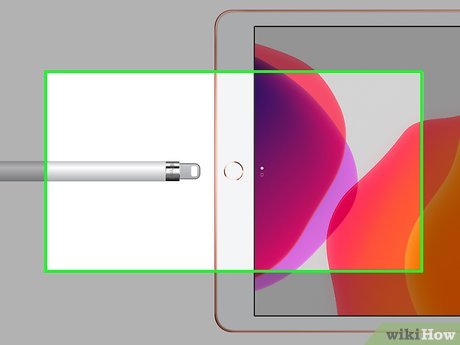
5Plug the Apple Pencil into the charging port. The Apple Pencil plugs into the same port as your iPad charger. This will prompt a pop-up asking if you want to pair the Apple Pencil to the iPad.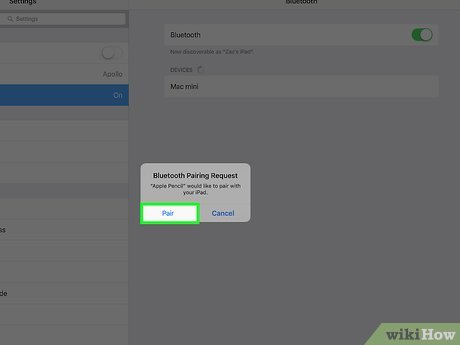
6Tap Pair. When you see the Bluetooth pairing request on the screen, tap “Pair”. This will pair your Apple Pencil with your iPad Pro. You are now ready to use your Apple Pencil in any compatible app. Part 2Part 2 of 4:Marking Up Screenshots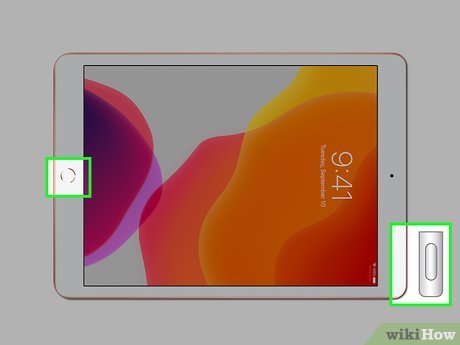
1Press the Home button + Power button. The Home button is the circular button below the iPad’s screen and the Power button is on the top-right shoulder of the iPad. Press both at the same time to take a screenshot. A thumbnail of the screenshot will appear in the lower-left corner of the screen.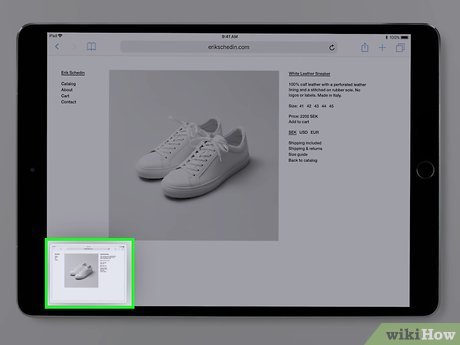
2Tap the screenshot. The screenshot is in the lower-left corner of the screen. Tapping it will expand the image. You will the pencil options below the screenshot image.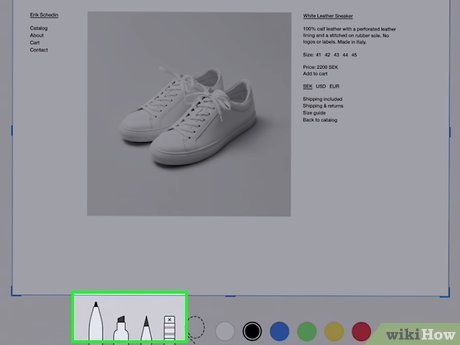
3Select a marker type. There are three marker types at the bottom of the screen.The pen. The pen is the first option with the tiny tip. It creates thin non-transparent lines.The Highlighter. The highlighter is the option with the flat tip. It creates thick, transparent lines.The Pencil. The pencil is the option that looks like a sharpened pencil. It creates thin, transparent lines.The Eraser. The eraser is the option that has an eraser with an “x” in it. It erases the lines that you have made.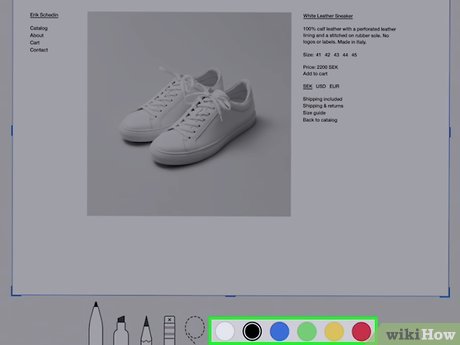
4Select a color. There are six colors at the bottom of the screen. Select a color that will be visible on the screenshot.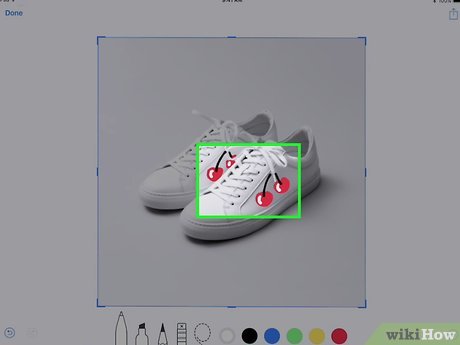
5Markup the image with the Apple Pencil. Use the tip of the Apple Pencil to make any marks you want on the screenshot.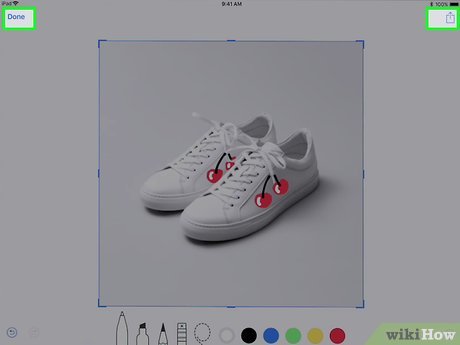
6Tap Done. It’s in the upper-left corner. This will save the screenshot with the markups to your camera roll.Tap 
to share the image via email, or other apps such as Messages, or Facebook. The share button is in the upper-right corner.Part 3Part 3 of 4:Marking Up PDFs and Images
1Open the Files app 
. The File browser has an image of a blue folder. The File browser allows you to browse files on your iPad and your iCloud drive.
2Select a PDF or Image. You can select any image or PDF file saved to your iPad, or iCloud drive.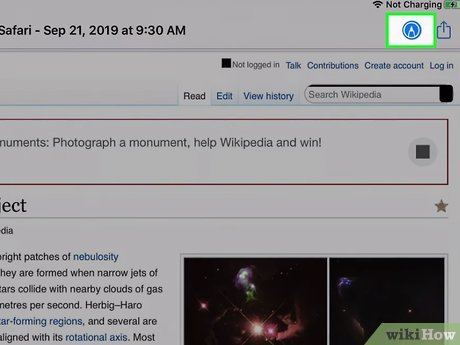
3Tap 
. It’s the image that has a marker tip in a circle in the upper-right corner.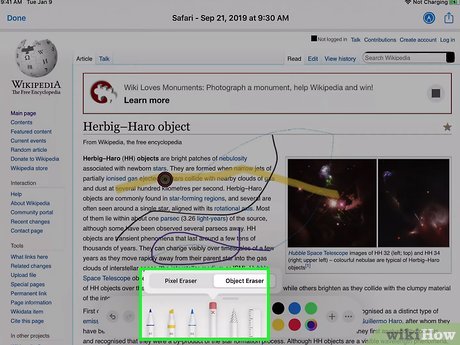
4Select a marker type. There are three marker types at the bottom of the screen.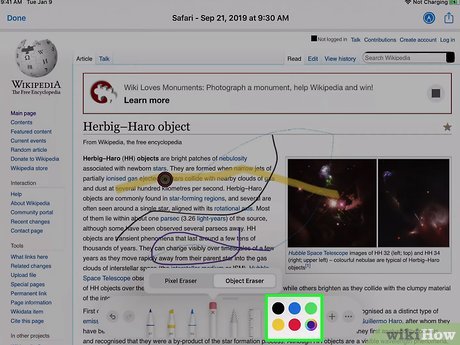
5Select a color. There are six colors at the bottom of the screen. Select a color that will be visible on the screenshot.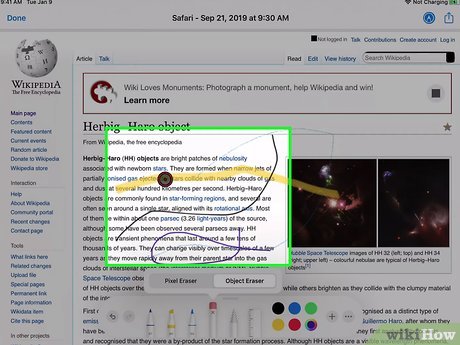
6Markup the image with the Apple Pencil. Use the tip of the Apple Pencil to make any marks you want on the screenshot.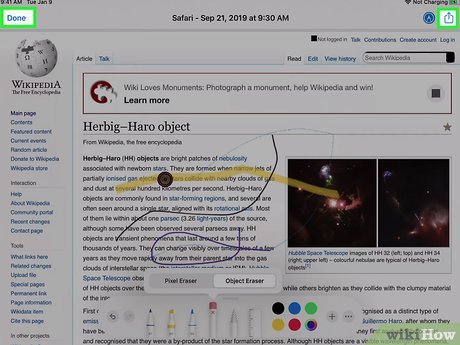
7Tap Done. It’s in the upper-left corner. This will save the screenshot with the markups to your camera roll.Tap
to share the image via email, or other apps such as Messages, or Facebook. The share button is in the upper-right corner.Part 4Part 4 of 4:Taking Notes from the Lock Screen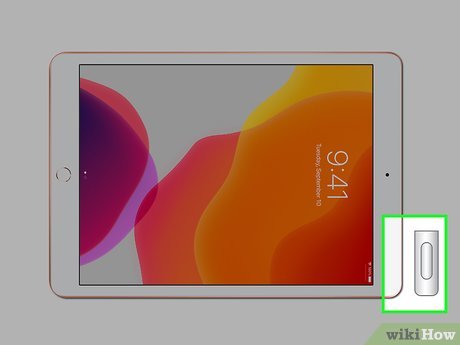
1Press the Power button. The power button is on the right shoulder of the iPad. This will display the lock screen.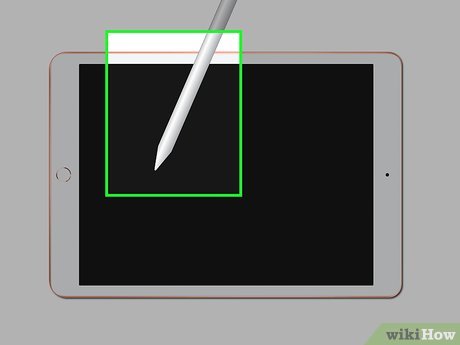
2Tap the screen with the Apple Pencil. You do not need to unlock your iPad to take instant notes. Tapping the lock screen with the Apple Pencil will bring up the Notes app.
3Write handwritten notes. The notes you take during the lock screen will be saved for at least 5 minutes. You can change this under “Access Notes from Lock Screen” under Notes, in the Settings menu.


