
This wikiHow teaches you how to install and use Satellite Internet in your home or mobile location. Satellite Internet is often the only option for people living in remote, rural areas in which cable companies don’t offer service. Keep in mind that Satellite Internet can be erratic, so large-bandwidth actions such as streaming HD video or playing online video games may be impossible during certain times in the day.
StepsPart 1Part 1 of 3:Signing up for Satellite Internet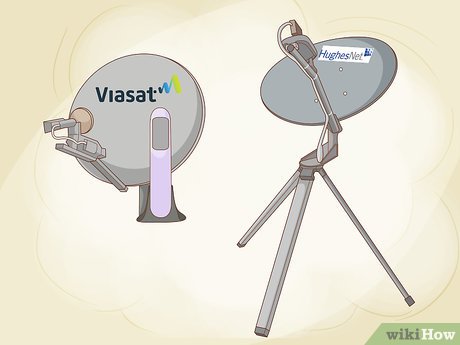
1Consider your options. Depending on your geographic location, you may have several different choices for Satellite Internet service providers. Each will most likely come with their fair share of pros and cons, so find as many options as possible.XThe main two providers in North America are Viasat and HughesNet.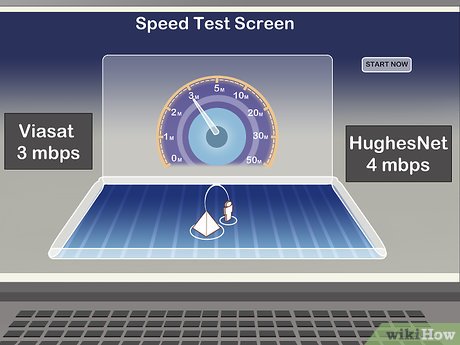
2Compare download and upload speeds. Ultimately, the quality of your Satellite Internet will depend on your service’s speed. Compare the available services’ upload and download speeds to each other; whichever service is faster will usually be the better choice.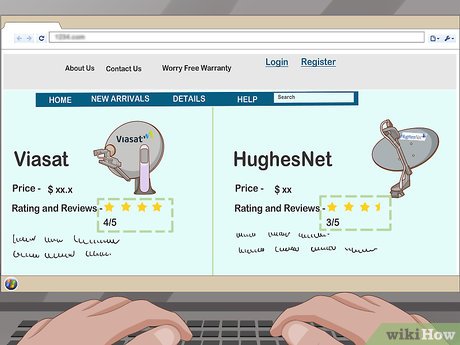
3Check reviews for your selected service. Look up online customer reports regarding the service’s performance; if you see generally favorable reviews, the service is probably fine.Keep in mind that some customers will undoubtedly leave negative reviews due to inconsistent service, outages during certain conditions (e.g., weather), or the high price point when compared to cable Internet. All three of these problems are inherent Satellite Internet issues, so take such reviews with a grain of salt.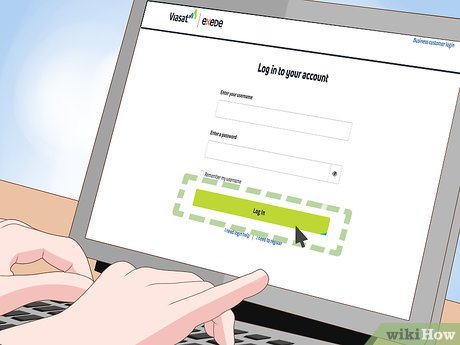
4Sign up for a Satellite Internet subscription. Once you’ve determined the service you want to use, sign up for it to select a plan and enter your payment information.You can usually do this online, though you can usually also call the service provider instead.
5Buy a modem if one isn’t included. If your Satellite Internet service doesn’t include a modem, purchase one that supports satellite Internet.Your Satellite Internet subscription should include a dish.Part 2Part 2 of 3:Installing the Satellite Dish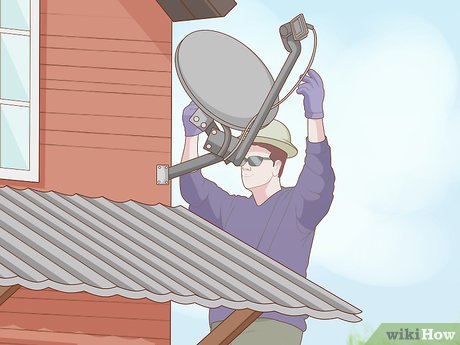
1See if installation services are available. Many Satellite Internet services will install your dish for you; if you’re in an area that supports this, allow a professional to install your dish instead of doing it yourself.If you have to install the dish in variable locations (e.g., a boat or an RV), you may have to take care of the installation yourself.
2Adjust the dish to point toward the equator. Since the satellites that transmit your Internet are positioned directly over the Earth’s equator, you should not have any obstructions that prevent you from having an optimal connection.Have your satellite dish installed in an open area away from trees and similar obstructions. For example, if you live in North America, place the dish on the southern-most tip of your roof or south of any tall trees, so it can point toward the equator.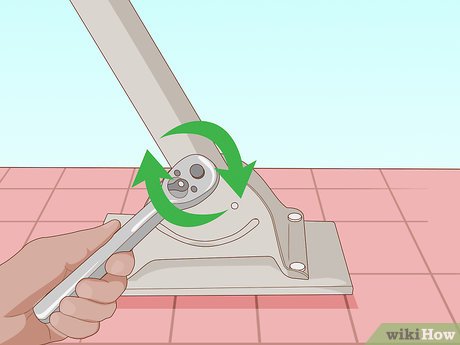
3Anchor the satellite dish to your roof. Using the hardware that comes with your satellite dish, screw the base of the dish into a flat part of your roof. The dish should have a clear, unobstructed view of the sky.Make sure the connections are tight, and don’t install your dish in a loose or unstable section of roof.If you have a balcony or similarly proportioned part of your house that has a clear view of the sky over the equator, you can use it to mount your dish instead.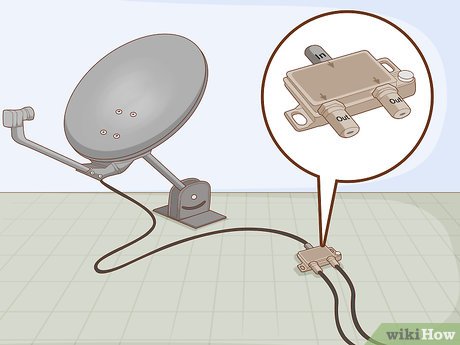
4Attach coaxial cables to your dish. Many dishes use two coaxial cables to connect to your Internet hardware, but your dish may only use one.When attaching the coaxial cables to the dish, you should see an “IN” port and an “OUT” port on the dish. Consider marking the other ends of your coaxial cables to correspond with these ports—you’ll need to know which is which when connecting them to your modem.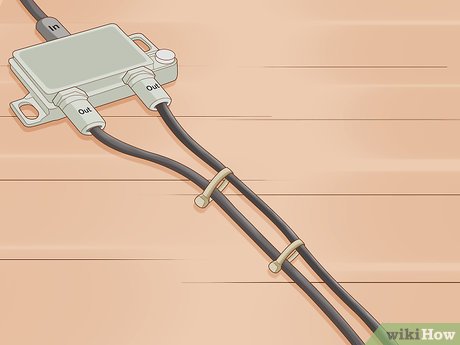
5Secure the coaxial cables. You’ll usually use staples or hose ties to anchor the coaxial cables to your roof. Be sure to keep the cables away from sharp objects, and secure them as tightly as possible; you don’t want the cables to come loose during a storm.Depending on your home, you may need to drill a hole through which you can thread the coaxial cables before you can use the cables in your home.Part 3Part 3 of 3:Connecting to Satellite Internet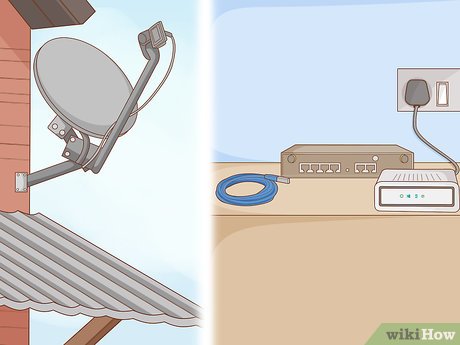
1Make sure you have the necessary equipment. Before attempting to connect to Satellite Internet, you’ll need to have the following items available:Installed satellite dishSatellite Internet-capable modemEthernet cablePower source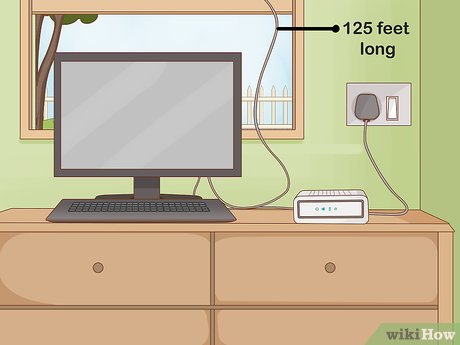
2Position your computer. Your computer should be close to both your modem and your dish’s coaxial cable(s).Most dish coaxial cables are under 125 feet in length, so you might have to position your modem accordingly.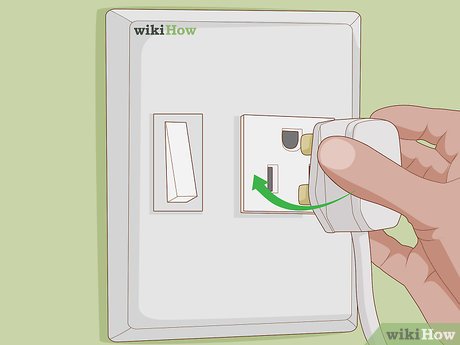
3Plug the modem into a power source. Using the modem’s power cable, attach it to an electrical outlet near both your computer and the dish’s coaxial cable.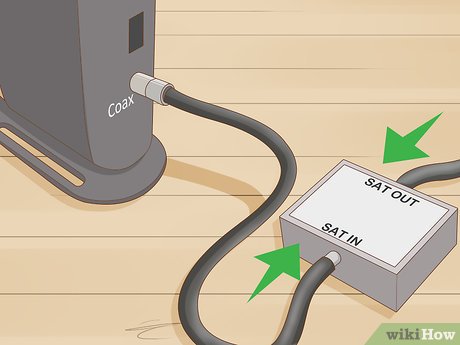
4Attach the modem to the satellite dish. Depending on your dish, you will have either one coaxial cable or two coaxial cables to attach to the modem:XOne cable — Plug the cable into the modem’s coaxial port.Two cables — Plug the “IN” cable into the “SAT IN” coaxial port, then plug the “OUT” cable into the “SAT OUT” port.
5Connect your computer to the modem. Plug one end of the Ethernet cable into the back of the modem, then plug the other end of the cable into your computer’s Ethernet slot.If you’re using a Mac which doesn’t have an Ethernet slot, you can buy an Ethernet to Thunderbolt adapter for this step.
6Wait for your computer to establish an Internet connection. As long as your dish is currently receiving a signal from its pertinent satellite, you should be able to begin browsing within a minute of connecting your computer to the modem.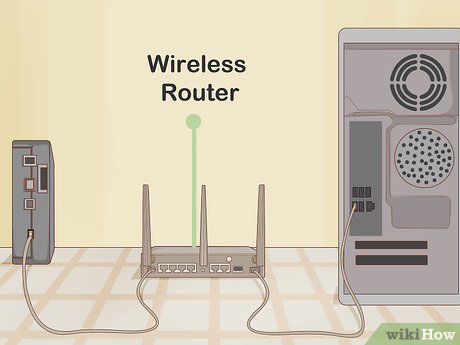
7Use a wireless router. If you’re connecting more than one item to the Internet, you’ll need to plug your modem into a wireless router via an Ethernet cable and then use each item’s Wi-Fi menu to connect to the router.Using a wireless router isn’t recommended unless absolutely necessary; since Satellite Internet is already patchy under normal circumstances, using a wireless router may further dilute your signal.


