
This wikiHow will teach you how to use the Lightroom mobile app. Lightroom CC is a free app that gives you limited features unless you pay for a Creative Cloud subscription. With a subscription, you’ll have access to the mobile app’s syncing abilities, certain editing tools, and the ability to edit raw files. However, this mobile app can still be a powerful photo editor, even without a CC subscription.
StepsMethod 1Method 1 of 3:Taking or Importing Pictures
1Open the Lightroom mobile app. If you don’t have the app already, you can get it for free from the Google Play Store or App Store.If you pay for an Adobe Creative Cloud subscription, make sure to log in.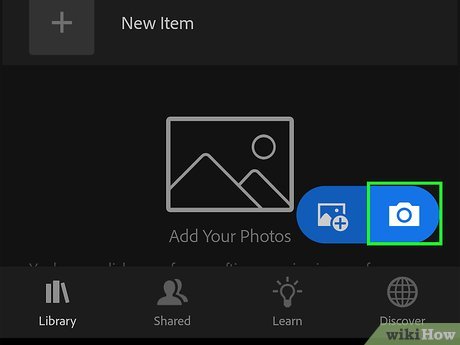
2Tap the camera icon 
. It’s in the bottom right corner of the screen.To import pictures instead of taking them, you can either tap the import icon instead of the camera icon or you can go to Lightroom on your computer and choose the Library tab, then your name, and Sync with Lightroom Mobile.You may need to tap Skip to get through a welcome tutorial before you can use the app.Once the camera loads, you’ll see an interface that’s similar to your normal camera view.
3Tap the file format to change it. It’s centered at the top of your screen.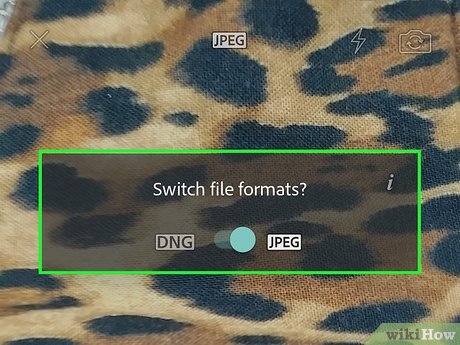
4Tap the switch to DNG or JPEG. If you want to edit your picture after taking it, make sure DNG is selected. Select JPEG if you don’t want to edit the image.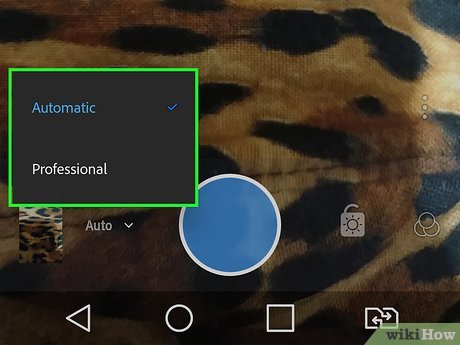
5Adjust the shooting mode. Tap the text in the lower left corner of your screen to change the shooting mode between Auto, and Professional. Choose Auto to have Lightroom take care of all the settings for you; however, if you want to be able to change elements like the shutter speed, ISO, or exposure, you should select Professional.If you choose “Professional,” tap on an element (like ISO) to change it, then slide your finger left and right to decrease or increase the levels.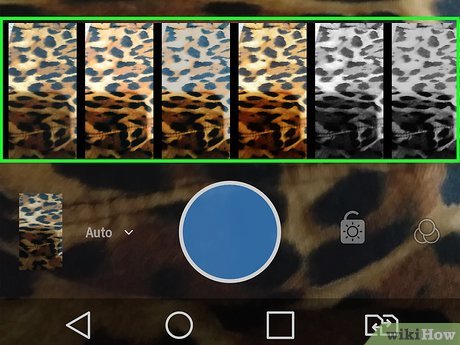
6Change your filter. Tap the icon of three circles in the lower right corner to set or change a filter. Your original view, unfiltered, is the leftmost tile.
7Adjust the settings. Tap the three-dot menu icon in the lower right corner of your screen to see more options, then use the icons just above the circle icon for capturing an image to change your settings. The 4:3 icon shows you the current ratio of your image; the speedometer-looking icon sets a timer if you want that feature active, the eye icon changes the display on your phone (so you can add a grid layout to the screen); and the gear icon changes settings like what your volume keys change and if the original photo should be saved.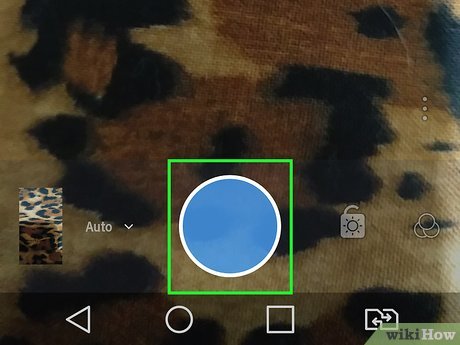
8Tap the circle icon. This will capture the image that your camera sees. You can either continue taking pictures by tapping the circle icon or you can tap the thumbnail of your last picture to view and edit it. Method 2Method 2 of 3:Editing Pictures
1Open the Lightroom mobile app. If you don’t have the app already, you can get it for free from the Google Play Store or App Store.If you pay for an Adobe Creative Cloud subscription, make sure to log in.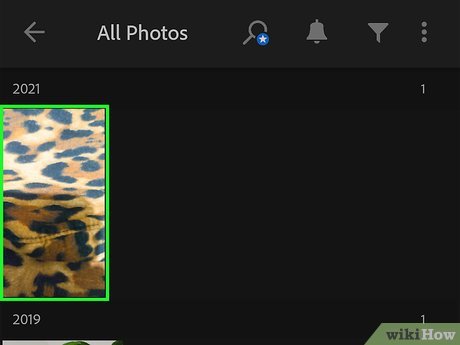
2Tap an image to edit it. Navigate through your Lightroom storage by selecting All Photos, People, or Deleted.If you are in camera mode, tap the image thumbnail to the left.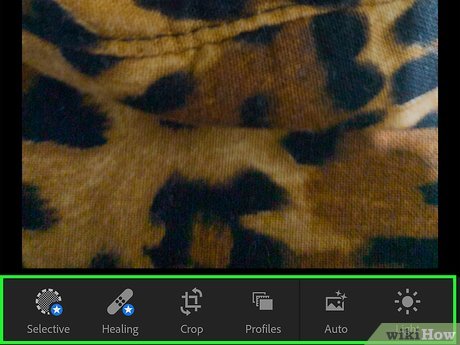
3Tap the tools at the bottom of your screen to make edits. When you open the app for the first time, you are prompted to take a quick editing tutorial that you can either skip or walk through.Selective and Healing are premium editing tools that aren’t available for free. They allow you to select an entire area to edit as well as remove slight blemishes and imperfections from your image.Crop lets you resize, rotate, straighten, and flip your image as well as change the aspect ratio. It’s a tool that anyone can use.Profiles is a free tool that anyone can use and lets you create looks that include filters, lighting changes, and color selections.Auto is a free tool that anyone can use and automatically applies changes to make the image look as good as it can without you needing to change anything.Light and Color, are free tools that anyone can use that contain settings like exposure, contrast, highlights, shadows, whites, and blacks. Drag the sliders left and right next to each setting to change the look of your image.Effects lets you adjust the texture, clarity, and de-haze of your image. You can also increase the vignette setting to darken the edges of your image. It’s also a free tool that anyone with Lightroom can use.Detail is a free tool that allows you to change the sharpness, radius, detail, and masking.You can also opt to tap the icon of differently-shaded circles to open the Presets menu and choose from the available looks.If you make an edit you don’t like, you can always revert to a previous version by tapping the redo icon (it looks like a clock with an arrow wrapping around it counter-clockwise).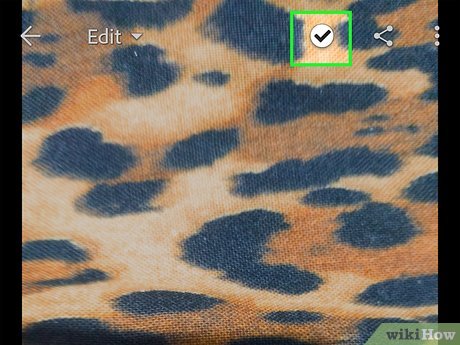
4Tap the save icon. It looks like a checkmark in the top right corner of your screen. Method 3Method 3 of 3:Sharing and Saving Your Images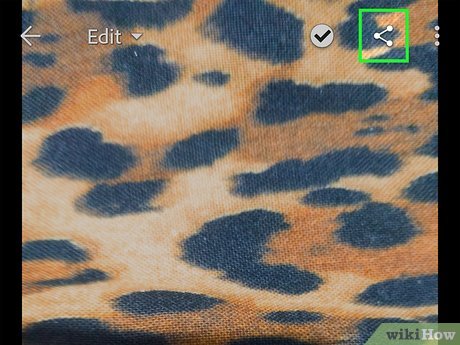
1Tap 
. The share icon is in the top right corner of your screen when you finish editing an image.You can save the picture or share it from this icon.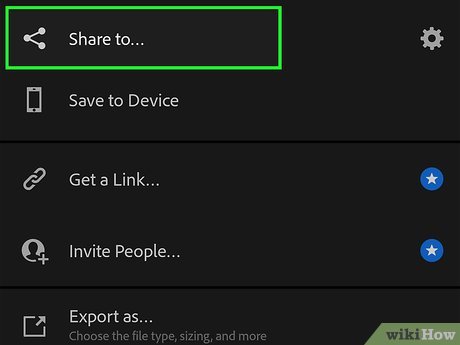
2Tap Share to… or Save to Device/Camera Roll. After you tap Share to, you’ll see a list of who you can share the image to and compatible services (like Discord or Facebook). If you tap Save to Device/Camera Roll, you’ll see a message that your image has successfully finished saving.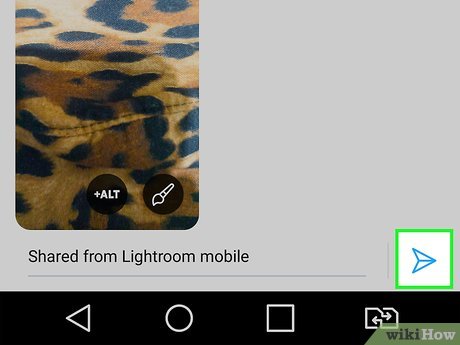
3Tap Share (or the appropriate button to share). If you’re sharing via your Facebook newsfeed, you’ll need to tap Post instead. However, if you’re sharing via Facebook message, you’ll need to tap Send to share the image.X


