
Electronic typewriters can seem confusing at first, but they become easy to use after time. They are the fastest among all of the typewriters. This article will teach you how to use an electronic typewriter.
Steps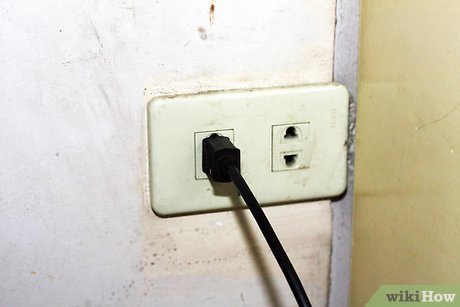
1Plug your electronic typewriter into an outlet with the correct voltage. Electronic typewriters, unlike manual ones, will not work unless they are plugged in.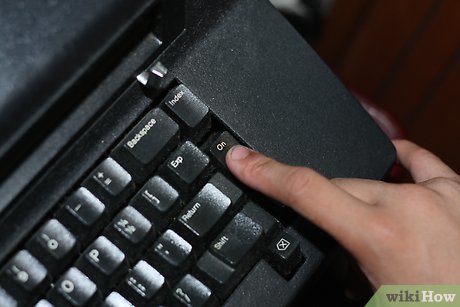
2Turn your typewriter on using the switch. Refer to the manuals to find where the switch is. Some switches may be at the front or the side of the typewriter.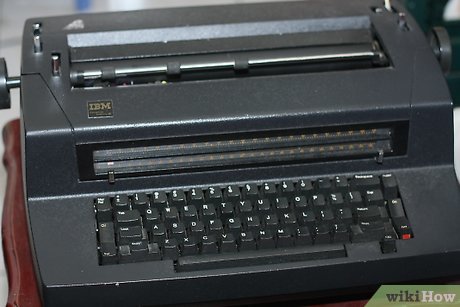
3Wait for the typewriter to prepare itself. The typewriter does that so that the daisy wheel and the ribbons are in the correct position.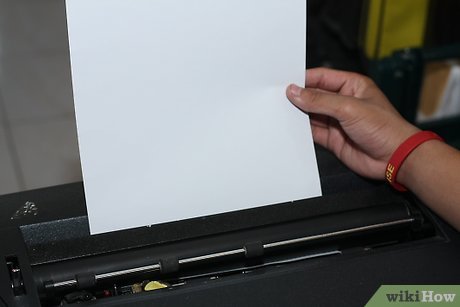
4Load two sheets of paper into the typewriter.This is to ensure that the platen of the typewriter won’t be damaged.One paper will go next to the platen to protect it from damaging and the other one is on top for typing.Insert the paper according to the manual. You may use the knob, automatic paper insert or hold down the return key.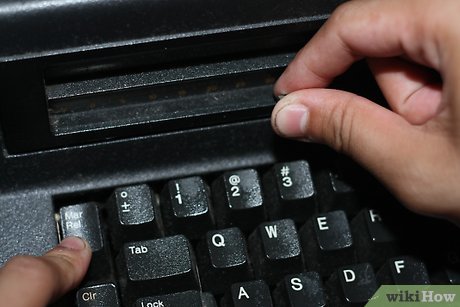
5Set your margins according to the manuals. Most electronic typewriters have the new button for setting margins.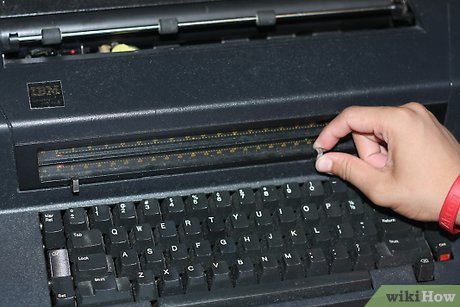
6Set your tab stops according to the manuals (optional).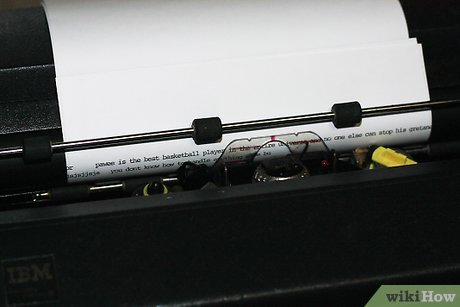
7Start typing!Be sure that you press the return key every end of the line to move to the next line. Otherwise, it will just beep in there.Most electronics have the Lift off feature. It removes typos (errors) off the paper when you press the key. Then you can type the correct word/character after it lifts the error off.Some electronic typewriters have the Automatic carriage return. When you reach the end of the line, the carrier will automatically return by itself.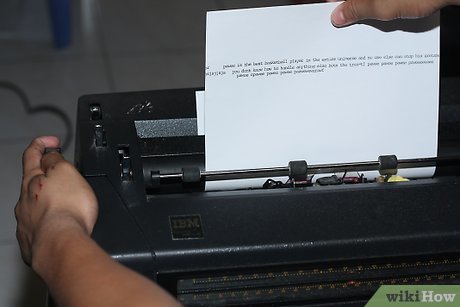
8Remove the paper from the typewriter using the platen knob or hold down return key when you are finished.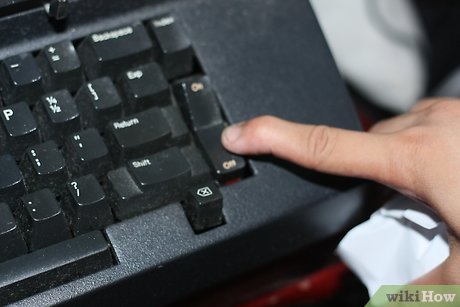
9Turn off the typewriter and unplug it.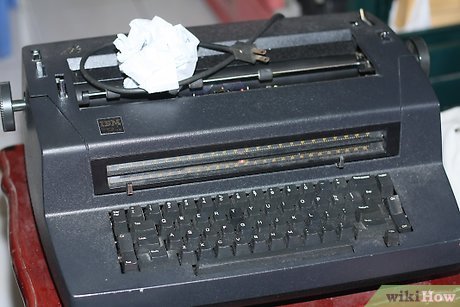
10Cover the typewriter or store it in a case when not in use. Always take proper care of your typewriter.


