
4shared offers free online file hosting and sharing services. You can upload and store your files and documents from your computer on the site, and then conveniently download them elsewhere. It’s easy to do!
StepsPart 1Part 1 of 4:Logging into 4shared
1Open a web browser. Launch your favorite web browser on your computer by clicking its icon.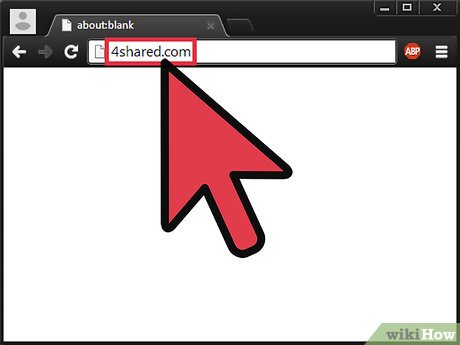
2Go to 4shared. On the address bar, type http://www.4shared.com/, and press Enter.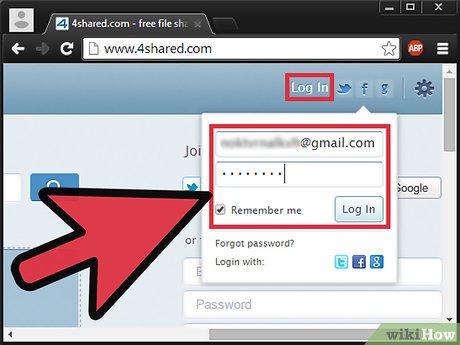
3Log in. Click on the “Log In” button found at the upper right side of the page. Input your email address and password you use for 4shared then click the “Log In” button to proceed.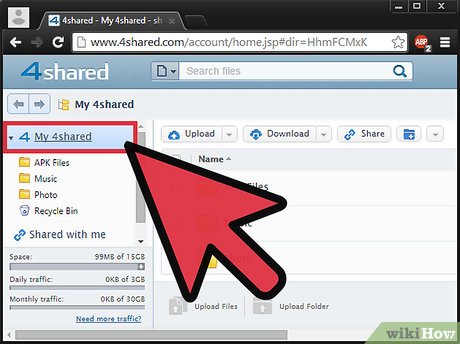
4Go to My 4shared. 4shared’s landing page is your main folder directory for your 4shared files. You can find all your folders and files stored in your 4shared account here.Part 2Part 2 of 4:Creating a New Folder
1Go to the location for the new folder. Navigate through your 4shared folders by clicking on them until you’re in the folder where the new folder will be created. Nested or subfolders can be created.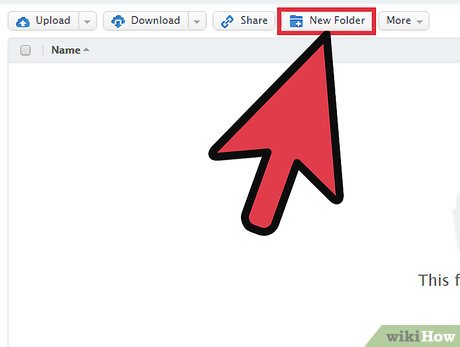
2Create the new folder. Click the “New Folder” button with the folder icon on the header toolbar. A new folder will be created.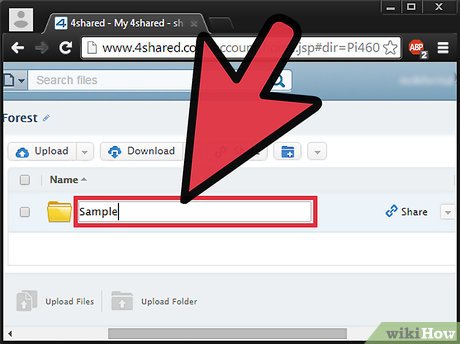
3Name the new folder. The new folder’s name will have an empty field. Type the name of the folder here.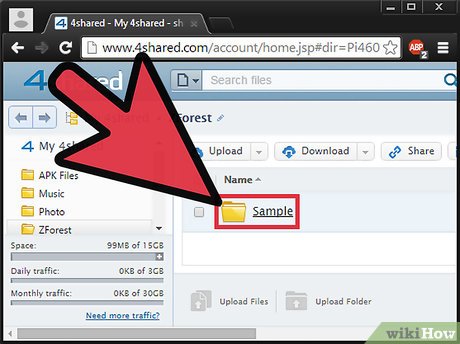
4Go inside the new folder. Click on the folder link to go inside it. The folder will still be empty since it’s just newly created.Part 3Part 3 of 4:Uploading Files
1Go to folder where you will upload files. Navigate through your 4shared folders by clicking on them until you’re in the folder where you want to upload your files.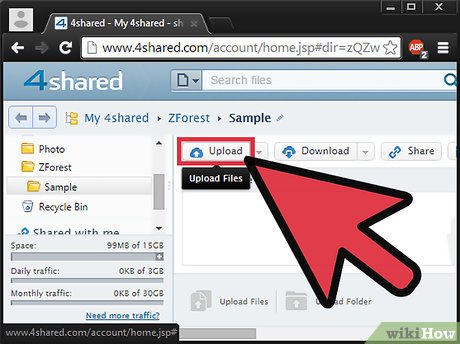
2Initiate the upload. Click the “Upload” button with the cloud icon on the header toolbar. Your computer’s file directory will come up.You can upload a whole folder instead of individual files. Click the downward chevron beside the “Upload” button to bring down a submenu, and click the “Upload Folder” option. Your computer’s folder directory will come up.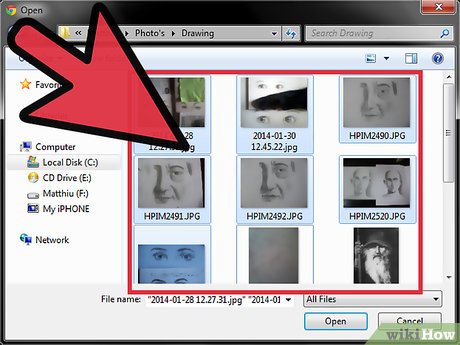
3Select files. Navigate through your computer’s files and select the ones you want to upload. You can select multiple files by holding the CTRL key as you select the files.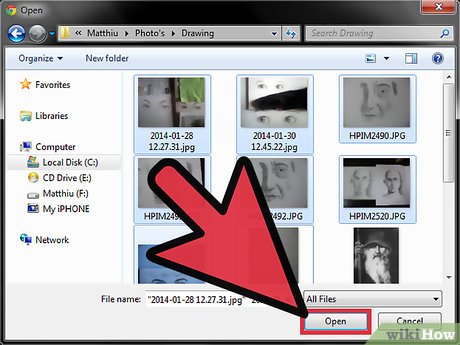
4Upload the files. Click the “Open” button to start uploading the selected files. You can see the upload progress on the progress bar on the bottom bar.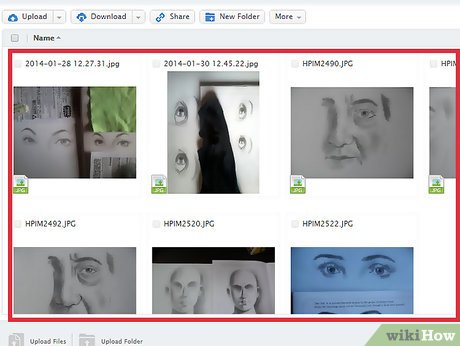
5View the uploaded files. Once the upload is done, you will be able to see your files in the designated folder in 4shared.Part 4Part 4 of 4:Downloading Files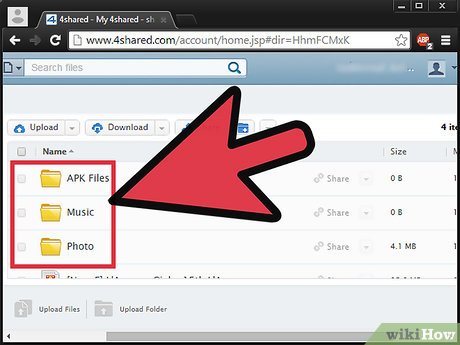
1Go to location where you will be downloading. Navigate through your 4shared folders by clicking on them until you’re in the folder where the files you want to download are located.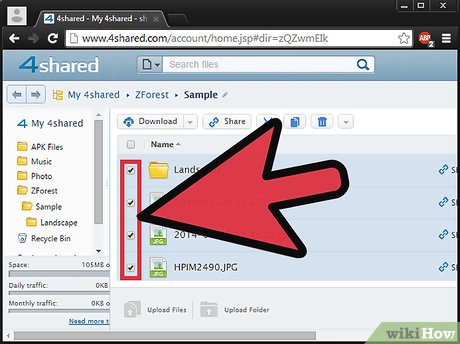
2Select files. Tick the tick boxes on the files and folders to select them. You can select as many as you want.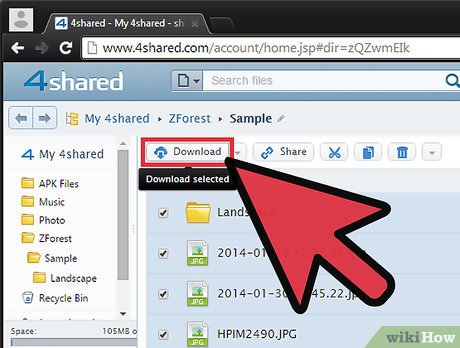
3Initiate the download. Click the “Download” button with the cloud icon on the header toolbar. If you’re downloading multiple files, they will be compressed into one B1 file.A B1 file is an open archive file format, much like a zip file. The B1 file will be created in the background and it will be placed in your main 4shared folder.If you’re downloading just one file, it will not be compressed into a B1 file. It will be downloaded as is.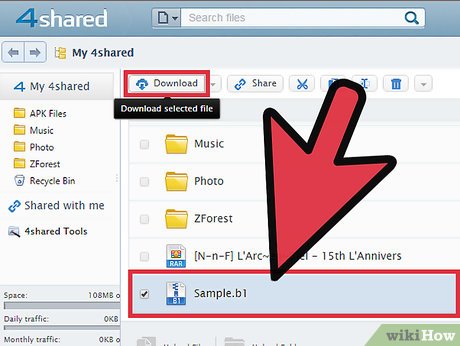
4Go to the download page. Files in 4shared cannot be directly downloaded from your account. Each file will have its download page. Select the B1 file that was created from Step 3 and click the “Download” button on the header toolbar. You will be directed to the file’s download page.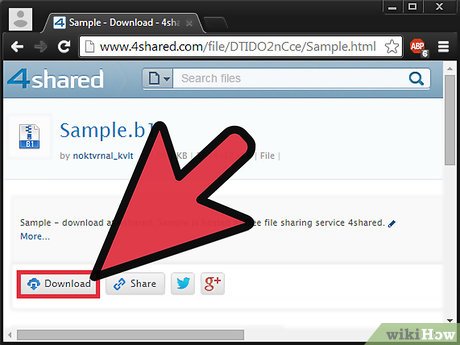
5Download the file. On the file’s download page, click the “Download” button. You may have to wait a few seconds for the actual download link to appear. Once it does, click on it and your download will begin.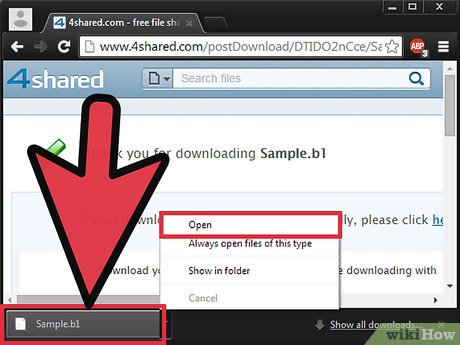
6View the downloaded file. The file will be downloaded to your computer, into your default Downloads folder.If it’s a B1 file, you have to extract it first in order to get the files inside.


