
If you accidentally got Advanced Mac Cleaner installed on your Mac, you can follow this troubleshooting guide to remove the app from your computer.
Steps
1Back up your personal files first. Remember to save any documents that you have open. You may consider taking the below actions:Export bookmarks from your browser.Make a copy of the keychains-related settings.XSave any other unsaved documents, file and the like.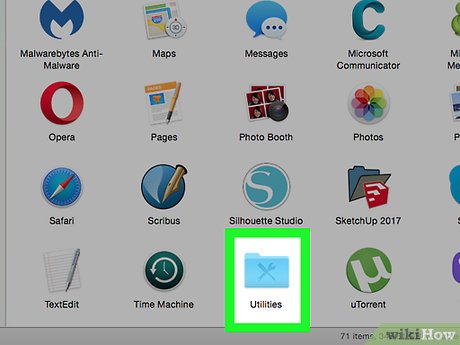
2Head to the Utilities subfolder in the Applications file folder.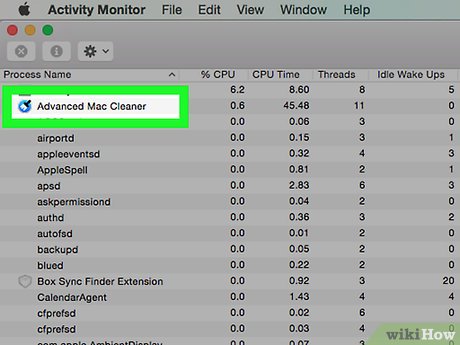
3Run the embedded Activity Monitor. Then locate the Advanced Mac Cleaner, and hit the small i icon in the upper left hand corner of Activity Monitor. Click on the third tab “Open Files & Ports”. And note down (copy and paste) all of the “Output information” associated with the aforesaid app.
4Hit Quit whenever you’re ready.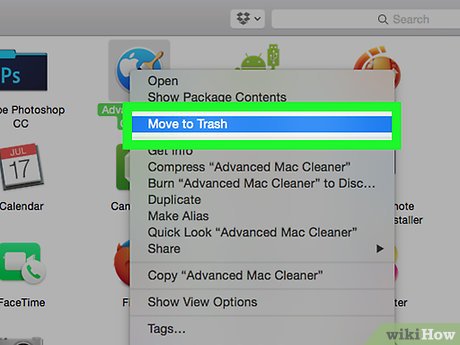
5Click on the back arrow tab and check out your own Application folder. Try uninstalling Advanced Mac Cleaner by moving the app the Trash icon.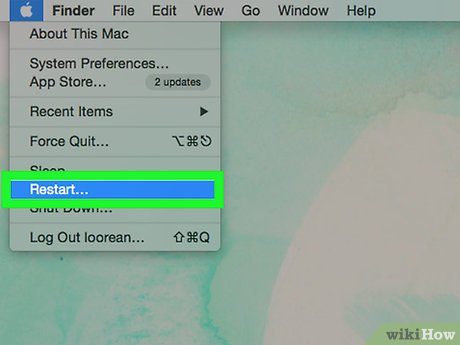
6Save your work and reboot your operating system.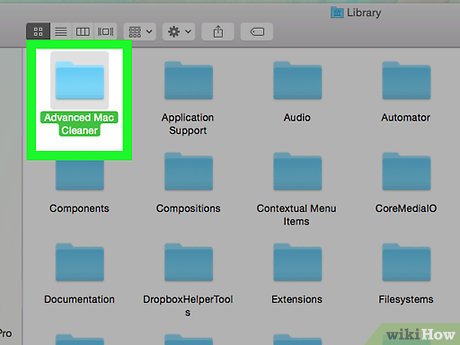
7Try cleaning up Advanced Mac Cleaner related remains on your Mac. To do so, you typically need to head to the Library folder and erase remained service files from there manually.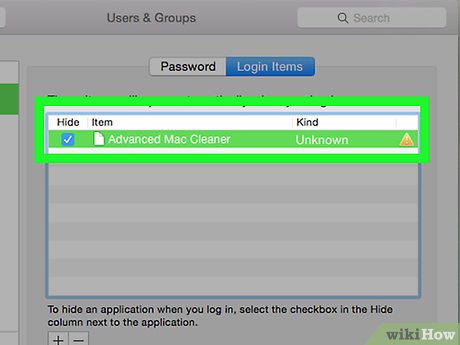
8Delete any instance of “Advanced Mac Cleaner” that still runs with your Mac from the above “Login Items” section. To get that job done, try the following steps:Open System Preferences, which should be in your Dock at the bottom of the screen.XHit the “Users & Groups” entry.When the “Users & Groups” is opened, click on the aforementioned “Login Items” tab.Highlight “Advanced Mac Cleaner” in the list of your startup menu, hit the “Minus” icon.You’ll be good to go.


