
Normally, your computer comes with a default name that is not very user friendly. There is nothing wrong with this, your computer will function normally, but it can make it difficult to identify it on the network. Also, it’s pretty cool to name your computer. If you want to rename your computer, then it’s pretty simple, just follow the steps in this article.
StepsMethod 1Method 1 of 4:Windows 10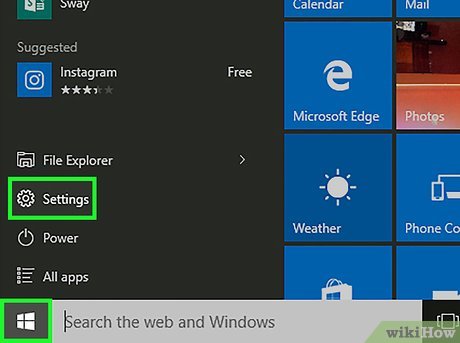
1Open the Settings menu. Click Start 
, and then Settings 
to open it.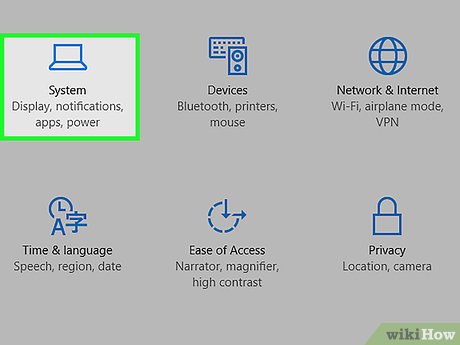
2Open System Settings. Select the System option. You should then see a new page with a series of different menu options on the left-hand side of the window. In this menu, click “About”. It should be the very last option on the bottom.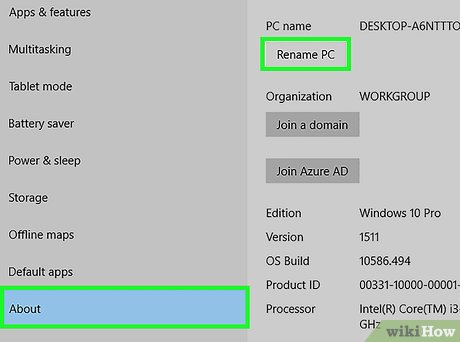
3Rename your PC. In the about menu, you should see the Rename this PC button. Click this button once and a small box should pop up. Then, enter the name.Note: Your PC name can contain letters, hyphens, and numbers, but no spaces.
4Restart your computer. Once you have entered a new name, click the Next button and wait a moment. Then, you will be asked if you would like to restart your PC in order for the changes to take effect. Click the Restart now button, and after the PC restarts, it will be renamed.If you want to skip the restart process, click Restart Later instead.Method 2Method 2 of 4:Windows 8 and 7
1Open the Start menu 
. Click the Windows logo in the bottom-left corner of the screen or press the ⊞ Win key.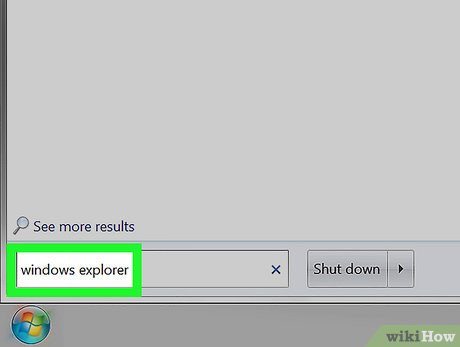
2Type windows explorer into Start. You should see a folder icon appear at the top of the Start window.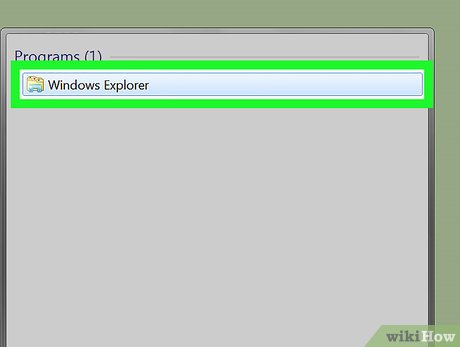
3Click 
Windows Explorer. It’s the folder-shaped icon at the top of the Start window. Doing so will open the Windows Explorer app.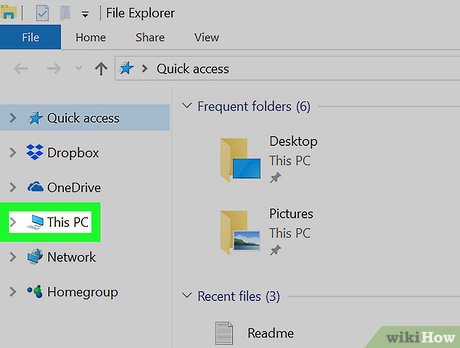
4Right-click “This PC”.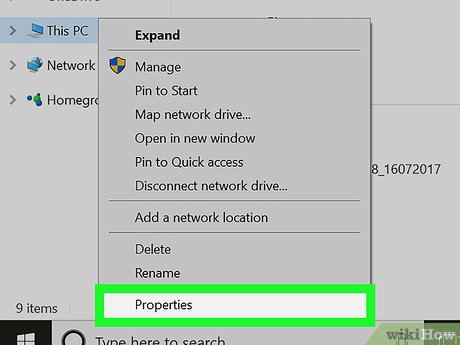
5Click “Properties”. It’s at the bottom of the menu.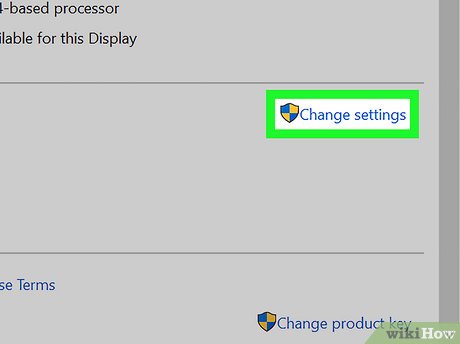
6Click Change settings. It’s next to a shield icon next to your computer’s current name. This opens the System Properties dialog.
7Click Change…. It’s the last button on the “Computer Name” tab.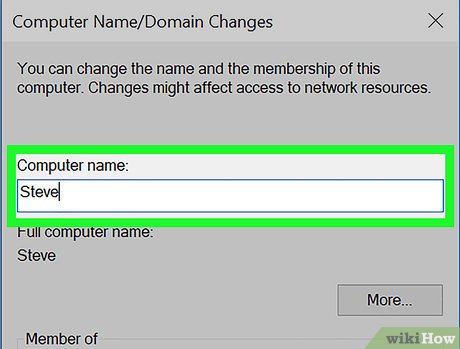
8Type a new computer name into the field.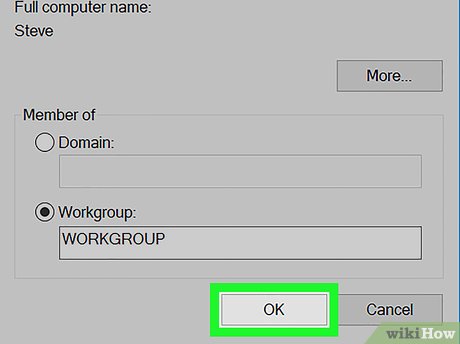
9Click OK. A pop-up message will appear, letting you know that you’ll have to restart your PC.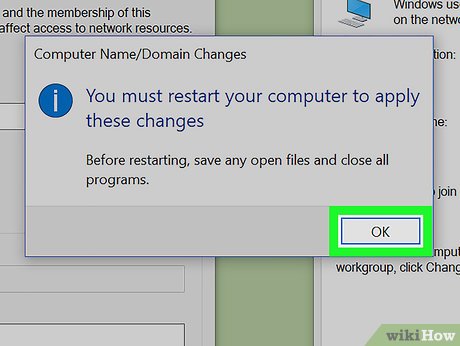
10Click OK.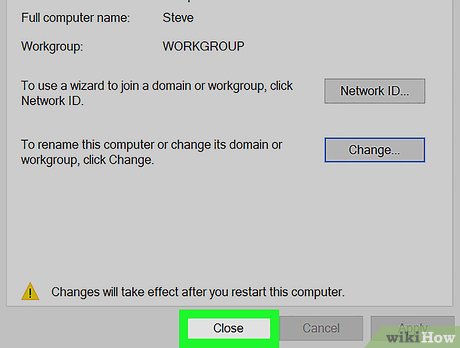
11Click Close. It’s at the bottom of the window.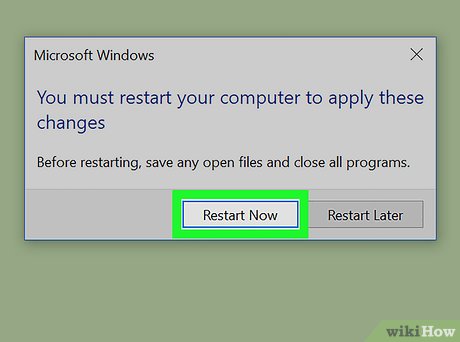
12Restart your PC. Once Windows restarts, the new name will be applied.Method 3Method 3 of 4:Mac OS
1Click the 
menu. It’s at the top-left corner of the screen.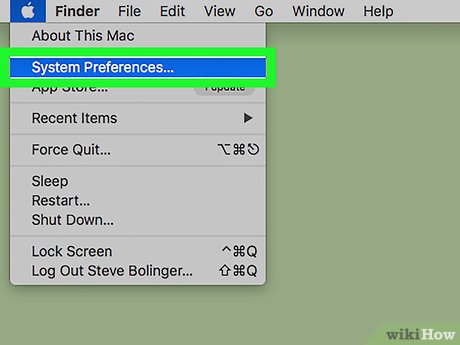
2Click “System Preferences…”. It’s near the top of the menu.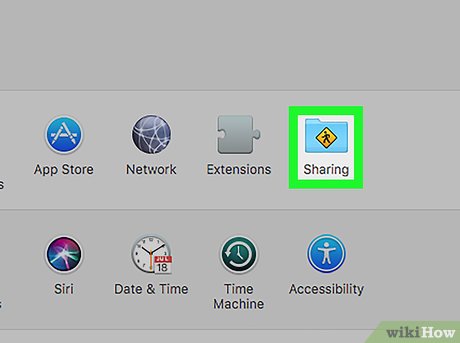
3Click “Sharing”. It’s the blue folder icon with a diamond-shaped street sign inside.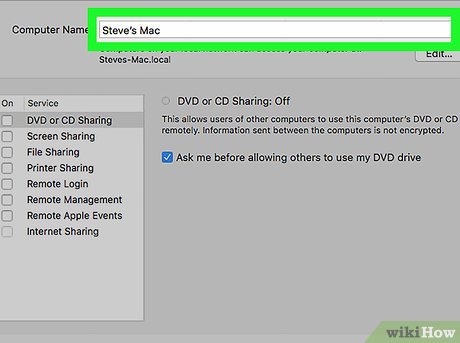
4Type a new computer name into the field.
5Press ⏎ Return. The name of the computer is now updated.Method 4Method 4 of 4:Ubuntu
1Open the run dialog. To do this, press the Alt+F2 buttons on your keyboard.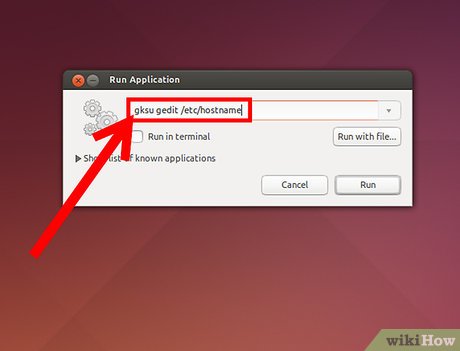
2Open the Gnome text editor. Type gksu gedit /etc/hostname into the run dialog.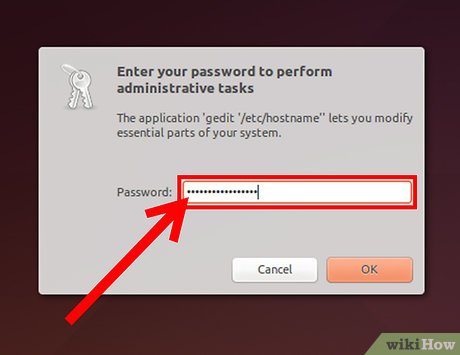
3Enter your password.
4Specify the name. A new window called Gedit will open. In some cases, it will say ‘PC’, but it may be different. Replace the text with your desired name.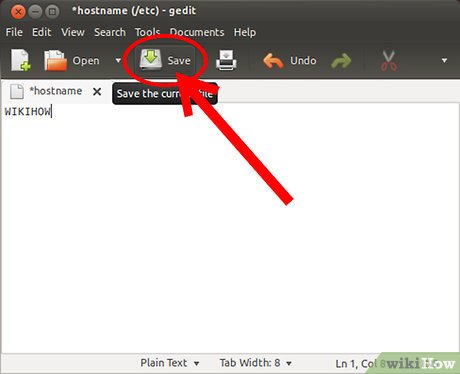
5Save the file. You can do that if you click on ‘Save’ icon or by pressing Ctr+S. After that, close Gedit.
6Open the Run dialog again. Press the Alt+F2 buttons on your keyboard.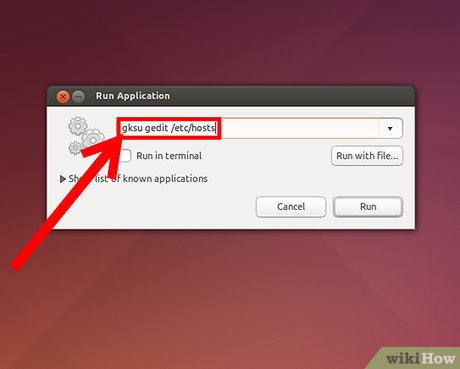
7Update the name in the Hosts file. Type in the following command: gksu gedit /etc/hosts. Then, press ↵ Enter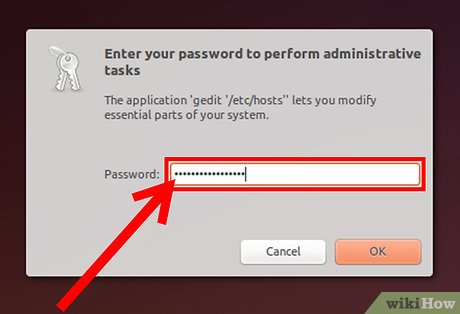
8Enter your password. After you press Enter you will be asked for your password. Type the password and then press ↵ Enter.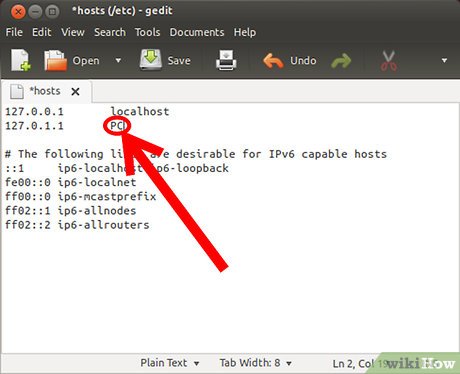
9Specify your name in the Hosts File. In the file that opens up, you will see an entry after 127.0.0.1 that has your old computer name. Change this name to your new computer name.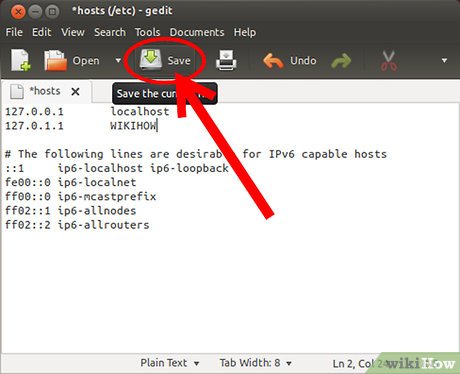
10Save the file. You can do that if you click on ‘Save’ icon or by pressing Ctr+S. After that, close Gedit.11Restart your computer. This will update the computer name.


