
This wikiHow teaches you how to use an ISO file without first burning it to a disc by “mounting” it onto your computer’s CD drive. You can mount an ISO on both Windows and Mac computers.
StepsMethod 1Method 1 of 3:On Windows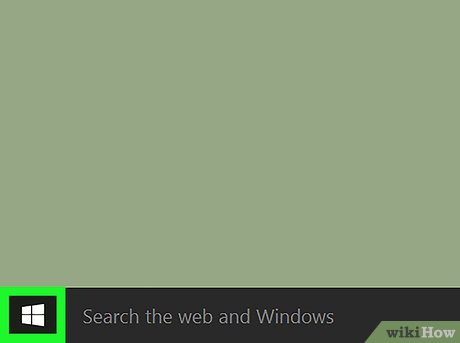
1Open Start 
. Click the Windows logo in the bottom-left corner of the screen.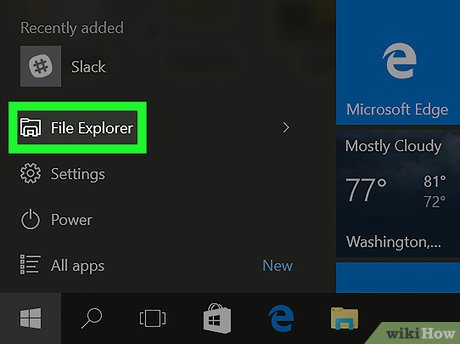
2Open File Explorer 
. Click the folder icon in the lower-left side of the Start window.
3Find the ISO. Click the folder in which your ISO is stored (e.g., Downloads) on the left side of the File Explorer, then open any additional folders in the main window until you arrive at your ISO file.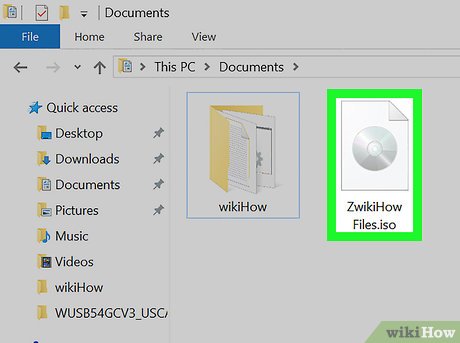
4Select the ISO. Click the ISO file to select it.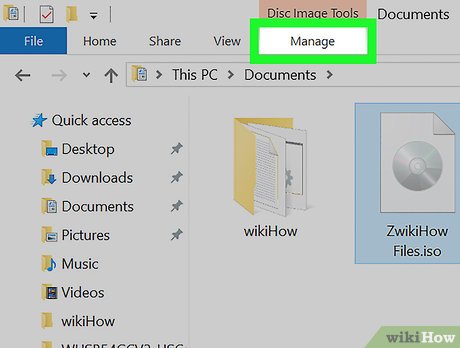
5Click the Manage tab. You’ll find this option in the upper-left side of the window. A toolbar will appear below it.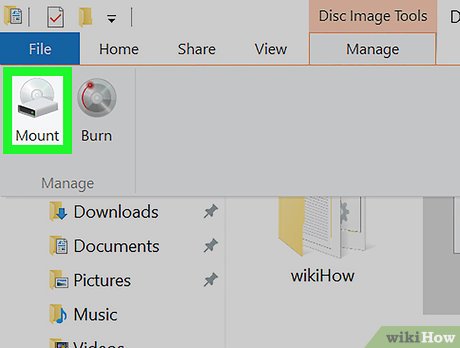
6Click Mount. It’s in the “Manage” section of the toolbar. Doing so will mount your ISO file onto your computer’s CD drive.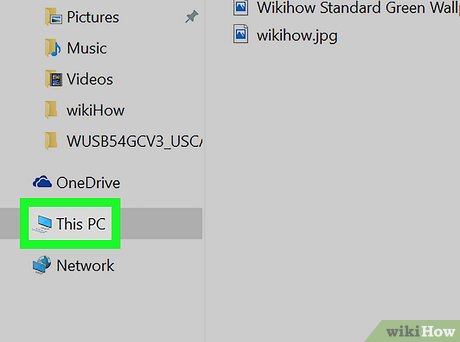
7Click This PC. This folder is on the left side of the File Explorer, though you may need to scroll up or down on the left-hand column to see it.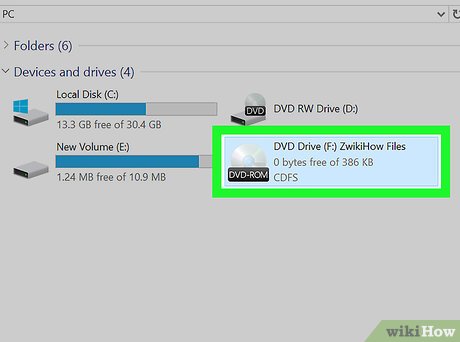
8Open your mounted ISO. Double-click your ISO’s name below the “Devices and drives” heading in This PC. It will resemble a CD on a drive. Your ISO’s contents will open.Method 2Method 2 of 3:On Mac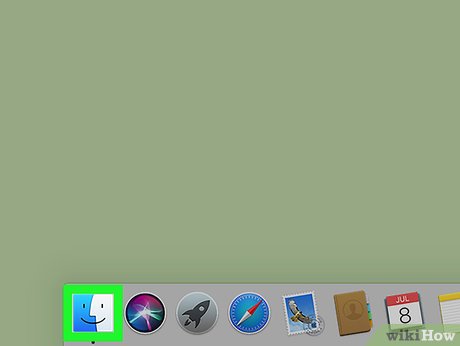
1Open Finder. Click the blue, face-like app in your Mac’s dock.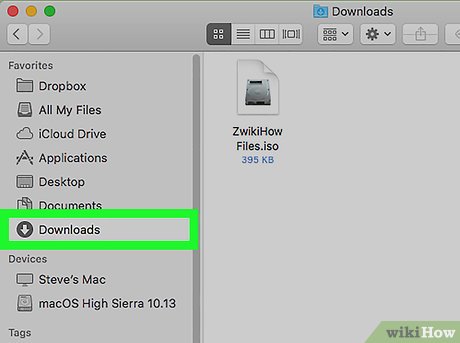
2Find the ISO. Click the folder in which your ISO is stored (e.g., Downloads) on the left side of the Finder, then open any additional folders in the main window until you arrive at your ISO file.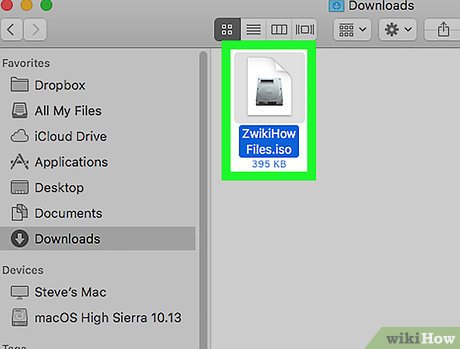
3Double-click the ISO. This will immediately mount the ISO to your Mac.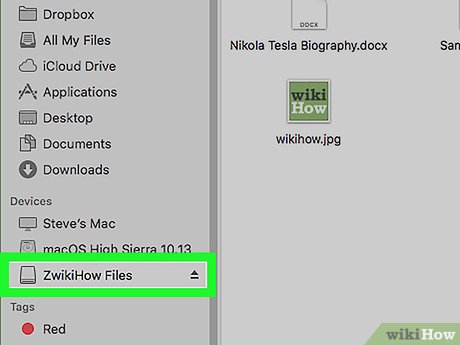
4Click the ISO’s name. In the left-hand column of the Finder, you should see your ISO’s name appear below the “Devices” heading; click it here to open the ISO.You can also double-click the ISO icon that appears on your Mac’s desktop after mounting.Method 3Method 3 of 3:On Linux1Open a terminal window or TTY console if you do not have one open already. See How to Open a Terminal Window in Ubuntu for instructions if you are using Ubuntu.2Create a directory to use as a mountpoint. This is the directory you go to to view the contents of the ISO image. Directories in Linux are created with the mkdir command. For example:mkdir /home/wikihow/isowill create a directory named iso in the home directory of the user wikihow.3Enter the mount command with the proper paths and optionsIf your Linux distribution uses the sudo command, enter sudo mount -o ro /path/to/iso/image /home/wikihow/isoIf your Linux distribution does not use the sudo command, enter the command su. You will be prompted for a password. After entering it, you will have a root shell. Then enter mount -o ro ‘/path/to/iso/image’ ‘/home/wikihow/iso’Note: ISO images are always mounted read-only (ro). Using the -o ro option simply removes the warning about being write-protected.


