
This wikiHow teaches you how to manage your photos on your Mac. If you have lots of photos on your Mac, it’s important to keep them organized. You can easily organize your photos into different albums and folders using the Photos app on Mac. You can even use Smart Albums to organize your photos automatically.
StepsMethod 1Method 1 of 4:Creating a New Photo Album
1Open Photos 
. It’s the app with the icon that resembles a rainbow colored flower. It’s usually located on your Mac’s dock at the bottom of the screen, or in the Applications folder.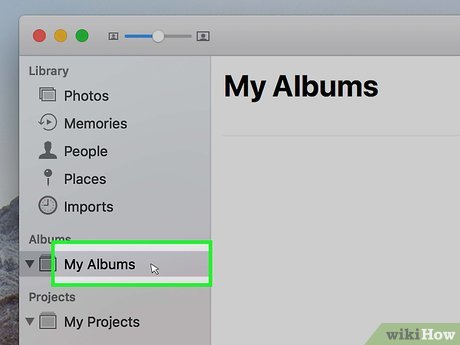
2Click My Albums and hold your mouse over it. It’s in the left-side column in the “Albums” section. You will see a button appear to the right.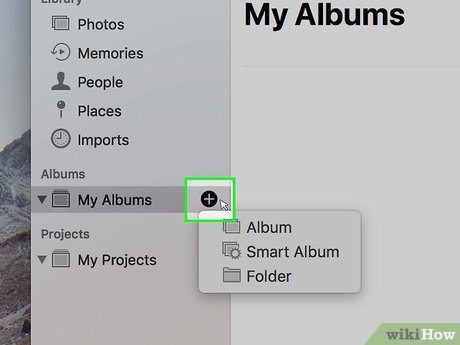
3Click 
. Click the small circular button with a plus sign “+” when it appears to the right of “My Albums” in the sidebar. A small drop-down menu will appear.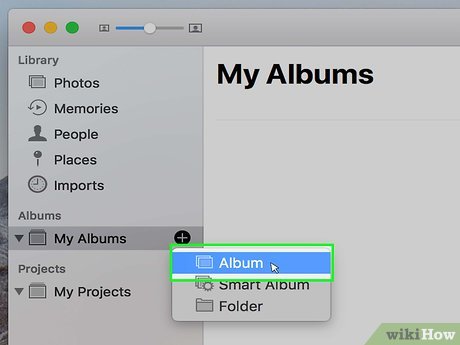
4Click Album. It’s the first option in the drop-down menu. This creates a new album that should appear instantly. If you don’t see the new album that is created, click the triangular arrow ⏵next to “My Albums” to expand a list of all your photo albums.You can also click File in the menu bar at the top of the screen and select New Album to create a new album.X.
5Rename the album. When you create a new album, it will be called Untitled Album by default. Click the name of the album to highlight it in blue and then type a new title for your album.Method 2Method 2 of 4:Adding Photos to an Album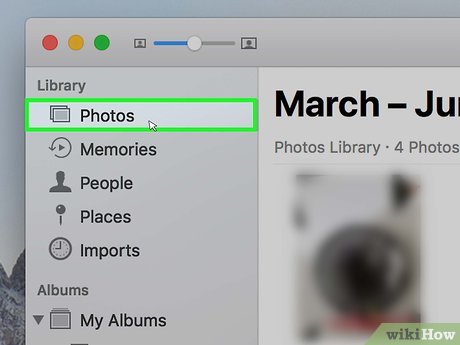
1Click Photos. It’s in the left-side column at the top of the “Library” section. This will display all of the photos on your computer.You can also click the Photos, Moments, Collections, or Years tabs at the top to change how your photos are grouped on the page.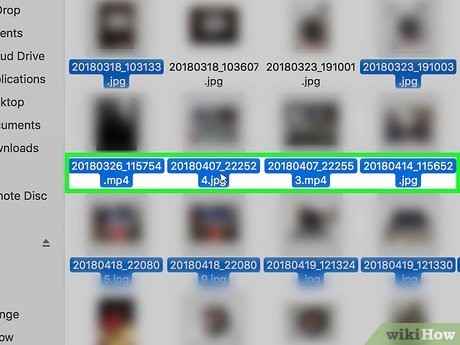
2Select the photos you want to put in your album. Press and hold they ⌘ Command key on your Mac and click all the photos you want to select.You can click a photo that you’ve already selected to unselect it while still holding the ⌘ Command key.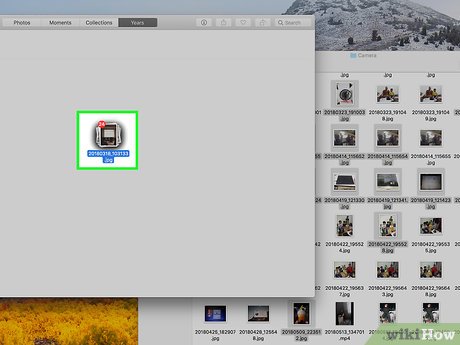
3Drag the selected photos into the album you created. After you select all the photos you want to add to an album, click and hold on one of the photos and drag it to the album in the sidebar you just created, in the left-side column. You’ll see a green circular icon with a plus sign “+” in it appear when your mouse is over the album. Then you can release the mouse button to drop the photos into the album.Method 3Method 3 of 4:Organizing Albums in Folders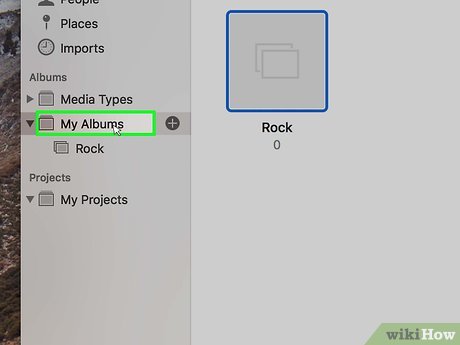
1Click My Albums and hold your mouse over it. It’s in the left-side column in the “Albums” section. You will see a button appear to the right.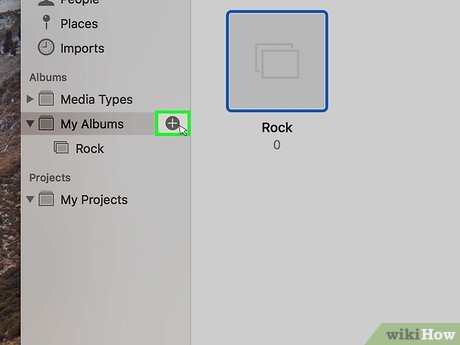
2Click
. Click the small circular button with a plus sign “+” when it appears to the right of “My Albums” in the sidebar. A small drop-down menu will appear.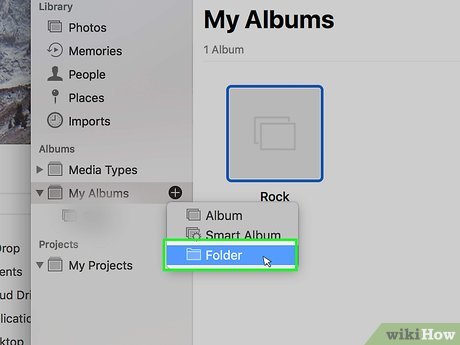
3Click Folder. It’s the last option in the drop-down menu.You can also click File in the menu bar at the top of the screen and select New Folder to create a new folder instead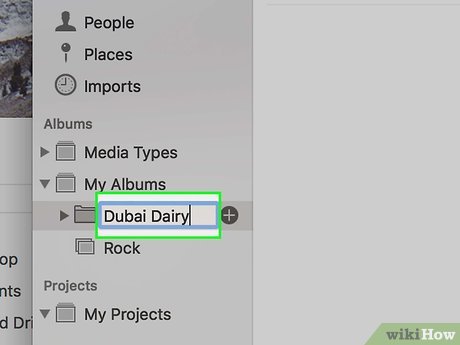
4Rename the folder. By default, the folder will be called “Untitled Folder” but you can click the folder’s name and type a new title
5Drag albums into the folder. If you have lots of albums, you can organize them by grouping them into folders. For example, if you have lots of albums of family gatherings, you could group all those albums into a folder called “Family”.If you don’t see the albums on the left-side column, click the triangular arrow ⏵next to “My Albums” to expand a list of all your photo albums. You can then drag them into your newly created folder.Method 4Method 4 of 4:Using Smart Albums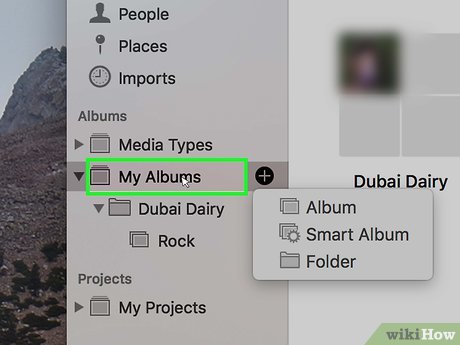
1Click My Albums and hold your mouse over it. It’s in the left-side column in the “Albums” section. You will see a button appear to the right.
2Click
. Click the small circular button with a plus sign “+” when it appears to the right of “My Albums” in the sidebar.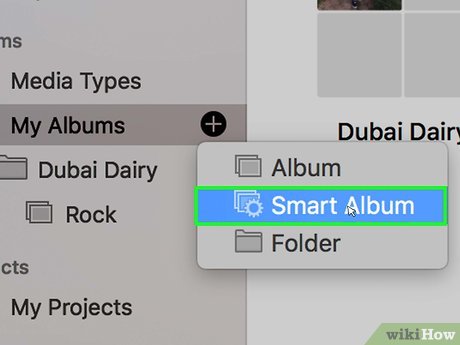
3Click Smart Album. It’s the second option in the drop-down menu. A drop-down menu will appear from the top of the Photos app window that will allow you to name the smart album and set some parameters to create albums automatically.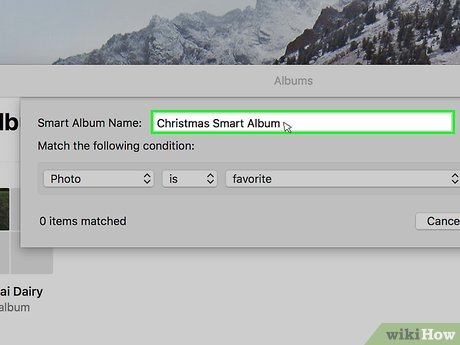
4Rename the smart album. By default, the album will be titled Untitled Smart Album. Click the name in the textbox at the top of the window and enter a new name.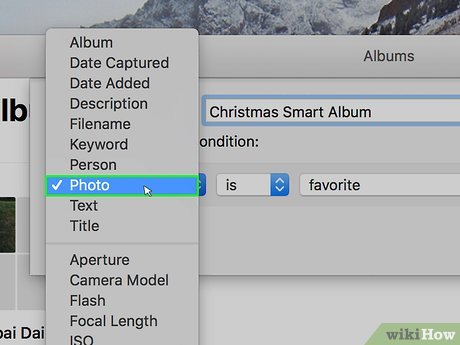
5Select the first condition option. Click the first drop-down menu on the left and select a condition such as title, text, person, date, keyword, album, lens type, camera model, and more. Think of these conditions like rules for your album, any photos or videos that meet these rules will be added to the album automatically.For example, if you wanted to make a Christmas smart album and wanted to automatically include all the photos taken in December of last year, your first option in the drop-down menu could be “Date Captured”.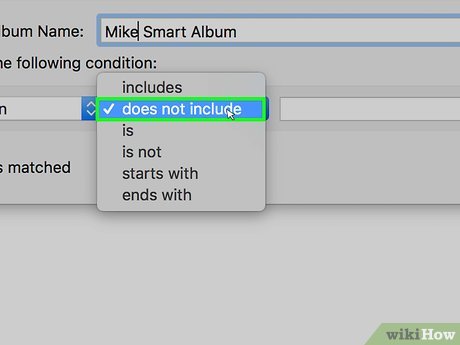
6Select the other conditions. The next two drop-down menus change depending on what you selected in the first drop-down menu. For example, if you select “Person” in the first drop-down menu, the second drop-down menu will have conditions, such as “includes”, “does not include”, “is” etc., while the third drop-down menu will have a list of people that are tagged in your photos.In our Christmas album example where we wanted to include all pictures taken in December of last year, if you select “Date Captured” as the first option, you could select “is in the range” for the second option, then set the dates of “12/1/2017” to “12/31/2017” as the third option.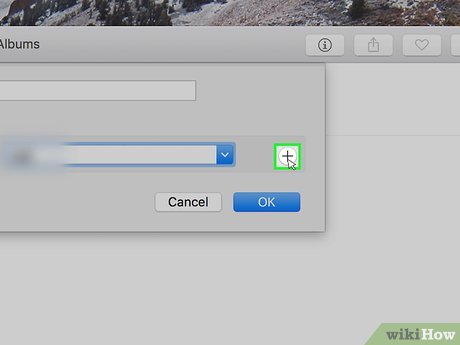
7Click
to add more conditions. Click the button with the plus sign “+” on the right side of your conditional to add additional rules to further refine what pictures will go into your album.You can see how many photos your rules apply too where it says “_ items matched” in the bottom-left corner of the Smart Album window. This is how many photos will be in the album once you’ve created it.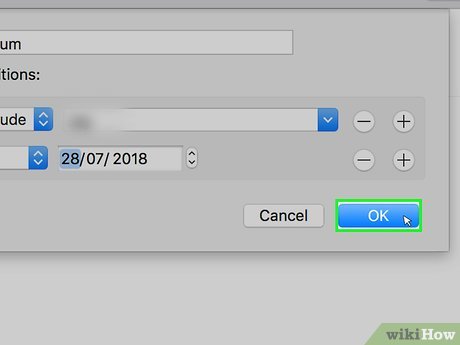
8Click Ok. It’s the blue button on the bottom-right corner of the Smart Album window. This will create the album and will automatically add pictures and videos based on the parameters that you set.You’ll see the album appear on the left-side column in your list of albums under “My Albums”. It will have the image of a gear next to it to signify it’s a Smart Album.


