
You can take everything you need with you on your USB device (such as a flash drive, external hard drive, iPod, etc). Keep reading for detailed instructions on how to make a virtual PC on your thumb drive.
StepsMethod 1Method 1 of 2:Installing an Operating System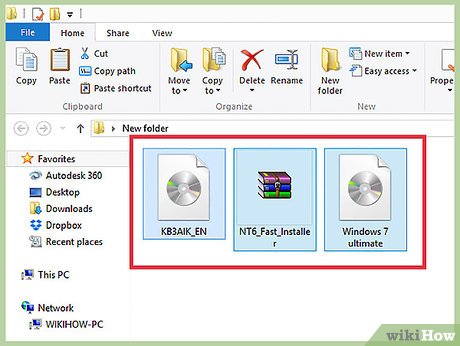
1Configure your USB device. To make a virtual PC on your USB device, you’ll need the following things:8GB USB storage deviceWindows 7 DVD or ISO image fileMicrosoft WAIK softwareNT6 FAST Installer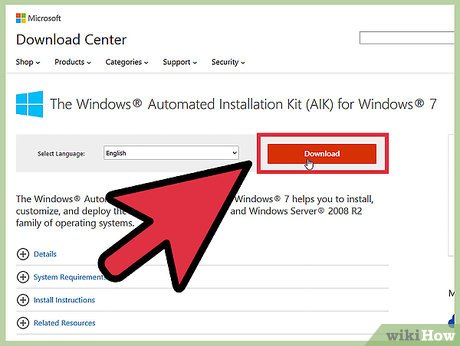
2Download the Windows Automated Installation KIT (WAIK) for Windows 7. Click here for the download.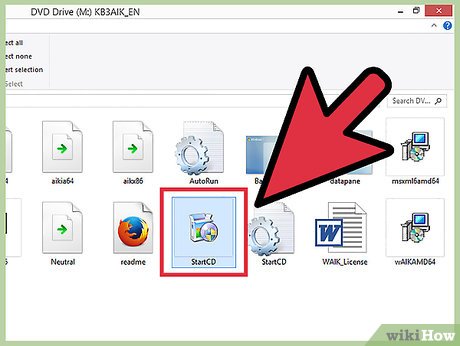
3Install the Windows Automated Installation Kit. Open the StartCD.exe file.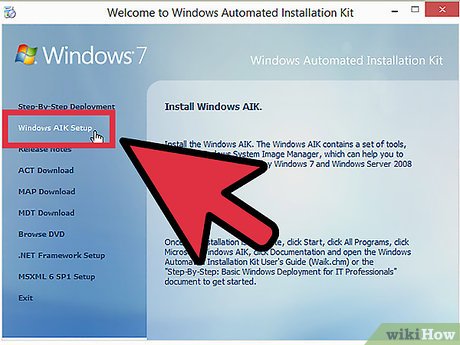
4Click on the Windows AIK Setup option. It’s on the left side of the window.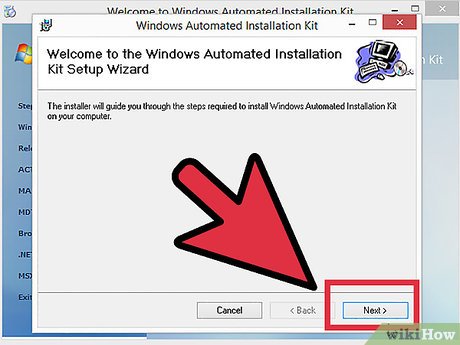
5Click Next.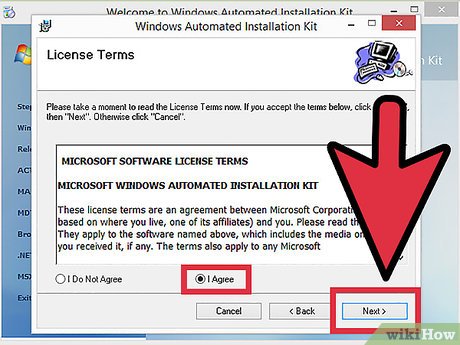
6Agree to the License Terms. Click “I Agree” and select Next.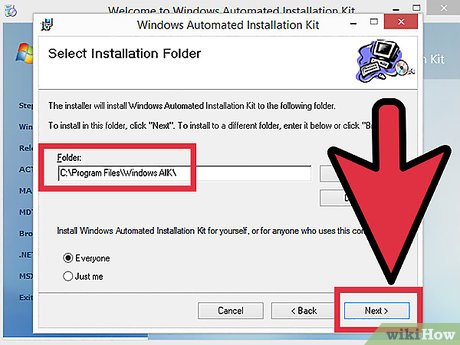
7Select the installation folder. You can leave it as the default (C:\Program Files\Windows AIK\) or select a new location. Click Next.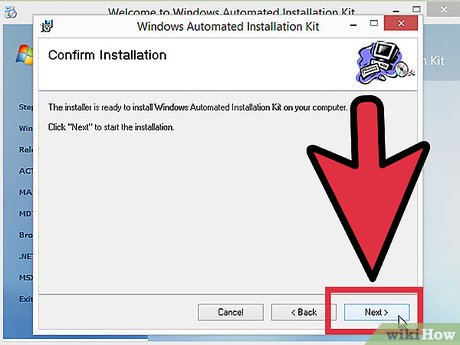
8Confirm the installation. Click Next.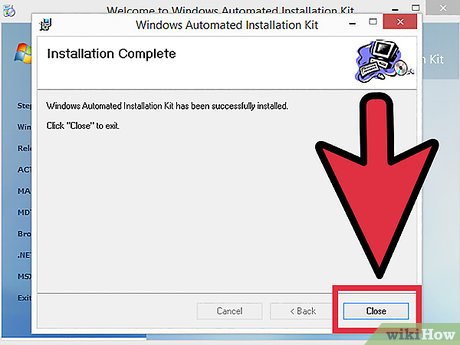
9Complete the installation. When you see that the installation has been completed, click Close.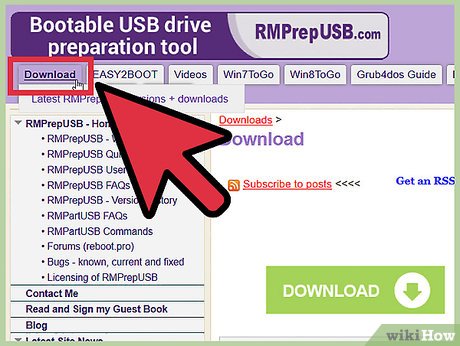
10Download the NT6_FAST_Installed.zip software.Click Download in the upper-left corner.Select NT6_Fast_Installed.zip from the download list.
11Extract the zip file. Right click on it and select Extract to NT6_Fast_Installer\.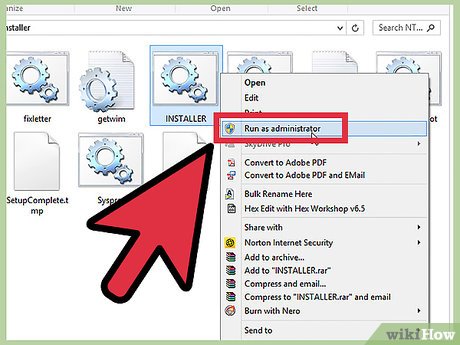
12Right-click on the INSTALLER.cmd file and select Run as Administrator. A command window will open up.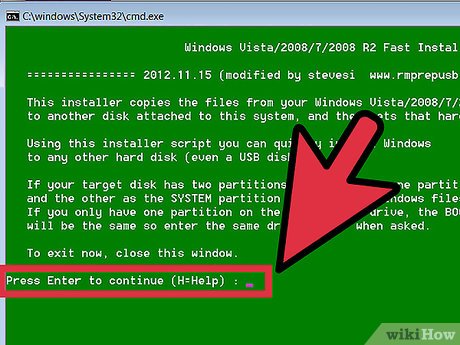
13Press Enter to continue.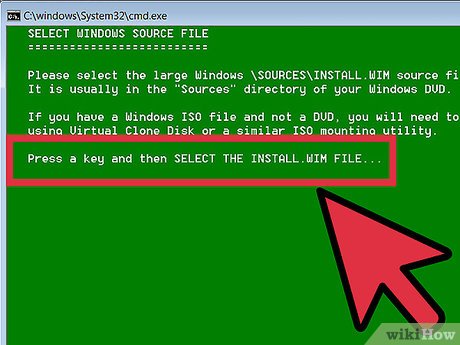
14Press any key to chose the install.wim file.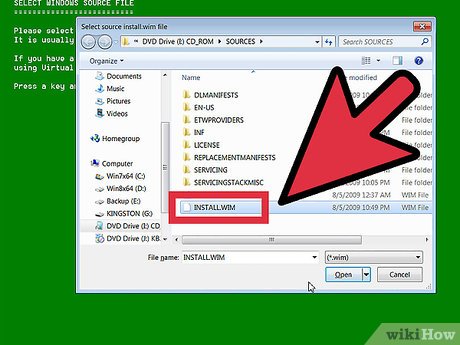
15Select the install.wim file from the Windows 7 DVD. You can find it in the sources folder.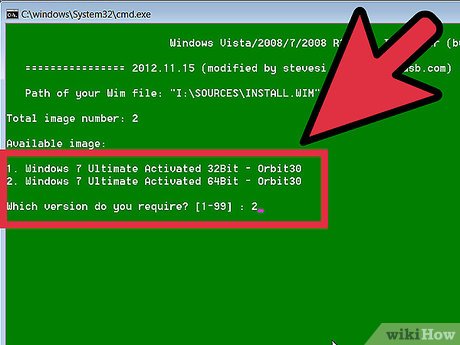
16Choose the operating system image number. For Windows 7 Pro, choose number 4.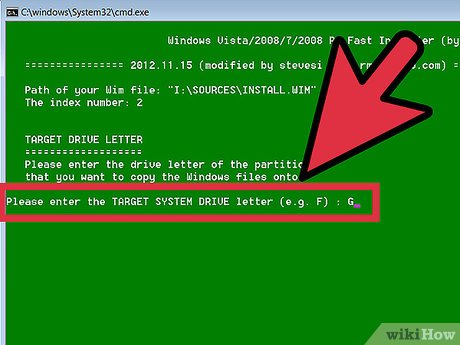
17Choose a target USB drive letter to install the operating system. For this example, we’ll choose K.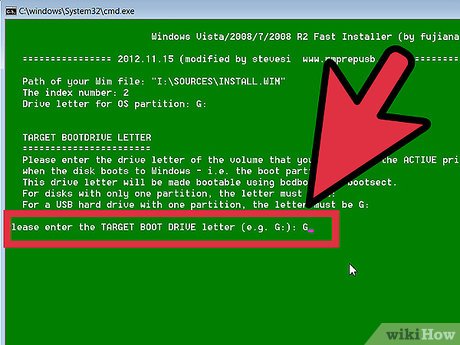
18Choose the target boot drive. Again, in the example, we’ll use K.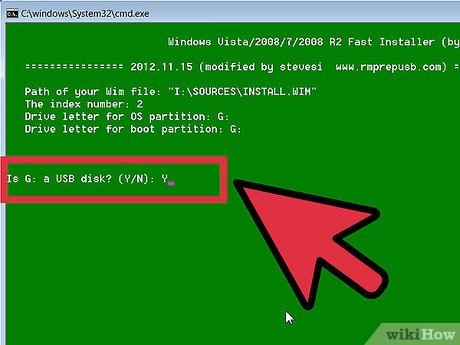
19Choose to install the operating system on the USB drive. Enter y for yes.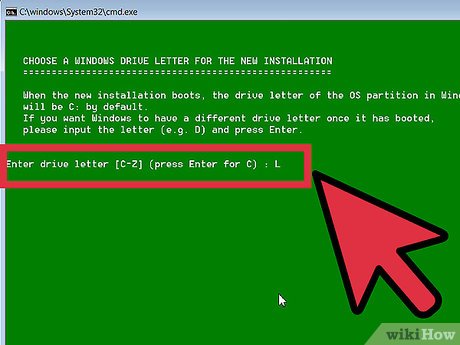
20Chose a Windows drive letter for new instillation. For the example, we’ll use L.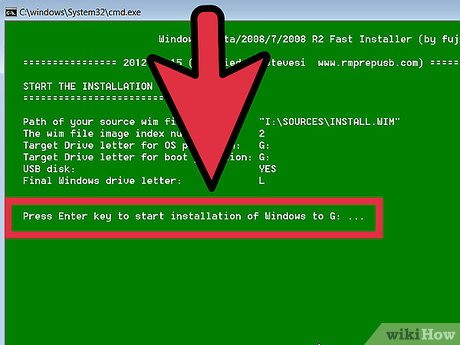
21Press Enter to start installation.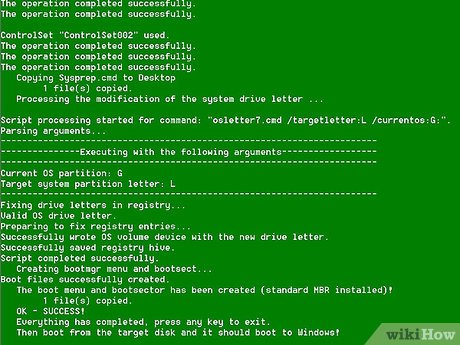
22Boot the operating system. Once your installation has reached 100%, you can boot the operating system from your USB drive.Method 2Method 2 of 2:Installing Applications
1Determine what applications you will need to take with you or access when away from your normal computing location. At the very least, install an email client (if your email provider allows POP3 access) and an Internet browser. You may also want office-type applications as well as some entertainment sources.
2Download applications that have been designed or re-engineered for portable use. You can search the Internet using key words, or head to some sites devoted to portable computing.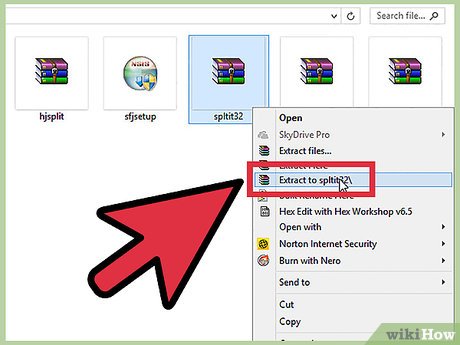
3Install (extract) your chosen applications to your USB device and take it with you.
4Browse this list of suggested applications. You might find some of these useful on a USB drive:1by1 — MP3 directory player7-zip portable — Archive managerAceMoney Lite — Financial tracking softwareFirefox Portable — Portable version of this browserFoxit PDF — Portable PDF ReaderFilezilla Portable — FTP clientFreeOTFE — Free disk encryption softwareGIMP Portable — Image ManipulatorGoogle Talk — Portable versionOpera USB — Portable version of Opera browserOpenOffice Portable — Full Office suitePidgin Portable — Multi-network IM (formerly known as Gaim)Portable Scribus — Portable Publishing ToolSudoku Portable — To pass the time…SyncBack — Synchronization / backup applicationThe Sage — Great DictionaryThunderbird Portable — Email clientTorpark — Portable TOR browser client for anonymous browsingTrueCrypt — Free disk encryption softwareuTorrent — Lightweight BitTorrent client


