
If your pen drive is write-protected, you may not have the ability to modify files or format the drive. There are a few things you can do to remove write protection from a USB drive. However, it’s also possible the drive may be failing or locked with security software making it impossible to write to. This wikiHow teaches you how to remove write protection from your USB pen drive on a Windows or macOS computer.
StepsMethod 1Method 1 of 6:Using Diskpart (Windows)
1Toggle the switch on the USB drive. If your USB drive has a physical write-protection switch on its exterior, it might be in the wrong (locked) position. Try toggling the switch before you continue with this method.In some instances, a pen drive can be locked using security software that prevents permission changes on a flash drive. If this is the case, you may not be able to remove write protection from the USB drive. You will need to use the program that was used to apply the write-protection to remove it.X
2Insert the pen drive into an open USB slot. You can use any available USB slot on your PC.
3Right-click the Start 
menu. It’s usually at the bottom-left corner of the screen. This displays a menu.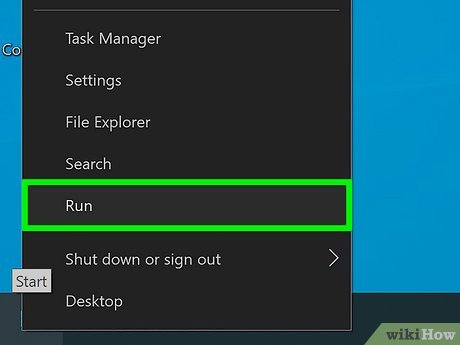
4Click Run. It’s at the bottom of the menu that appears when you right-click the Windows Start menu. This opens Run in a new window.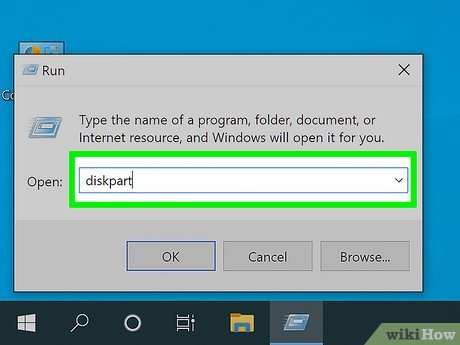
5Type diskpart into Run and press ↵ Enter. This opens Diskpart in the Command Prompt.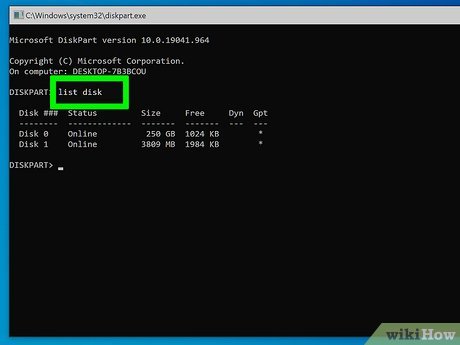
6Type list disk and press ↵ Enter. A list of all drives, including your pen drive, will appear. Each drive is labeled “Disk (number)”, and each number is unique to that drive.You should be able to identify your USB drive by how much space it has listed under “Size”. For example, if your USB drive is a 32 GB drive, it should say “32 GB” or close to that below “Size” in the Command Prompt.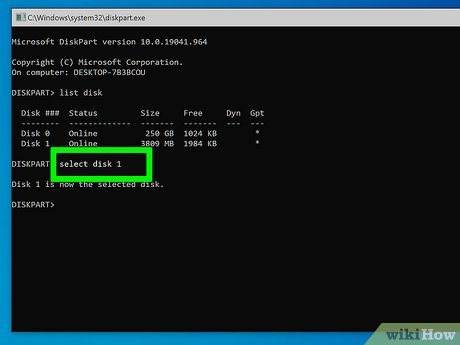
7Type select disk # and press ↵ Enter. Replace # with the number of your pen drive (i.e. “select disk 3”). This selects the USB drive in Diskpart.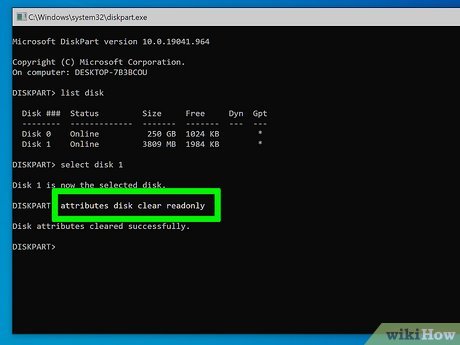
8Type attributes disk clear readonly and press ↵ Enter. This should remove write-protected status from the drive.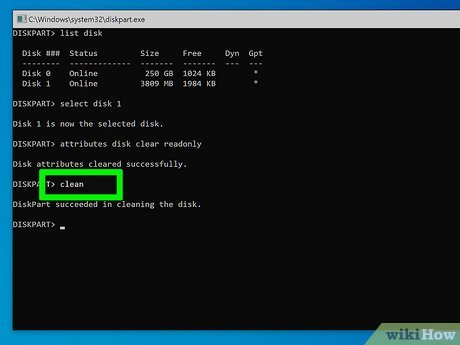
9Type clean and press ↵ Enter. This should remove the data from the drive. Once it’s removed, you’ll be able to set it up for use.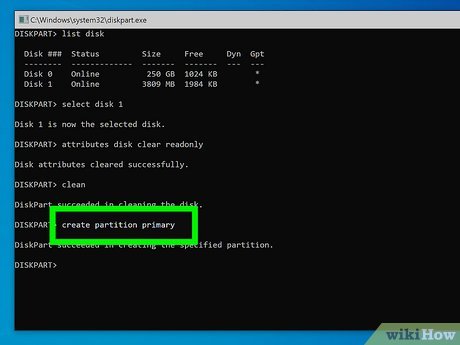
10Type create partition primary and press ↵ Enter. This creates a partition on the USB drive.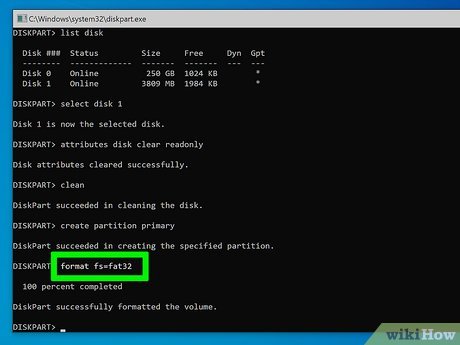
11Type format fs=ntfs, format fs=fat32 or format fs=exFAT and press ↵ Enter. .\This selects the file system you want the USB drive to use.XType “format fs=ntfs” if you want the drive to be readable only by a Windows computer.Type “format fs=fat32”. If the drive is less than 32GB, and you want it to be compatible with the largest number of devices.Type “format fs=exFAT” if the drive is greater than 32GB, and you want it to be compatible with the largest number of devices.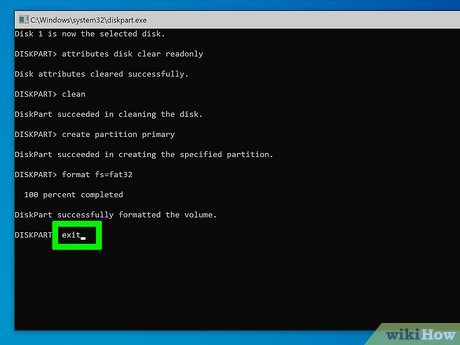
12Type exit and press ↵ Enter. This returns you to the standard command prompt. The drive should now be available for data storage and other uses.XMethod 2Method 2 of 6:Removing Write-Protection Using Third-Party Software (Windows)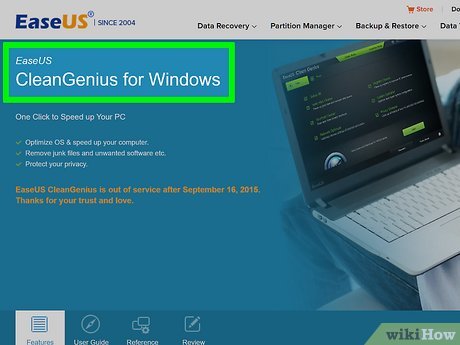
1Download CleanGenius. CleanGenius is a free program you can download for Windows. It has lots of tools to help optimize your system, but it also has a feature that can remove write-protection on a USB drive. Click the following link to download CleanGenius:https://down.easeus.com/product/win_cleangenius_trial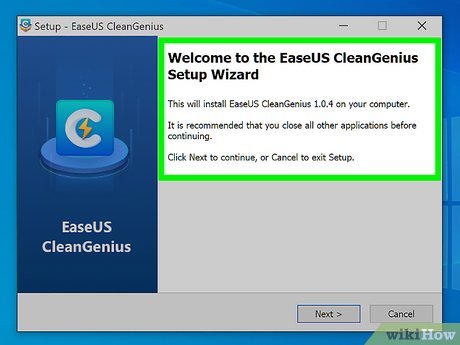
2Install CleanGenius. Clicking the link downloads an executable file. By default, you can find the downloaded file in your Downloads folder or in your web browser. Click the “win_cleangenius_trial.exe” file to open it. Follow the instructions to complete the installation.
3Insert the USB drive. Insert the USB drive with write protection into a free USB port on your computer.If the USB drive has a write-protection switch on it, ensure the switch is disabled.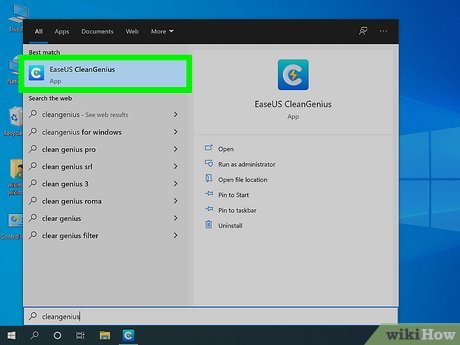
4Open CleanGenius. It has a blue icon with a “C” that has a star in the middle of it. Click the icon in the Windows Start menu to open CleanGenius.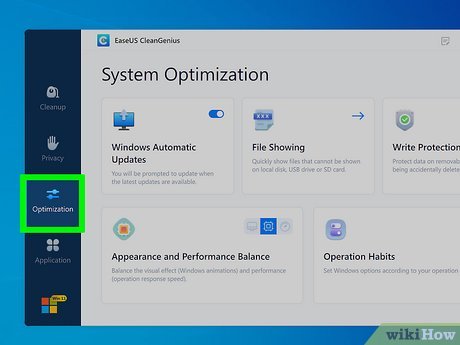
5Click Optimization. It’s the third option in the menu bar to the left. It has an icon that resembles three slider bars.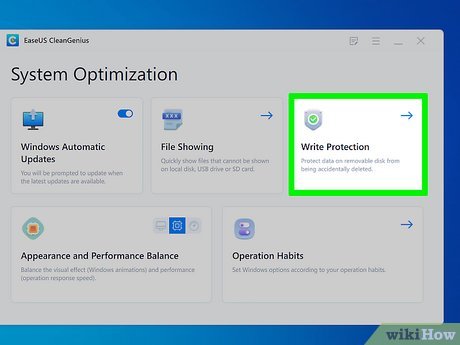
6Click Write Protection. It’s the third option in the top row. It has an icon that resembles a shield with a green checkmark in the box.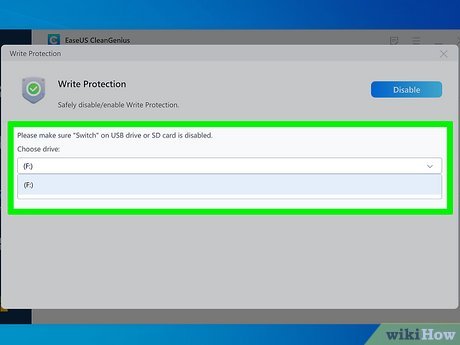
7Ensure the correct USB drive is selected. Use the drop-down menu below “Choose drive” to select the correct USB drive and drive letter.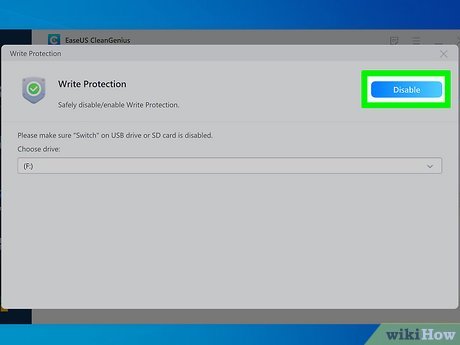
8Click Disable. It’s the blue button in the upper-right corner. This disables write-protection on your USB drive.If the write-protection was applied using a different program, you may need to use that program to disable write-protection. It may not be possible to disable is using another program.Method 3Method 3 of 6:Using the Registry Editor to Remove Write-Protection (Windows)
1Toggle the switch on the USB drive. If your USB drive has a physical write-protection switch on its exterior, it might be in the wrong (locked) position. Try toggling the switch before you continue with this method.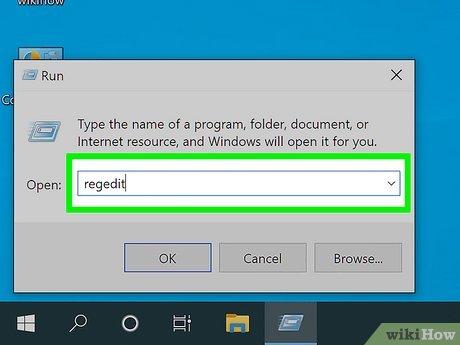
2Open the Windows Registry Editor on your PC. Warning: Making incorrect changes to the system registry can cause damages to your operating system. This is only recommended for advanced users. Do not make any changes unless you know what you are doing. Use the following steps to open the Registry Editor:Press ⊞ Win+S to open the search bar.Type regedit into the search field.Click Registry Editor in the search results.Click Yes to run the app.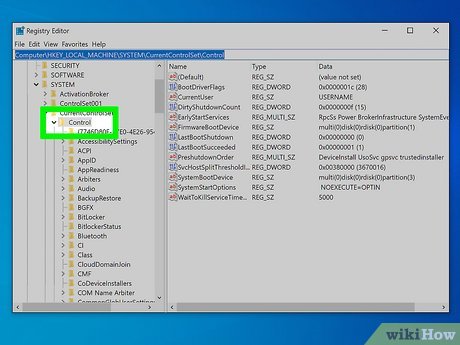
3Go to the Control folder. Use the following steps to navigate to the Control folder in the system registry. You should see several more folders inside the Control folder.Click the HKEY_LOCAL_MACHINE folder.Click the SYSTEM folder.Click the CurrentControlSet folder.Click the Control folder.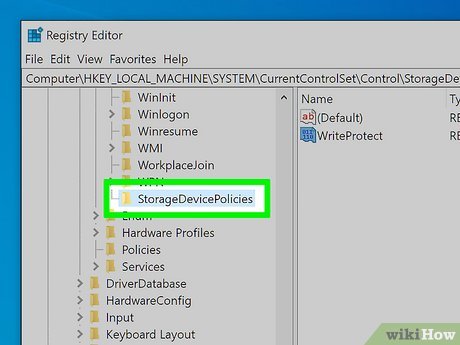
4Click the StorageDevicePolicies folder (if it exists). If you see this folder in the left panel (under the “Control” folder), double-click it to display its contents in the right panel. If you don’t see this folder, perform the following steps to create it:XRight-click a blank area of the right panel to open the context menu.Select New and then Key on the menu.Type StorageDevicePolicies and then click the blank area to save the new key.Click StorageDevicePolicies in the left panel to open it.Right-click a blank area in the right panel and select New > DWORD.Type WriteProtect and then click anywhere to save the DWORD.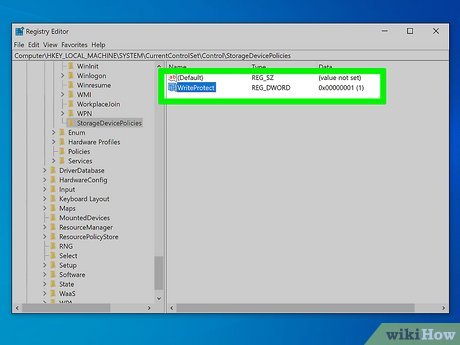
5Double-click WriteProtect in the right column. A dialog window will appear.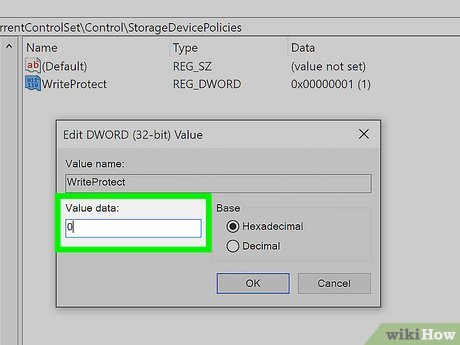
6Enter “0” as the “Value Data” amount and click OK. Enter the numerical zero without the quotes.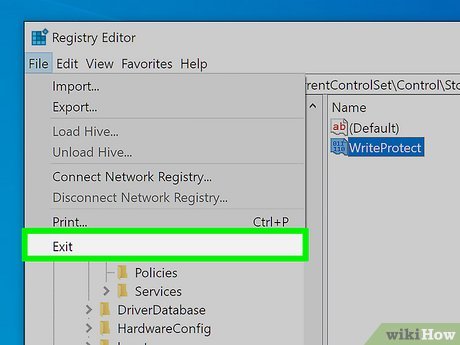
7Close Registry Editor and restart your PC. Changes you make in the Registry Editor usually require a restart to take effect.Method 4Method 4 of 6:Formatting a USB Drive with Third-Party Software (Windows)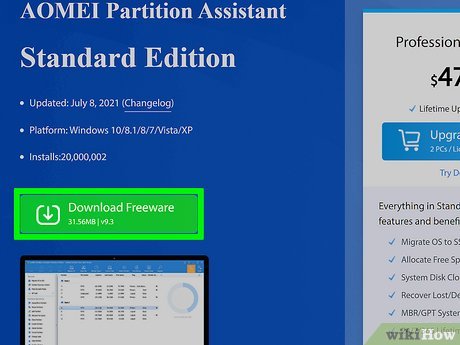
1Download AOMEI Partition Manager. AOMEI Partition Manager Standard Edition is a freeware program for Windows that you can use to format a USB drive. In some cases, it may be able to format a write-protected USB drive. Use the following steps to download and install AOMEI Partition Manager:Go to https://www.diskpart.com/download-home.html in a web browser.Click the green button that says Download Freeware.Click the PAssist_Std.exe file in your Downloads folder or web browser.Follow the instruction to install the program.
2Insert the USB drive. Insert the USB drive with write-protection into a free USB slot on your computer.If the USB drive has a write-protection switch on it, make sure it is disabled.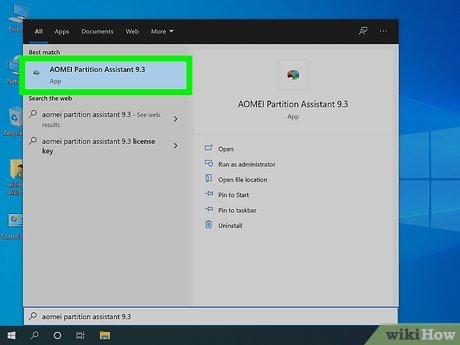
3Open AOMEI Partition Manager. It has an icon that resembles a blue, red, and green pie chart with a green checkmark in the middle.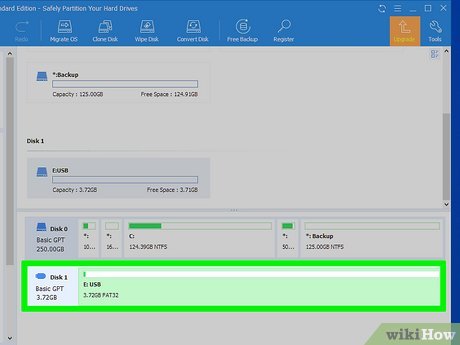
4Right-click your USB drive. It should be the bar listed at the bottom of the list of drives on your computer. It contains the drive name and the amount of storage space the drive holds. Right-click it to display a drop-down menu.Be careful not to click one of the other drives on your computer. Check the drive name and the amount of space to make sure you are selecting the right drive.Ensure you have backed up any data on the drive you want to keep.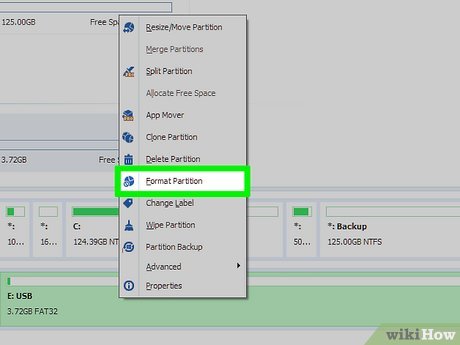
5Click Format Partition. This displays a dialogue box you can use to format your USB drive.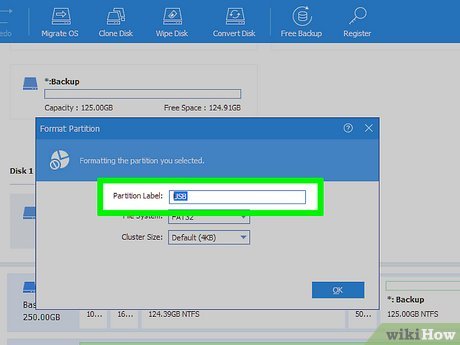
6Enter the drive name. Enter the new name for the drive next to “Partition Label.” This is the name that will be given to the drive after it is formatted.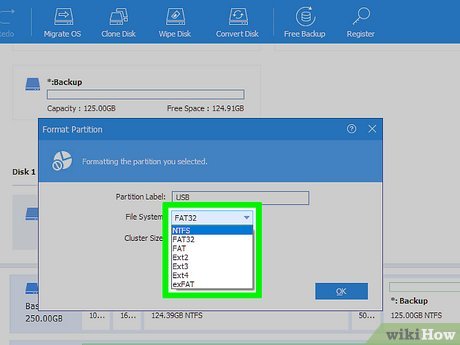
7Select the file system. Use the drop-down menu next to “File system” to select how you want to format the drive. You should select one of the following options:NTFS is a file system that is only compatible with Windows. NTFS drives are not compatible with other devices.FAT32 is a universal file system that works with most devices. Select this if your drive is less than 32 GB.exFAT is a newer version of “FAT32” that works with a wide variety of devices, but may not work on some older devices. Select this option if your USB drive is greater than 32 GB.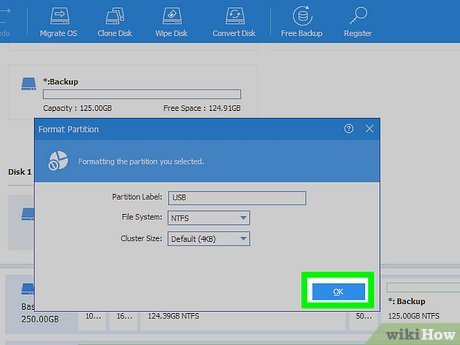
8Click Ok. It’s the blue button in the dialogue box. This saves your changes.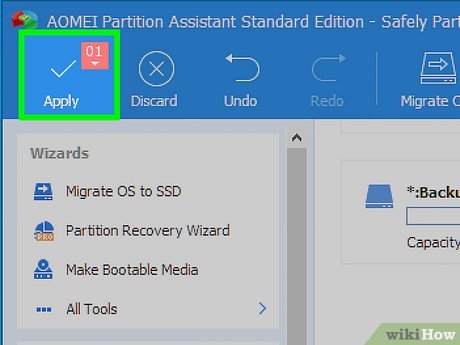
9Click Apply. It’s the icon with the checkmark in the upper-left corner. This displays a preview dialogue box that lists the changes that will be made to your USB drive.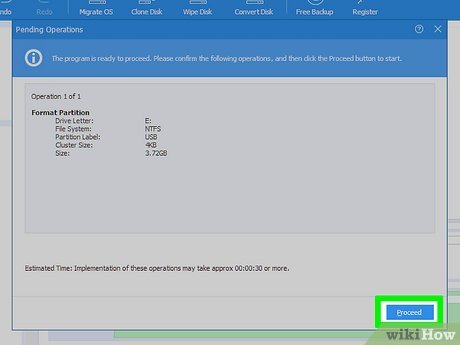
10Click Proceed and then click Yes. It’s the blue button in the lower-left corner of the dialogue box. Then click Yes in the confirmation box. This formats your USB drive with the settings you selected.In some cases, AOMEI will format the drive without removing write-protection. If still get an error message that the USB drive is write-protected when you try to use it, you will need to use one of the other methods to remove write-protection. If the write-protection was applied using specific software, you may need to use that program to remove the write-protection.Method 5Method 5 of 6:Formatting a USB Drive (Windows)
1Insert the USB drive. Insert the USB drive with write-protection into a free USB slot on your computer.If the USB drive has a write-protection switch on it, make sure it is disabled.
2Right-click the Windows Start menu
. It’s the icon with the Windows Start menu in the lower-left corner. Right-clicking it displays an alternate system menu that is different from the usual Start menu.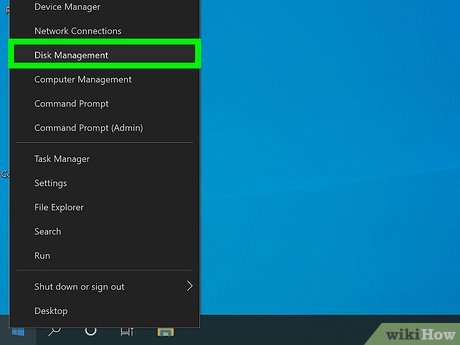
3Click Disk Managament. This opens the Disk Management wizard. It should display a list of all your connected drives.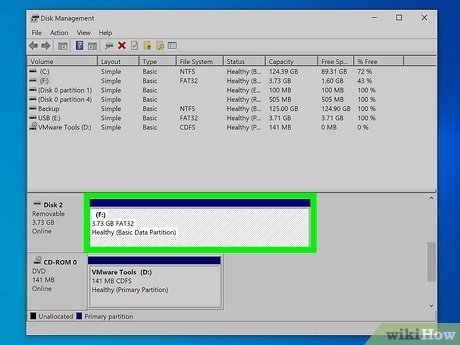
4Right-click your USB drive. It should be listed below “Volume:” in the list at the top. Check the drive letter and the amount of storage size the drive has to make sure you select the right drive.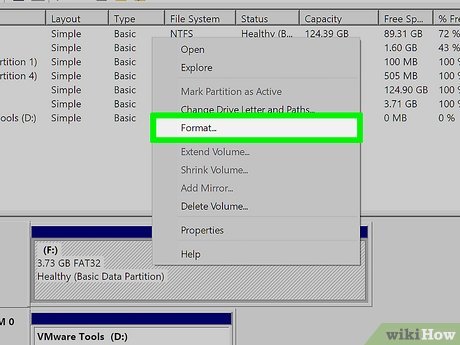
5Click Format and click Yes. It’s in the menu that appears when you right-click a drive. Then click Yes in the pop-up window to acknowledge that this will erase all data on the drive.Ensure you have backed up any data on the drive you want to keep.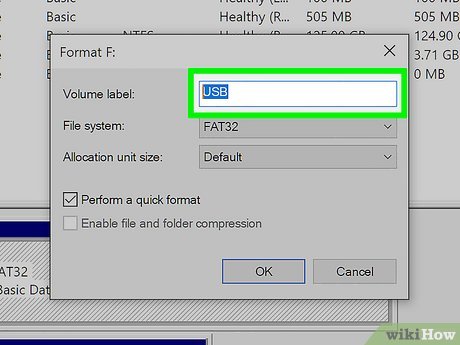
6Enter a new name for the drive. This is the name that the drive will be given after it is formatted. Enter it in the space next to “Volume Label:”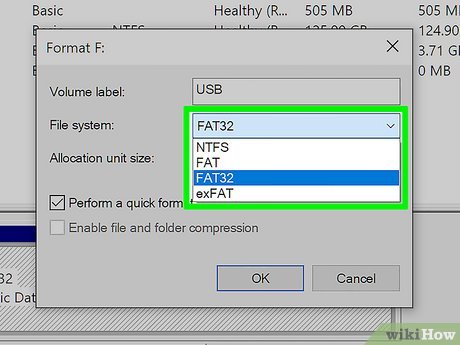
7Select the file system. Use the drop-down menu next to “File System” to select the file system you want the drive to use. You can select “exFAT”, “FAT32”, or “NTFS”.NTFS is a file system that is only compatible with Windows. NTFS drives are not compatible with other devices.FAT32 is a universal file system that works with most devices. Select this if your drive is less than 32 GB.exFAT is a newer version of “FAT32” that works with a wide variety of devices, but may not work on some older devices. Select this option if your USB drive is greater than 32 GB.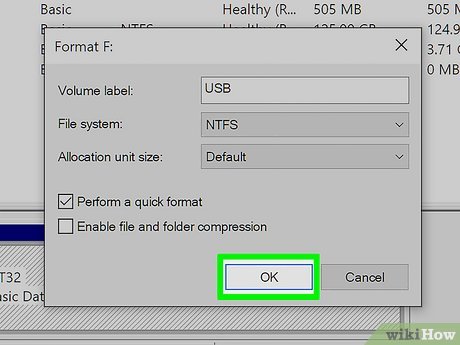
8Click Ok twice. Clicking “OK” in the dialogue box displays a warning that this will erase all data on the drive. Clicking “OK” again will proceed to format the drive. Method 6Method 6 of 6:Using Disk Utility (Mac OS X)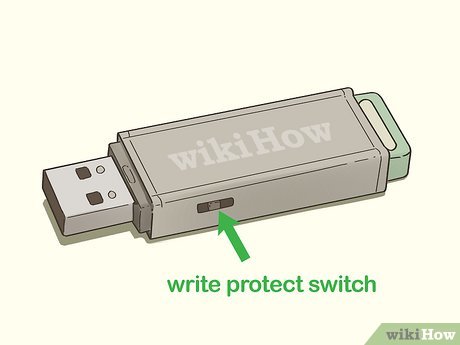
1Toggle the switch on the USB drive. If your USB drive has a physical write-protection switch on its exterior, it might be in the wrong (locked) position. Try toggling the switch before you continue with this method.
2Insert the write-protected pen drive into a USB slot on your Mac.
3Open Finder 
. It’s the first icon on the Dock, which is usually at the bottom of the screen.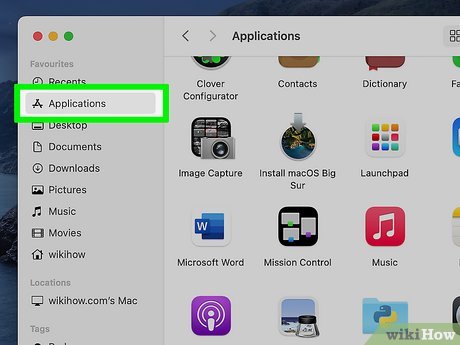
4Click the Applications folder. It should be in the left panel. Some icons will appear in the right panel.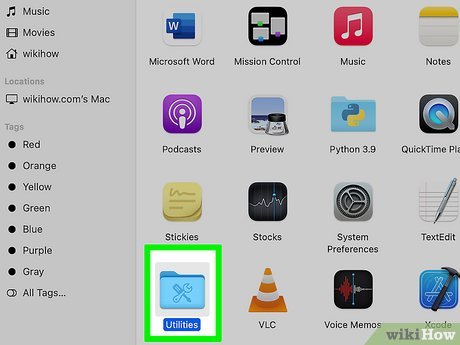
5Double-click the Utilities folder. It’s in the right panel.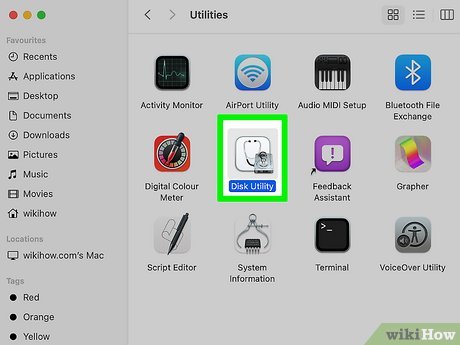
6Double-click Disk Utility. It’s the hard drive icon with a stethoscope in the right panel. This opens a tool you can use to format drives.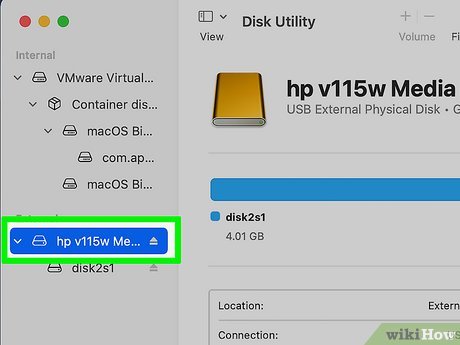
7Select your pen drive in the left panel. Some info about the drive will appear in the right panel.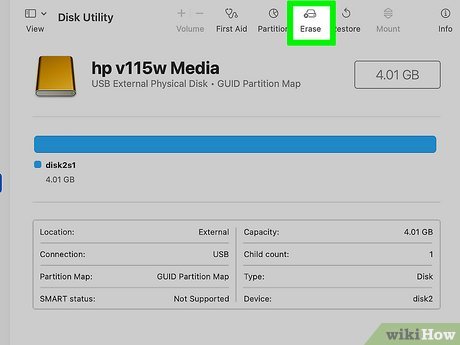
8Click the Erase tab in the right panel. It’s near the top of the panel.X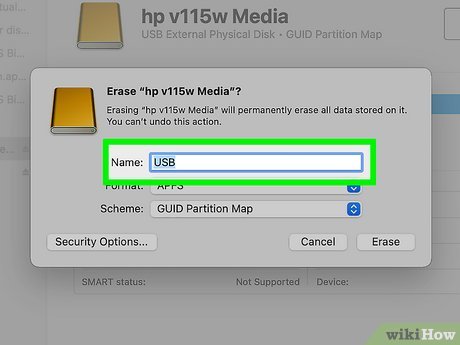
9Enter a name for the drive (optional). You can keep the default name if you wish.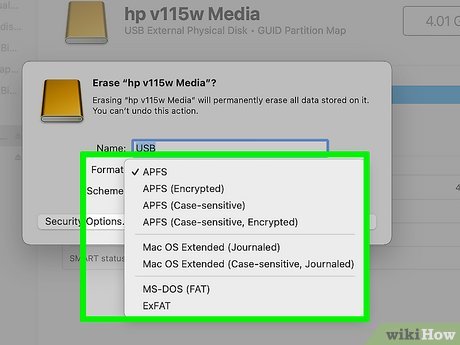
10Select a file system type from the “Format” menu. If you want your pen drive to be compatible with both PCs and Mac, select MS-DOS (FAT) (pen drives under 32GB) or ExFAT (drives over 32GB). Otherwise, choose your desired Mac filesystem type.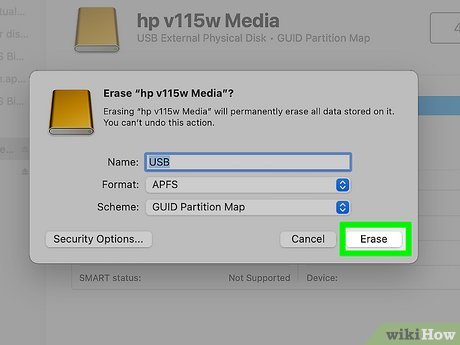
11Click the Erase button. It’s at the bottom-right corner of the active window. Your Mac will reformat the write-protected pen drive and change the sharing and permissions status to “read and write”.XIf this process does not make your drive usable, the issue is likely mechanical and you should replace the pen drive.


