
This wikiHow teaches you how to find the 7-digit Service Tag for your Dell product. The service tag is exclusive to your product and is usually required when receiving customer support. All modern Dell products have a Service Tag sticker somewhere on the product, though the sticker may wear off over time. If your computer or tablet don’t have a legible sticker, you can still find the Service Tag using Windows, Linux, or Android.
StepsMethod 1Method 1 of 6:Locating the Sticker on Any Dell Product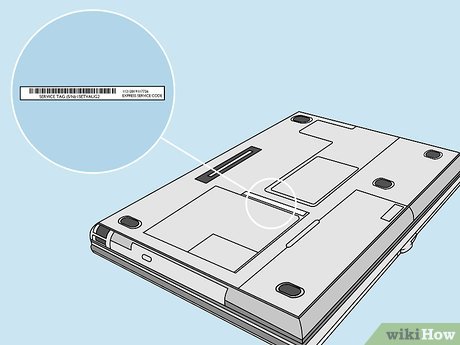
1Find the sticker on a laptop. The tag is usually on the bottom of the laptop near the battery cover, and is either white or black with contrasting characters.X Look for the 7-digit alphanumeric code next to or below the words “Service Tag” or “Serial Number.”Some laptops have a metal flap on the bottom that obscures the sticker. If you don’t see the sticker, lift the flap to expose it.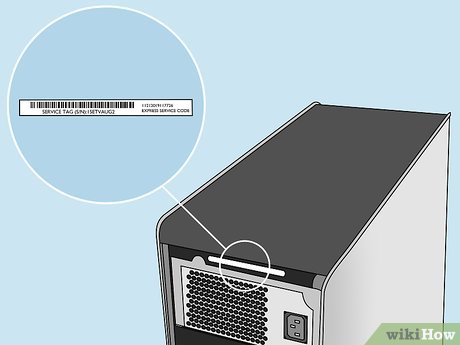
2Find the sticker on a desktop PC. You’ll usually find a white sticker on the back of the tower/case near the top. You may also find a black sticker with white lettering on the top of the unit. Either of these locations should display a 7-digit alphanumeric code beside or below the words “Service Tag” or “Serial Number” (on older models).If you’re using an All-in-One PC, look for a white sticker with black letters on the back of the monitor, near the bottom.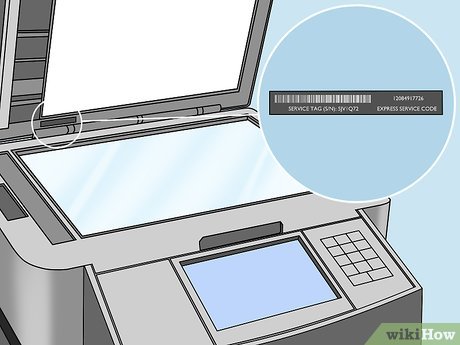
3Find the sticker on a printer. Lifting the scanner lid on most All-in-One models will reveal a black sticker with white text with the words “Service Tag.” If you have an older model, look for a large white sticker with a bar code on the backside of the unit or in the toner/ink cartridge bay. The Service Tag is 7-digits and contains both letters and numbers.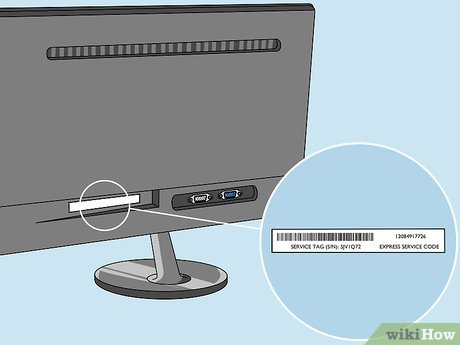
4Find the sticker on a monitor. Look on the back of the monitor for a black-and-white sticker that says “Service Tag” to find your 7-digit alphanumeric code.Not all monitors have Service Tags stickers.X If you don’t see the sticker, you’ll have to find the Service Tag number on your invoice.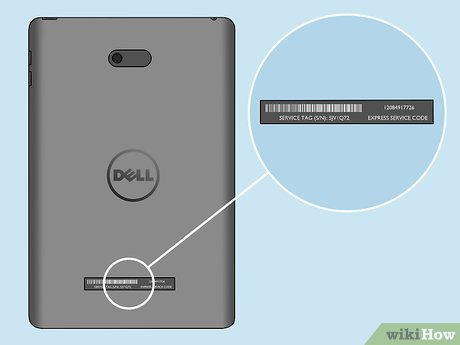
5Find the sticker on a tablet. The sticker is a black label with white letters on the back of the tablet. The 7-digit alphanumeric code next to “Service Tag” is the one you’ll need to receive support.
6Find the sticker on a projector. The black sticker with white text is usually on the underside of the projector. If you don’t see a sticker there, it’s in the storage bag that came with the projector. Just look for the words “Service Tag” or “Serial Number” to find the 7-digit alphanumeric Service Tag code. Method 2Method 2 of 6:Using SupportAssist for Windows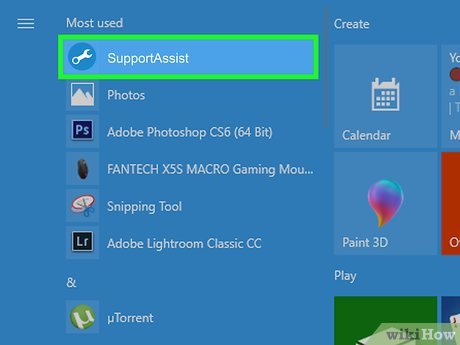
1Open SupportAssist. SupportAssist comes pre-installed on most Dell PCs and tablets running Windows.X You’ll usually find it in the Start menu under All Programs > Dell.As long as you have SupportAssist installed, opening the app will display the 7-digit alphanumeric Service Tag at the top-right corner of the window.If you don’t have SupportAssist but are able to get on the internet, continue to the next step.If you don’t have SupportAssist and cannot get online, see this method.
2Go to http://www.dell.com/support/home/us/en/19/Products/?app=drivers. You’ll only need to do this if the previous step did not give you your Service Tag.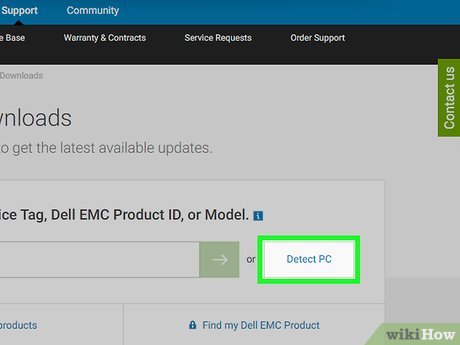
3Click Detect PC next to the “Enter a Dell Service Tag” field. Dell will now scan your PC.If a window appears displaying information about your PC, you already have SupportAssist. You should now see your 7-digit Service Tag near the top-right corner of the page.If SupportAssist is not found, you’ll see “You need Support Assist” above the gray box. Continue with this method.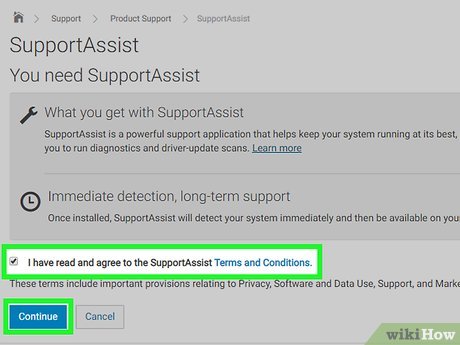
4Agree to the terms and click Continue. The SupportAssist app will begin to install.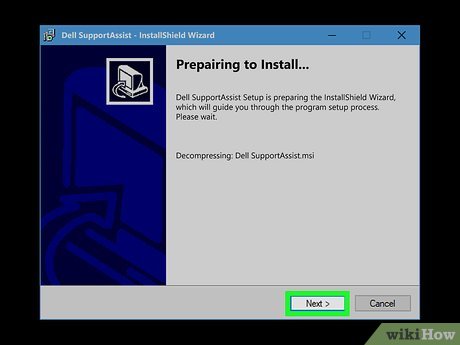
5Follow the on-screen instructions to complete the installation. Once you’re finished installing SupportAssist, you’ll find your Service Tag at the top-right corner of the window. It’s a 7-digit code containing both letters and numbers. Method 3Method 3 of 6:Using the Windows Command Prompt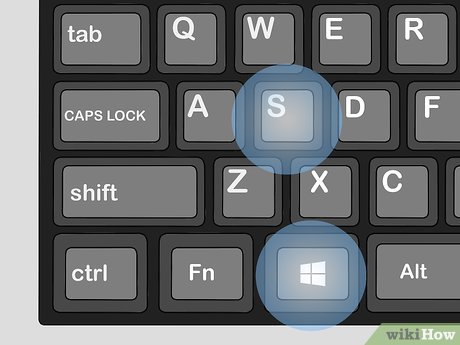
1Press ⊞ Win+S. This opens the Windows Search bar next to the Start menu.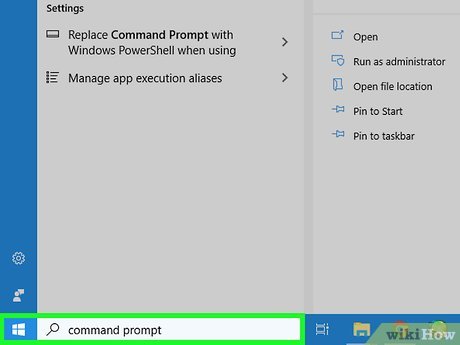
2Type cmd or command prompt into the Search bar. A list of results will appear.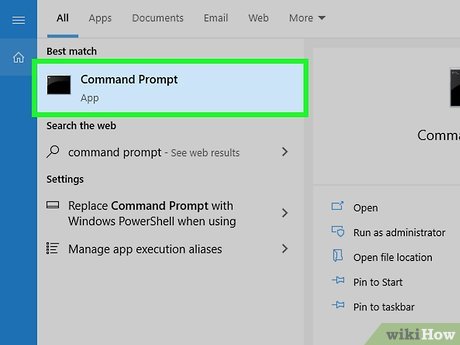
3Click Command Prompt in the search results.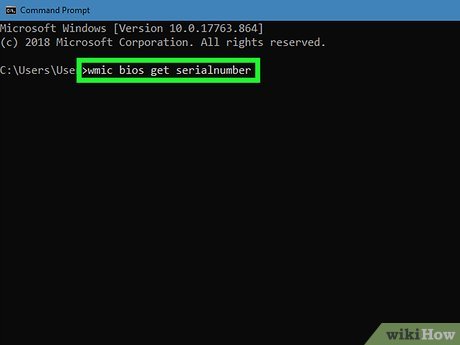
4Type wmic bios get serialnumber at the prompt and press ↵ Enter. The Service Tag is the 7-digit alphanumeric code that appears below “SerialNumber.”X” Method 4Method 4 of 6:Using an Android Tablet’s Settings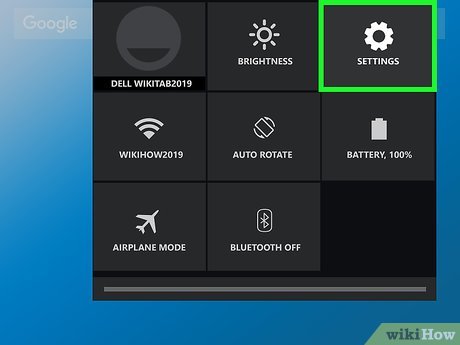
1Open your Android’s Settings 
. Use this method if your Dell tablet came with Android instead of Windows. To find your Settings, drag the notification bar down from the top of the home screen and tap the gear at the top-right corner. You’ll also find the gear icon in your app drawer.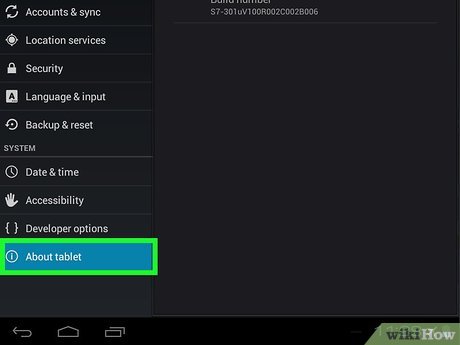
2Tap About Tablet. You may have to scroll down a little to find it.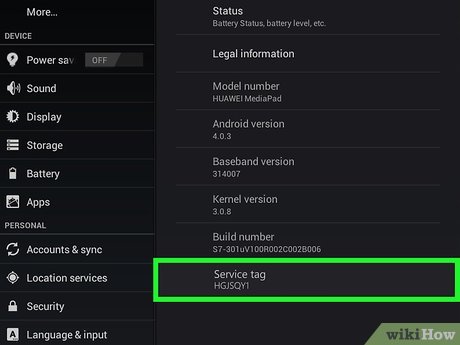
3Find the Service Tag next to “Service Tag” or “Serial Number.” It’s the 7-digit code containing both letters and numbers.X”Method 5Method 5 of 6:Using Linux Commands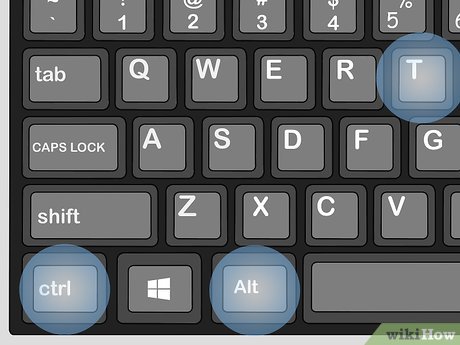
1Press Ctrl+Alt+T. This opens a terminal window.
2Type sudo dmidecode -s system-serial-number and press ↵ Enter.X
3Enter your password and press ↵ Enter. Once your password is accepted, you’ll find the 7-digit alphanumeric Service Tag below “SerialNumber.”Method 6Method 6 of 6:Booting Into the BIOS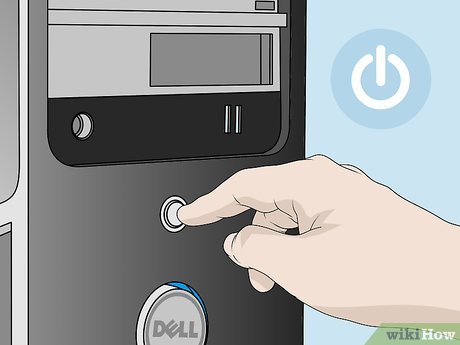
1Turn off the computer. If your Service Tag sticker is missing or illegible and you are unable to use one of the Windows or Linux methods, you can find the Service Tag in the BIOS. Begin by powering the computer off.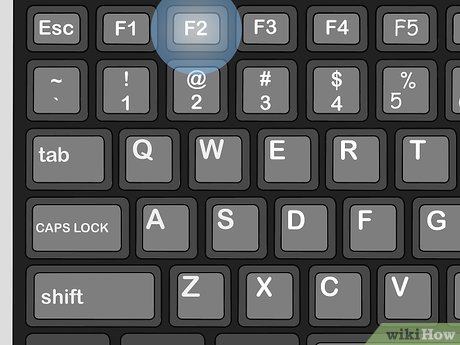
2Turn the PC back on and press F2 on the Dell logo screen. You’ll need to be quick with this move—make sure you press this key as soon as you see the Dell logo. This will bring you to the BIOS.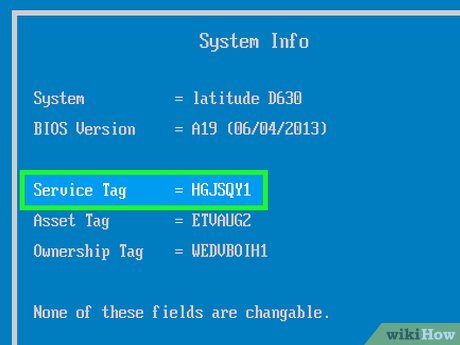
3Find the Service Tag in the system information. You’ll usually find a line called “Service Tab” on the screen that opens by default, but you may have to explore other tabs to find it. The Service Tag is a 7-digit code that contains both letters and numbers.X


