
This wikiHow teaches you to customize and design themes for WordPress. Designing WordPress themes from scratch can be a lengthy process that involves a lot of coding, but there are apps that can simplify the process. One app is a WordPress plugin called Elementor that can be installed from the WordPress dashboard.
StepsPart 1Part 1 of 11:Installing Elementor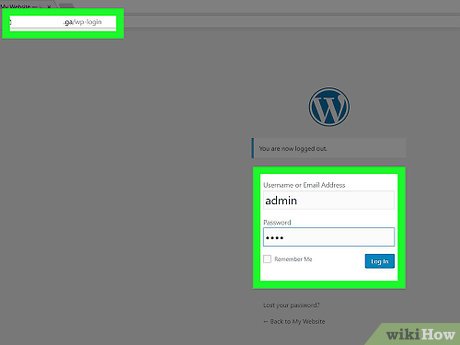
1Log In to WordPress. After you have installed WordPress on your server you can log into the WordPress dashboard by typing the URL for your website in a web browser followed /wp-admin (for example, www.mywebsite.com/wp-admin. Then type your username and password to log in.Click here to read about how to install WordPress on your web server.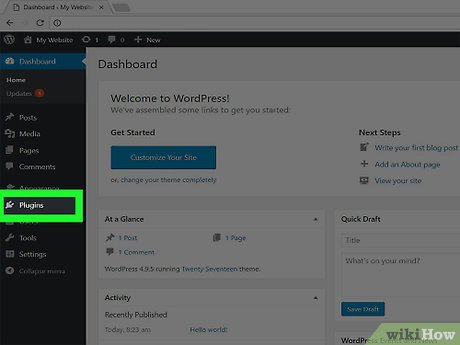
2Click Plugins. It’s in the sidebar to the left. It’s next to an icon that resembles an electric plug.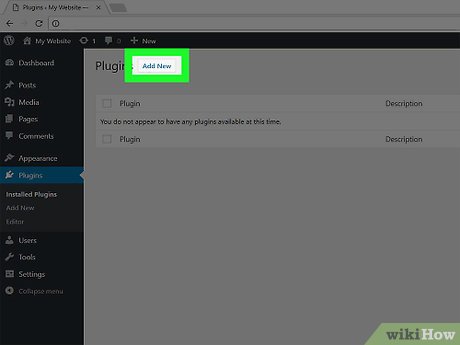
3Click Add New. It’s in the upper-left corner of the Plugins page.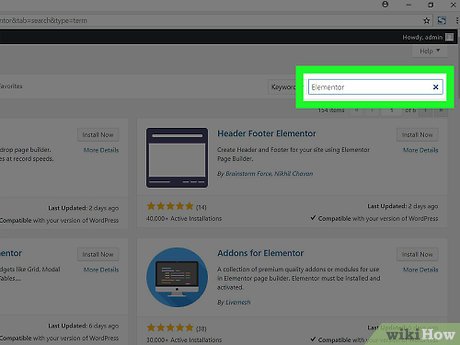
4Type Elementor in the search bar and press ↵ Enter. This will display a list of plugins that match your search.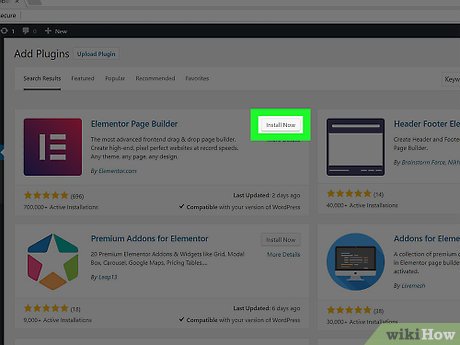
5Click Install Now in the box that says “Elementor Page Builder”. It’s the plugin that has a purple and pink icon with four white bars in the shape of a capital “E”. This will install Elementor Page Builder as a plugin for your WordPress website.
6Click Activate. After Elementor is installed, this button will appear next to the header in the Elementor Plugins box. XPart 2Part 2 of 11:Creating a New Page With Elementor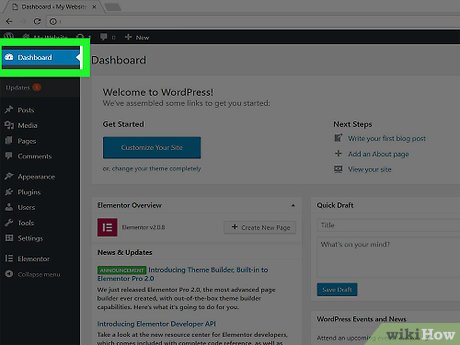
1Click Dashboard. It’s at the top of the sidebar to the left of WordPress.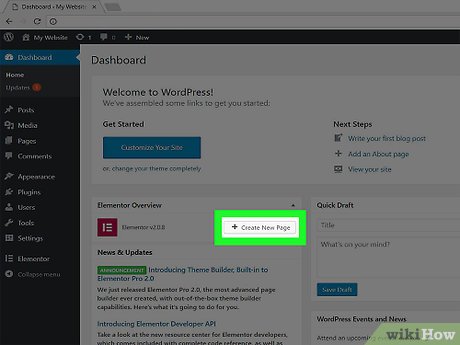
2Click + Create New Page. It’s across from the Elementor under the header that says “Elementor Overview”. It’s in the first column. This will open a visual page editor.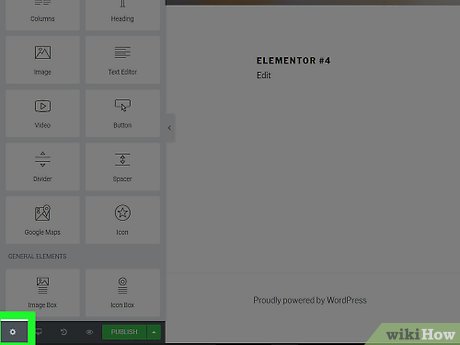
3Click 
. It’s the icon that resembles a gear in the lower-left corner of the sidebar. This will open the settings menu.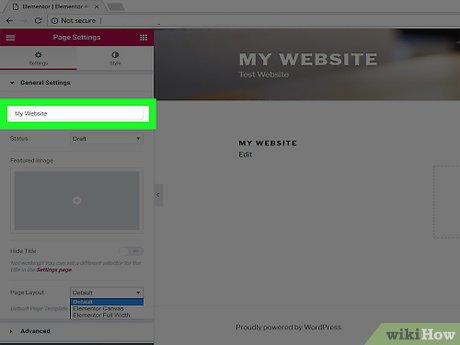
4Type a title. Use the text box below “Title” to type the title of your page. The title will go at the top of the page.If you don’t wish to have a title, click the switch across from “Hide Title”.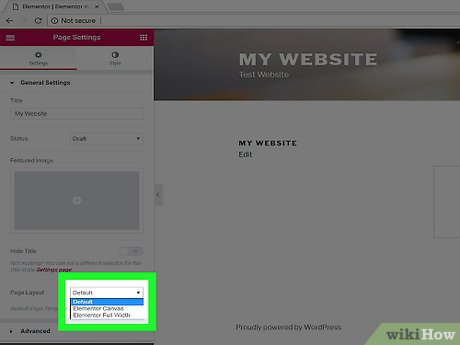
5Select a page layout. Use the drop-down menu below “Page Layout” to select a template for your page. Part 3Part 3 of 11:Selecting Default Colors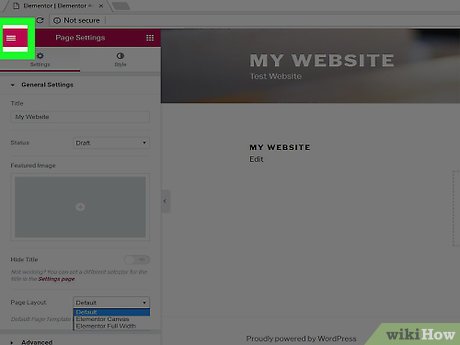
1Click ☰. It’s in the upper-left corner of the Elementor sidebar to the left.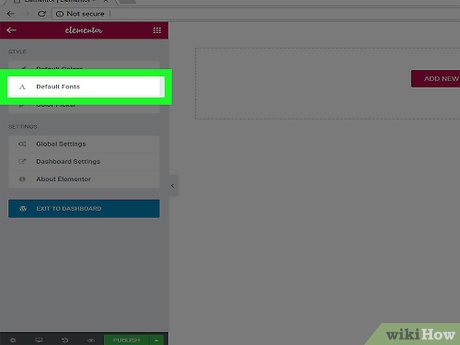
2Click Default Colors. It’s the first option in the sidebar menu under the “Style” header.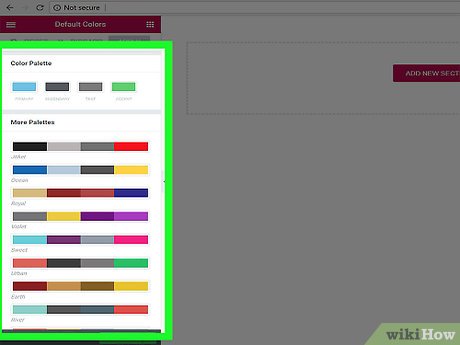
3Select a color palette. You can select a palette from the list under the header that says “More Palettes”, or click the boxes at the top of the sidebar to select a color for the primary, secondary, text, and accent colors. Use the color box to select a color, or enter the color hex code in the bar at the top.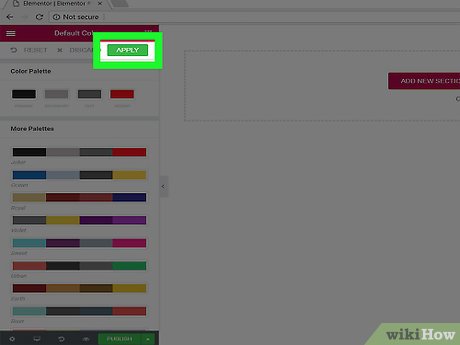
4Click Apply. It’s in the upper-right corner of the sidebar menu. Part 4Part 4 of 11:Selecting Default Fonts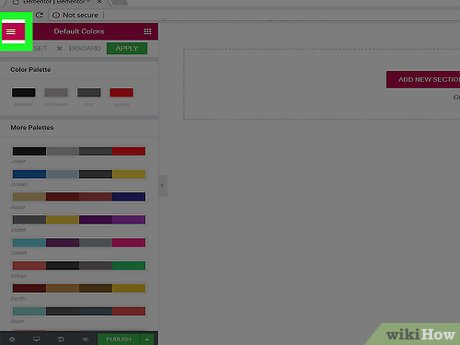
1Click ☰. It’s in the upper-left corner of the Elementor sidebar to the left.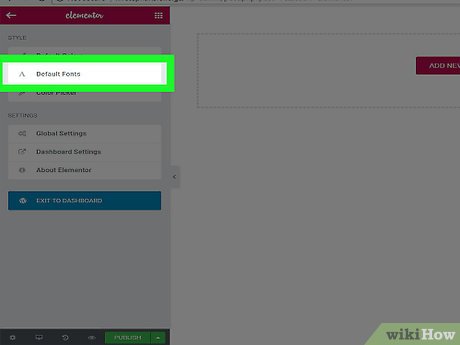
2Click Default Fonts. It’s the second option under the “Style” header in the sidebar.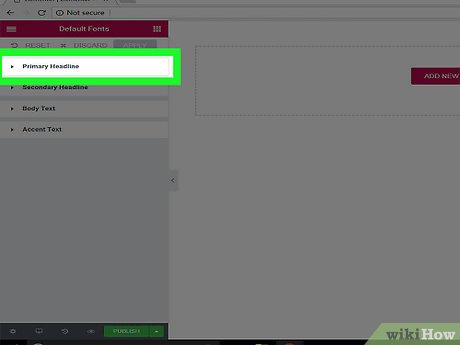
3Click Primary Headline. It’s the first option in the Default Fonts menu.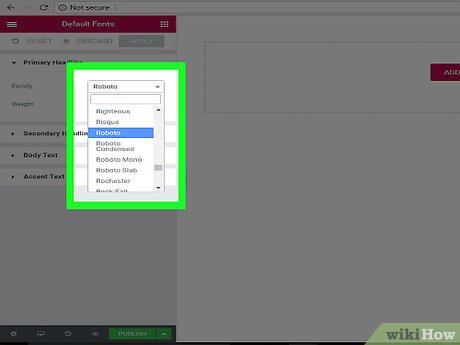
4Select a font family. Use the drop-down menu to select a font family.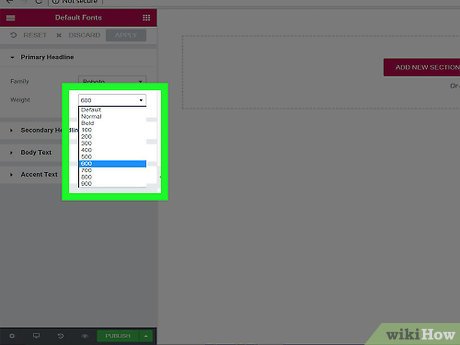
5Select a weight. Use the drop-down menu to select how thick the font is. You can also select “Bold” in the drop-down menu.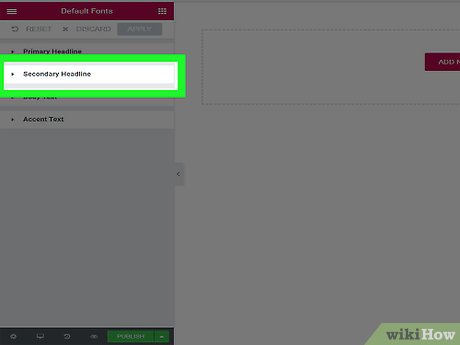
6Click Secondary Headline. It’s the first option in the Default Fonts menu.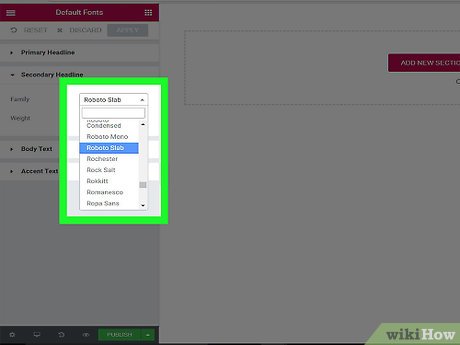
7Select a font family. Use the drop-down menu to select a font family.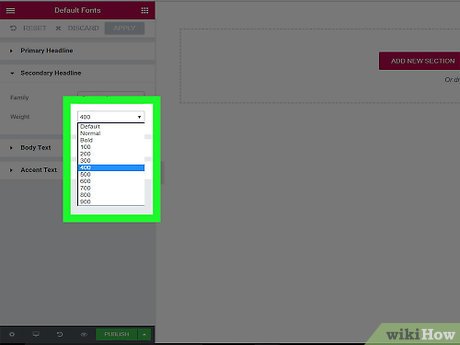
8Select a weight. Use the drop-down menu to select how thick the font is.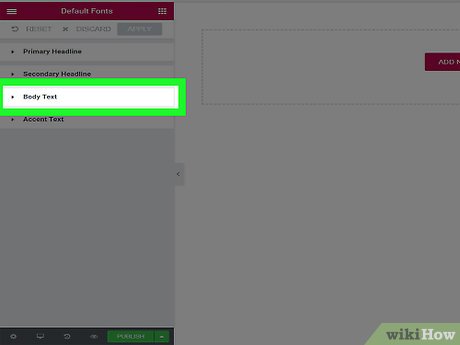
9Click Body text. It’s the first option in the Default Fonts menu.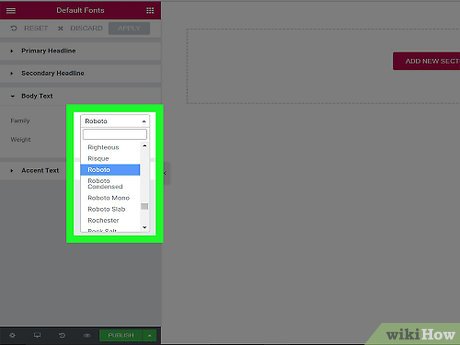
10Select a font family. Use the drop-down menu to select a font family.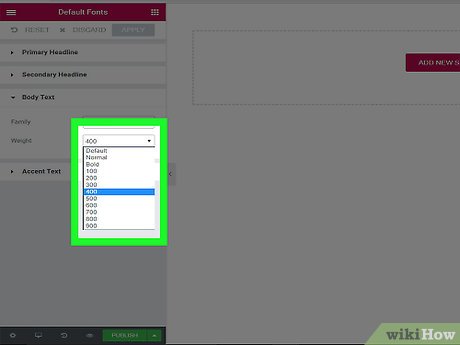
11Select a weight. Use the drop-down menu to select how thick the font is.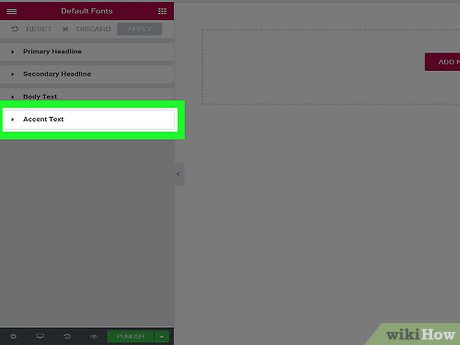
12Click Accent text. It’s the first option in the Default Fonts menu.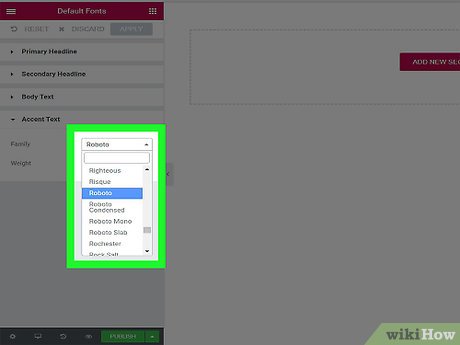
13Select a font family. Use the drop-down menu to select a font family.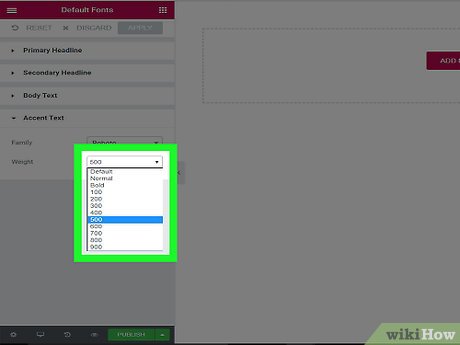
14Select a weight. Use the drop-down menu to select how thick the font is.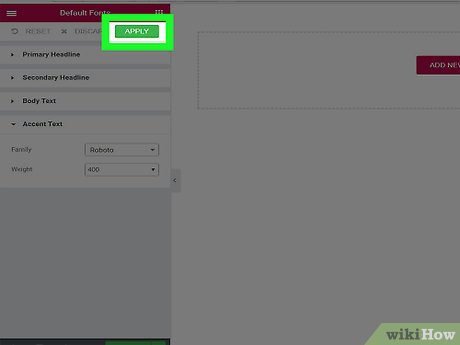
15Click Apply. It’s in the upper-right corner of the sidebar. Part 5Part 5 of 11:Adding A Headling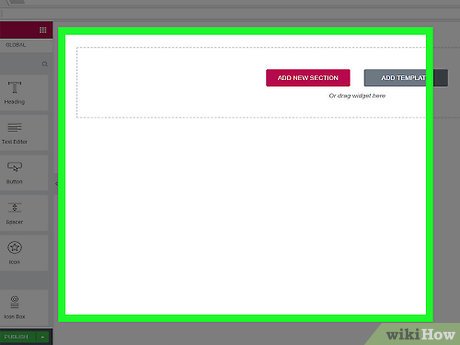
1Click outside the sidebar. This will return the sidebar to the default menu.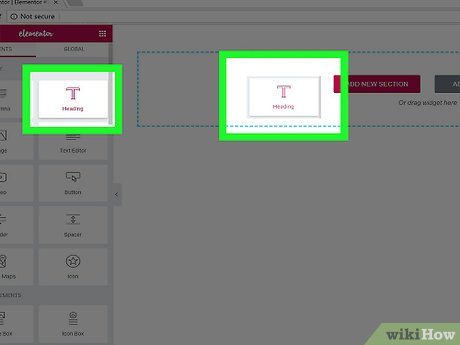
2Drag the Heading square to the section. The Heading box is the box that has a large capital “T”. It’s at the top-right of the sidebar menu. The section is the square with the dotted outline on the main page. This will turn the section into heading text. A new blank section will appear below the heading.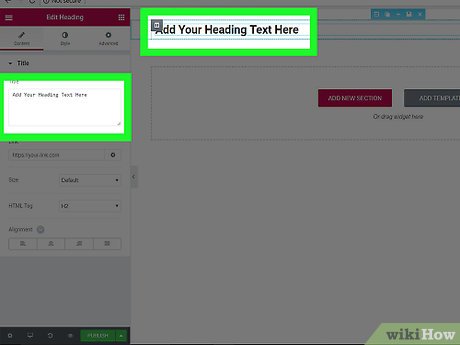
3Type the heading. You can either click the heading on the main page and type the heading or use the text box in the sidebar to type the heading.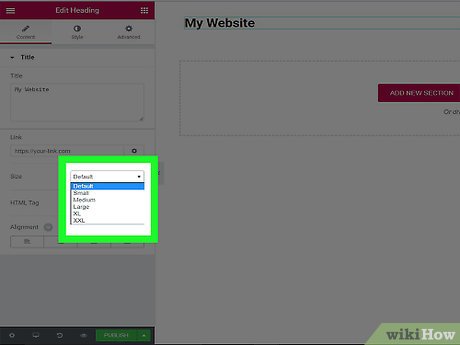
4Select the heading size. Use the drop-down menu next to “Size” to select the size of the heading.You can also use the HTML tag box to select the font size.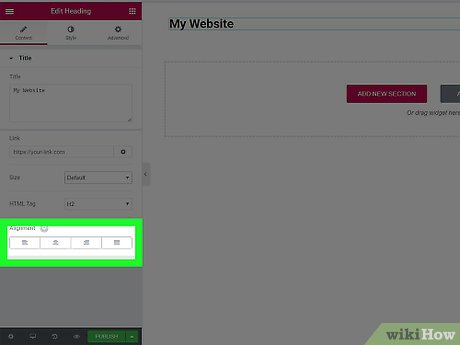
5Select alignment. Click one of the four squares at the bottom of the sidebar menu to select the alignment. You can align the text to the left, to the center, to the right, or justified across the entire section.If you wish to use a different font or color from the default, you can click “Style” at the top of the sidebar menu and select a different color and font for the text.Part 6Part 6 of 11:Adding Body Text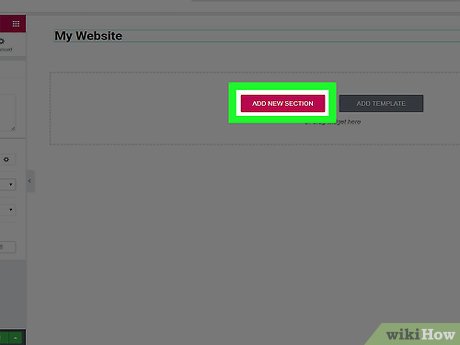
1Click New Section. This will give you the option to create sections within a section. You will see a list of ways to divide the section.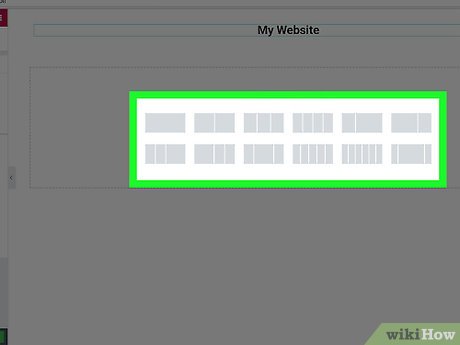
2Click a section structure. There are a number of ways you can divide the section. You can add multiple columns, or a sidebar to the left or right, or both. Click the button with the image that most closely resembles the way you want the layout of your body text.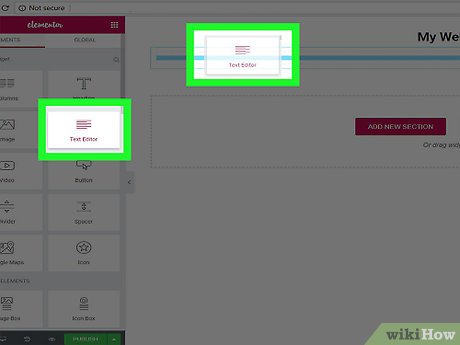
3Drag the Text Editor box to the section(s) where you want to add text. The text editor is the second box in the sidebar. It has several lines that resemble lines of text. You can drag it to any section on the main page.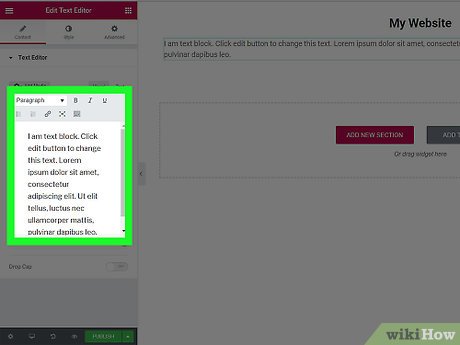
4Type body text. Use the text box in the sidebar to type your body text. The toolbar at the top of the text box allows you to add bold, italics, underline, numbered and bullet lists, and hyperlinks. The last button, which resembles two rectangles with boxes in them expands the toolbar for more formatting options.If you wish to use a different font or color from the default, you can click “Style” at the top of the sidebar menu and select a different color and font for the text.Part 7Part 7 of 11:Adding An Image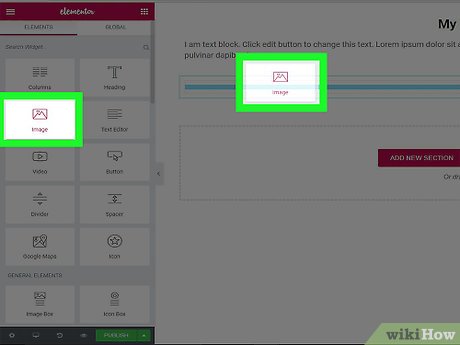
1Drag the Image box to a section. The Image box has an icon that resembles a picture of mountains and a sun.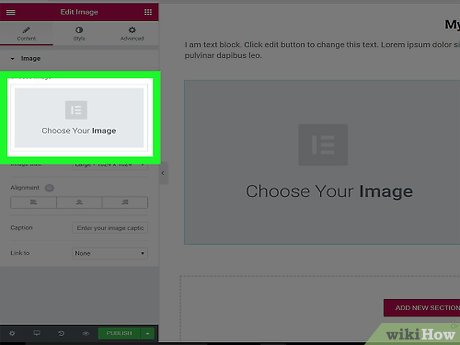
2Click Choose Your Image. It’s the large grey box in the sidebar. This will display a popup window.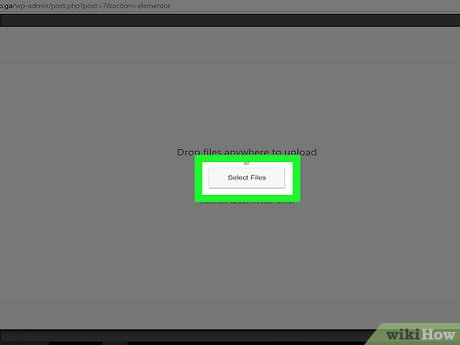
3Click Select Files. It’s the large button in the middle of the popup window. This will open a file browser that you can use to select image files.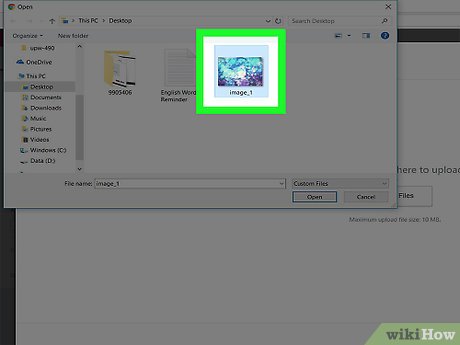
4Click an image file. Using the file browser, navigate to and click to select an image you want to upload. The maximum file size is 2 megabytes.
5Click Open. It’s in the lower-right corner of the file browser. This will upload the image file and display it in the section.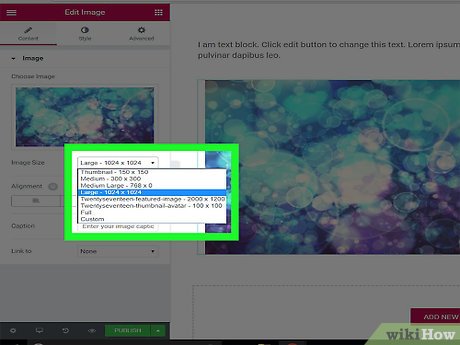
6Select Image size. Use the drop-down menu below the image to select the image size. There are a variety of sizes and dimensions to choose from.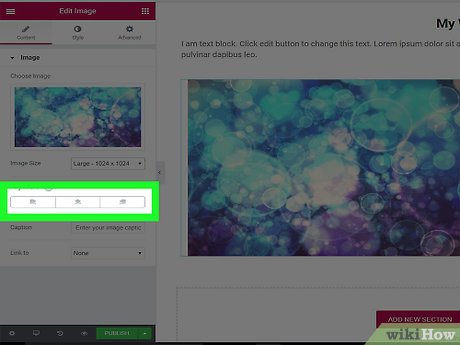
7Select alignment. Use the three boxes below the image size drop-down menu to choose the image alignment. You can align the image to the left, center, or right of the section.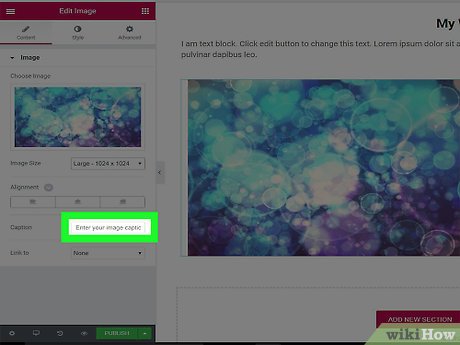
8Add a caption (optional). If you wish to add a caption to the image use the text box across from “Caption” to type a caption.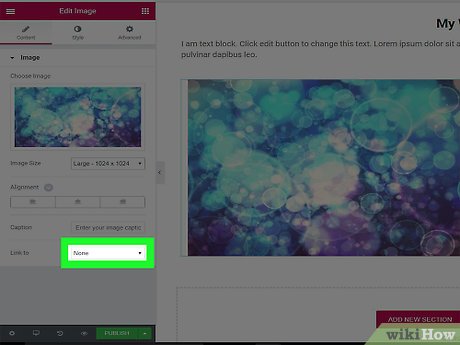
9Add a link (optional). If you wish to add a link, use the drop-down menu at the bottom of the sidebar to add a link to a URL or media file. Part 8Part 8 of 11:Adding Video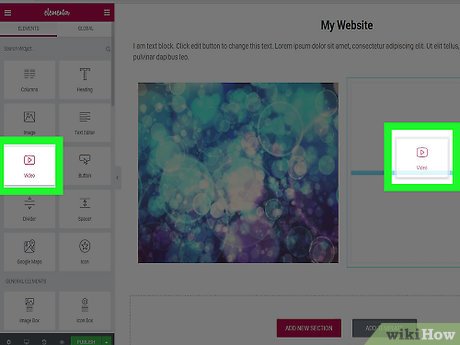
1Drag video box to section. The video box has an icon that resembles the YouTube logo.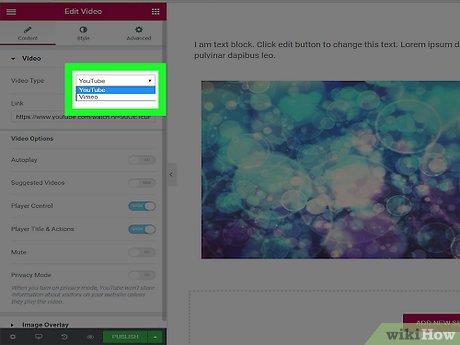
2Select Video type. Use the drop-down menu across from “Video Type” to select YouTube or Vimeo.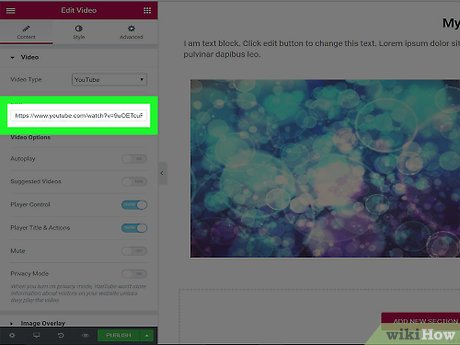
3Add Video link. Use the box under the link to copy and paste the video link from YouTube or Vimeo.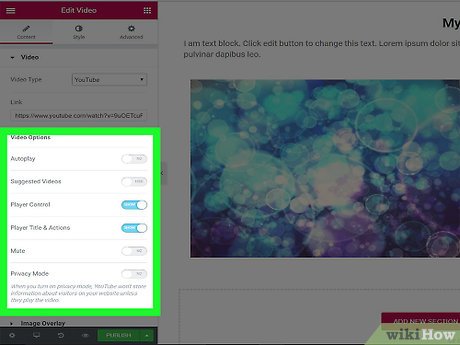
4Adjust video options. Use the switches to turn the following options on or off.Autoplay will play the video automatically when the page loads.Suggested Videos will display suggested videos when the video is done playing.Player Control gives the viewer the option to stop or play the video, as well as skip to certain parts of the video.Player Title and Actions displays the title of the video and options in the upper-right corner.Privacy Mode will not store visitor data when enabled.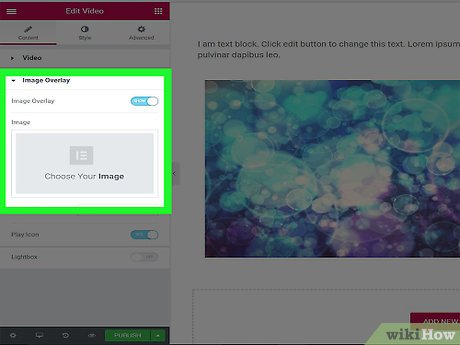
5Add Image overlay (optional). If you want to add an image overlay, click “Image Overlay” at the bottom of the sidebar. Click the switch next to “Image overlay” and then click the large grey box to upload an image to use as an overlay. Part 9Part 9 of 11:Adding Buttons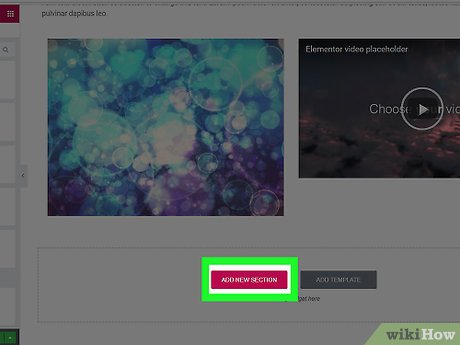
1Click New Section. This will give you the option to create sections within a section. You will see a list of ways to divide the section.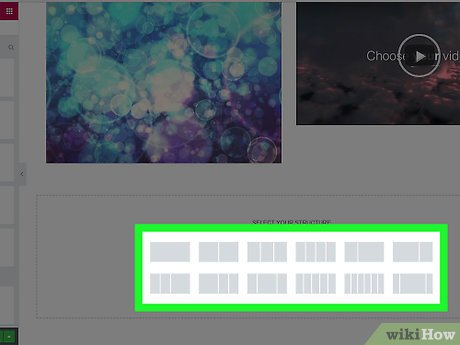
2Click a section structure. There are a number of ways you can divide the section. You can add multiple columns, or a sidebar to the left or right, or both. Click the button with the image that most closely resembles the way you want the layout of your buttons.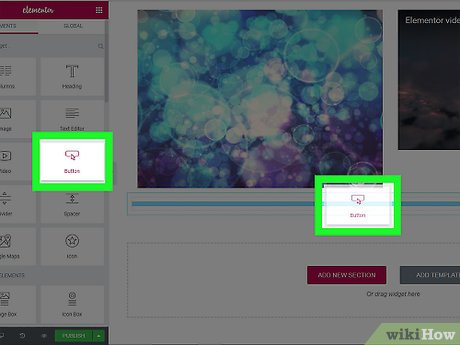
3Drag the Buttons box to a section. The Button box has an icon that resembles a mouse cursor clicking a button.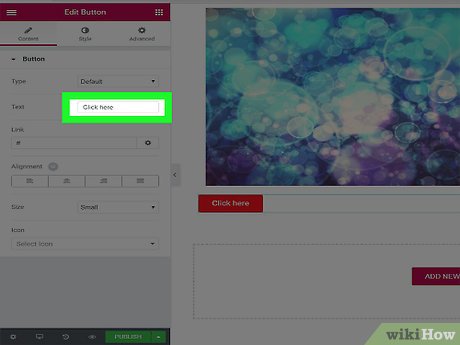
4Type the button text. Type what you want the button to say in the text box across from “Text”.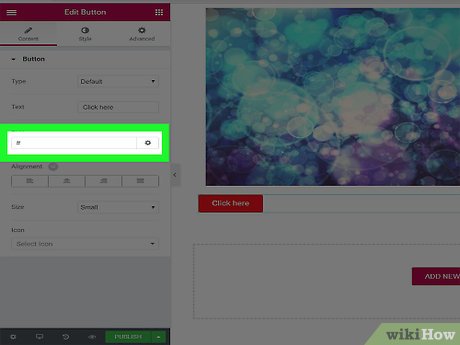
5Add a button link. Use the box next to “Link” to add the URL of the page you want the button to link to.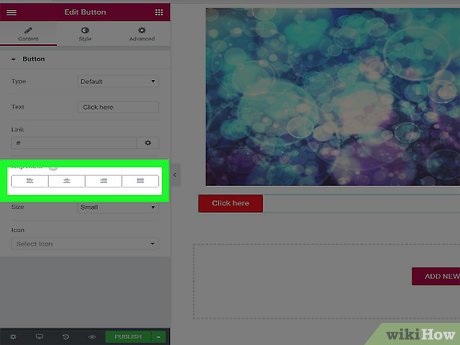
6Select button alignment. Use the four boxes below “Alignment” to align the button the left, right, center, or justified across the entire section.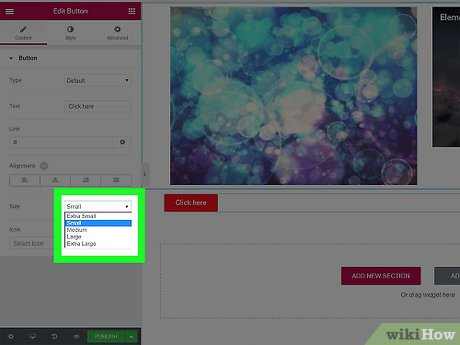
7Select button size. Use the drop-down menu across from “Size” to select the size of the button. You can select extra small, small, medium, large, or extra large.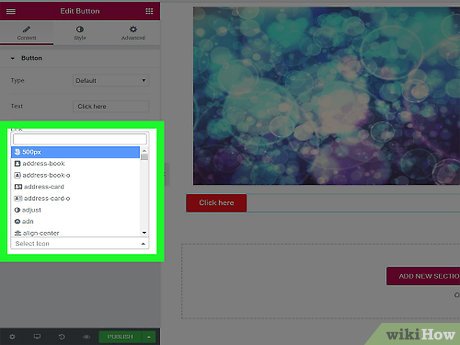
8Select button icon. Use the pulldown menu to select an icon to go next to the button text.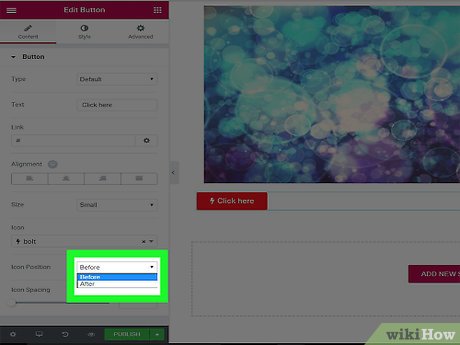
9Select icon position. Use the next drop-down menu to select if you want the icon to go before or after the text.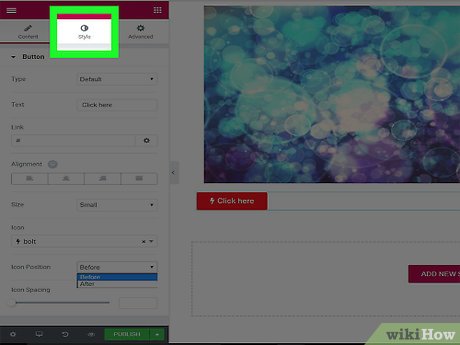
10Select button style (optional). If you want more options to style the button, you can click “Style” at the top of the sidebar. Here you can change the button color, text color, and font, as well as select a border for the button. Part 10Part 10 of 11:Adding A Divider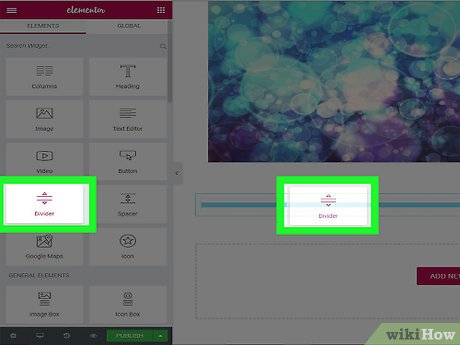
1Drag the divider box to a section. Dividers are solids lines that go between sections on a web page.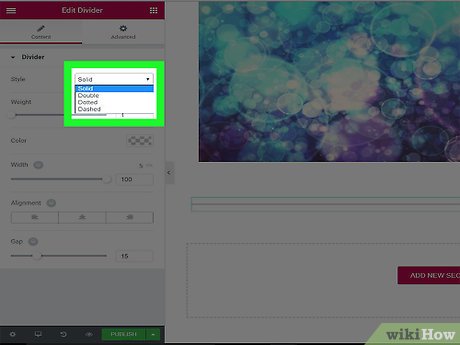
2Select divider style. Use the drop-down menu next to “Style” to select the line style. You can select solid, double, dotted, or dashed.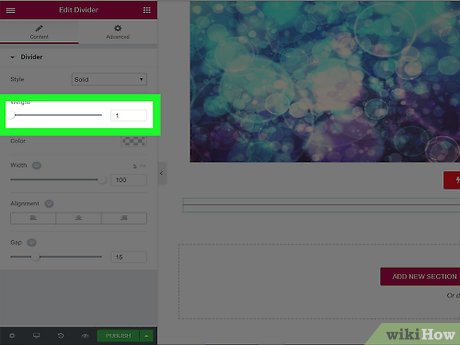
3Select weight. Use the slider bar under “Weight” to adjust the line thickness.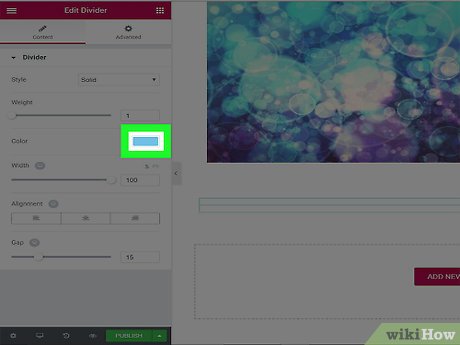
4Select color. Click the box across from color to select the color of the line.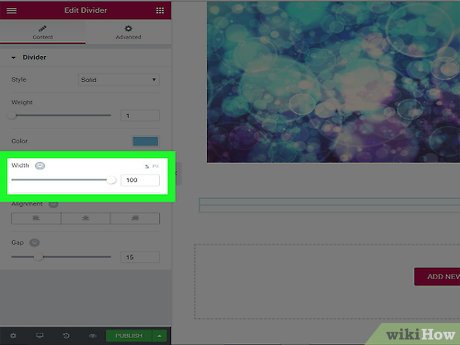
5Select line width. Use the slider bar below “width” to adjust how much of the section the line will occupy.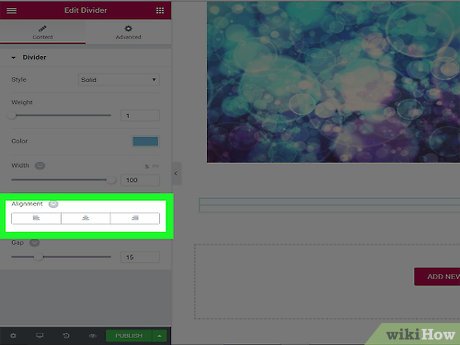
6Select alignment. Click one of the three boxes below “alignment” to select the line alignment. You can align it to the left, right, or center of the section. Part 11Part 11 of 11:Adding Widgets and Publish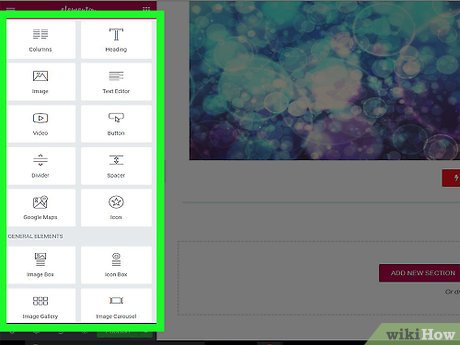
1Drag any widget to a desired section. There are lots of widgets in the sidebar which allow you to add tabs, image galleries, social media icons, sidebars, and more. There are lots to play around with and experiment with.
2Click Publish. It’s the green button in the bottom left corner of the sidebar. Click here when you are finished designing your theme and its pages.X


