
This wikiHow will teach you how to find and delete duplicate words in Word using a computer. Usually, the default grammar checker will underline any repeats, but you can always use the find and replace tool to locate specific words and delete them manually.
Steps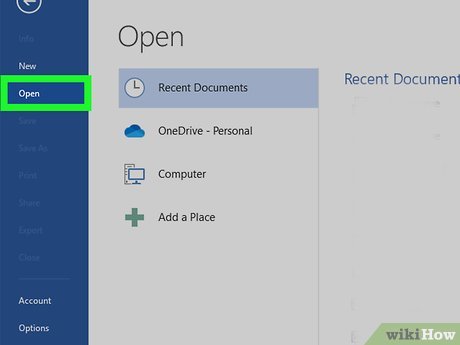
1Open your project in Word. You can either click File > Open when you have Word open, or you can right-click your project file and select Open with > Word.If you’re using the mobile app, simply open your project in editing mode and tap the magnifying glass, then enter a word you’re looking for.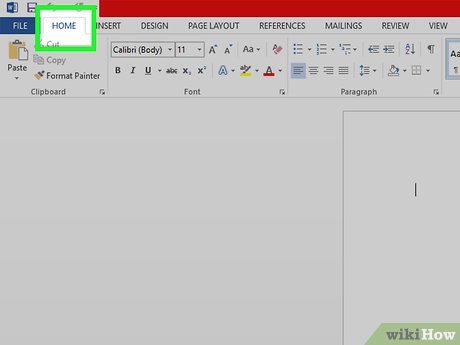
2Click the Home tab (if needed). If you haven’t selected another tab, this should be selected when you open the project.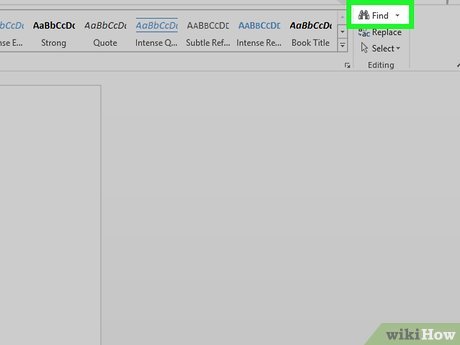
3Click the arrow next to Find. It’s in the “Editing” group.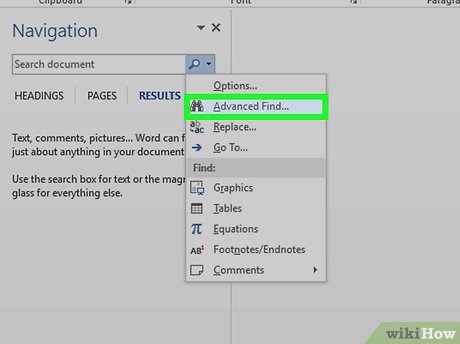
4Click Advanced Find. This will pop up a “Find and Replace” window.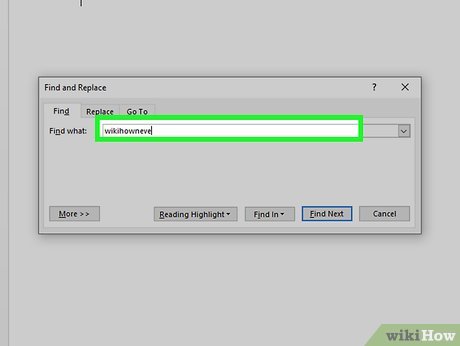
5Type the word you want to search for. There should be a field for you to enter your word.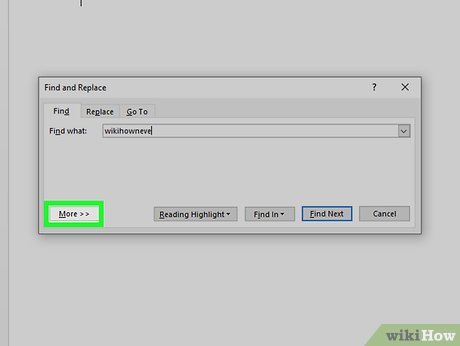
6Click More. It’s at the bottom of the window.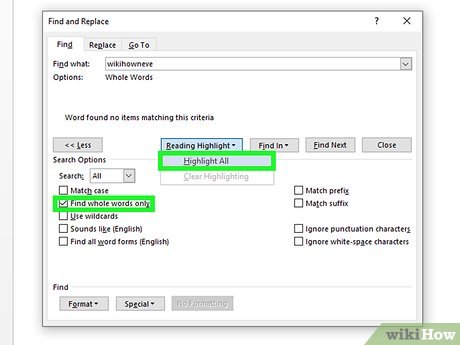
7Click to check the box next to “Find whole words only” and “Highlight All.” This sets the tool to find that word and highlight it.If you don’t see “Highlight All,” you may need to click Reading Highlight first.8Press ← Backspace or Delete until the word is deleted. You’ll manually need to delete the highlighted words if you want to remove duplicates.


