
By default, the iPhone camera with iOS 11 and up takes and stores HEIC/HEIF photos, but these file types aren’t as popular as JPG. This wikiHow will teach you how to convert your iPhone photos to JPG using the Files app and the camera settings.
StepsMethod 1Method 1 of 2:Converting a Photo in the Files App
1Open Files 
. You’ll find this icon that looks like a folder on one of your Home screens or inside the Utilities folder.Use this method if you want your camera to take high efficiency photos but want to convert them later. There are many third-party apps that claim to offer conversions, but they may contain ads or require payments to unlock special features, so this is the most reliable method.If you want your iPhone to take JPG photos by default, see this method.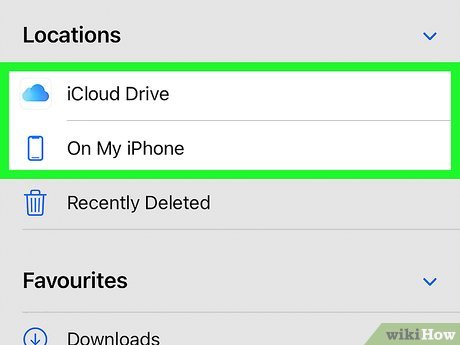
2Choose a location. Since this will be where your JPG is, you’ll want to remember the location you picked. If, however, you choose to use iCloud Drive, the data used will be counted against your storage limit.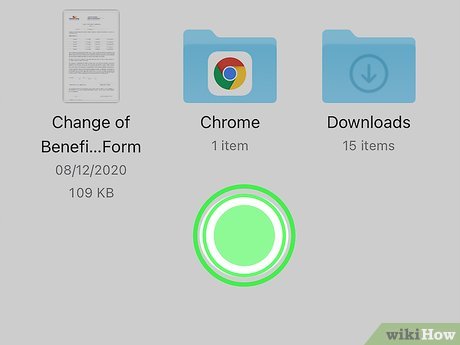
3Tap and hold an empty space. You can release your finger when a menu pops-up.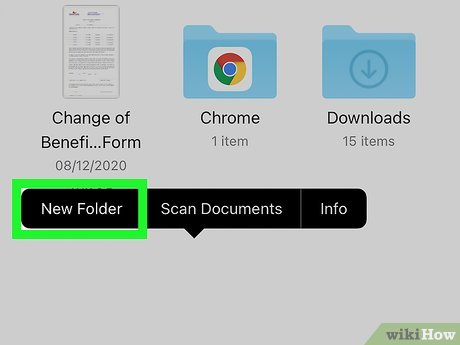
4Tap New Folder. You’ll want to name this something recognizable since this is where you’ll put your HEIC files to make them JPGs.Tap Done to close the file creation window.
5Open the Photos app 
and navigate to your photo. Find the HEIC version of the photo you want to convert.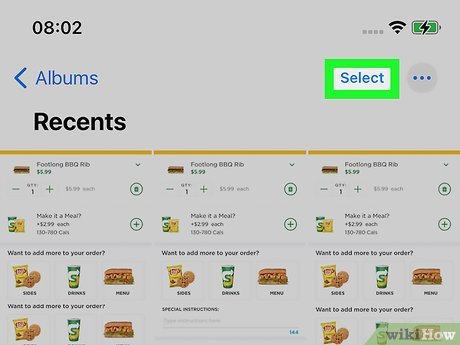
6Tap Select. You’ll see this in the top right corner of your screen.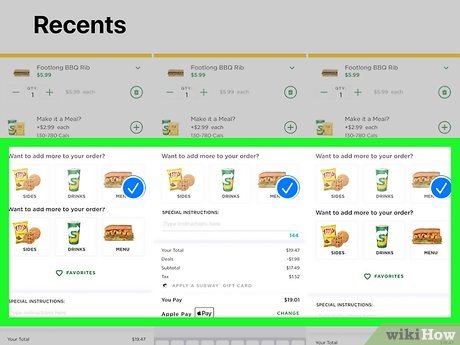
7Tap the photo you want to convert. It will display a blue checkmark in the lower right corner of the thumbnail to indicate that it is selected.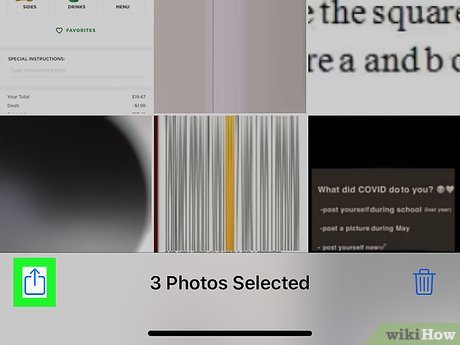
8Tap 
. This share icon is in the lower left corner of your screen and a share menu will appear.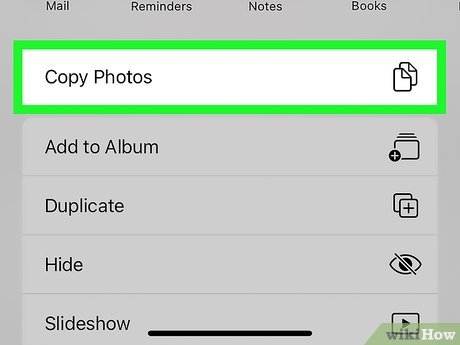
9Tap Copy Photo. The photo you have selected previously will copy to your clipboard.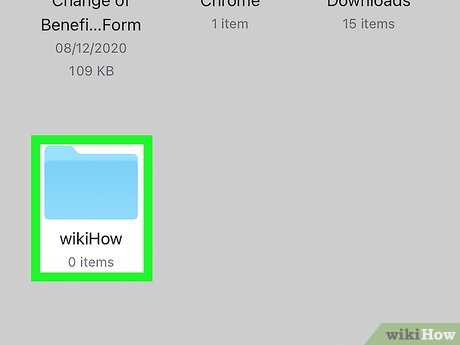
10Open the Files app and navigate to the folder you created previously. If you didn’t close the Files app, you should be inside that newly created folder when you open the app.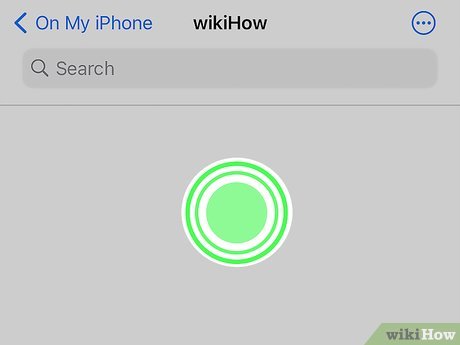
11Tap and hold on an empty space. You can release your finger when a menu pops-up.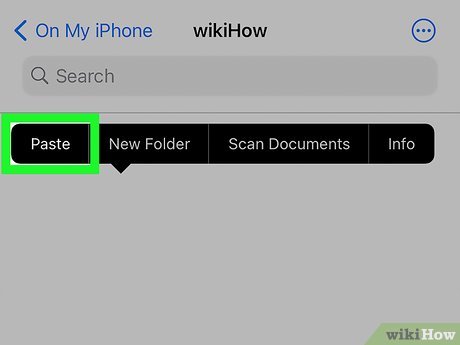
12Tap Paste. Your HEIC image will appear here in JPG format. Again, if you opted to use cloud storage, the images here will count toward your storage limit. XMethod 2Method 2 of 2:Taking JPG Photos by Default
1Open Settings 
. You’ll find this gear-like app icon on one of your Home screens or in the Utilities folder.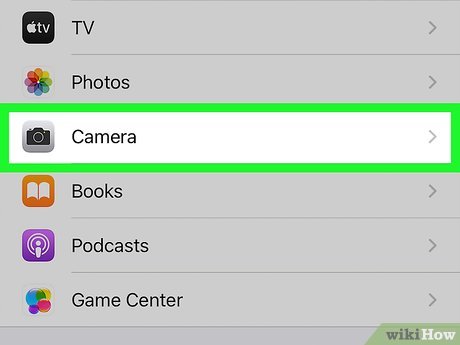
2Tap Camera. It’s usually in the sixth grouping of menu items next to the camera icon.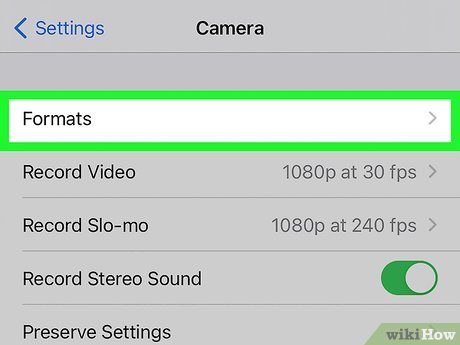
3Tap Formats. You’ll see this under the “Record slo-mo” option. X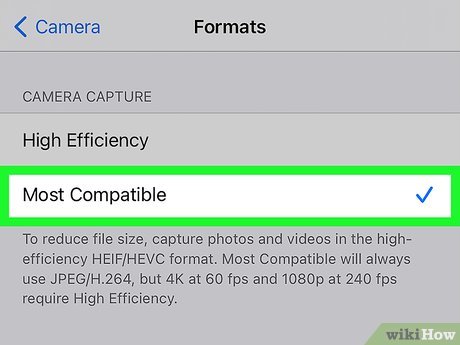
4Tap to select Most Compatible. This should change from “High Efficiency” to indicate that your images will be in JPG format instead of HEIC.X


