
Having your own home theater means you’ve got a great display and audio set up going on with your media. If you play games, stream movies, or listen to music on your PC, then connecting your computer to your home theater is highly encouraged. You’ll be able to access media content on your computer, but experience that content on a big screen with awesome sound.
StepsMethod 1Method 1 of 2:Using an HDMI Cable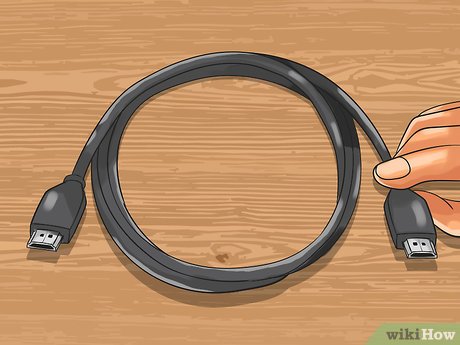
1Procure an HDMI cable. Make sure that it is long enough; 4.5 meters (14.8 ft) should be good.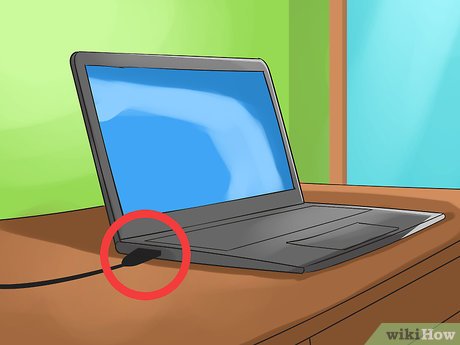
2Connect the cable to the computer. You will find the HDMI port behind the CPU, for desktops; for laptops, it’s usually located around the sides of the unit.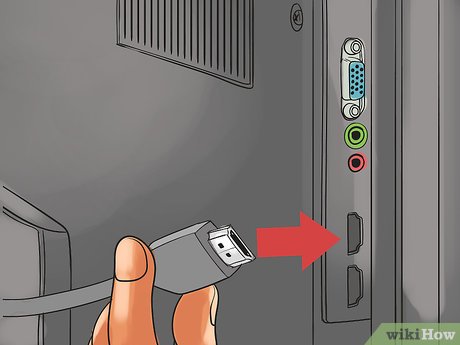
3Connect the cable to the TV. The HDMI port should be in the rear of the TV. Plug it into the first HDMI port.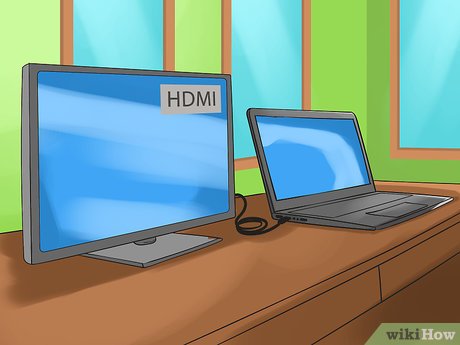
4Make sure everything is on, and switch the TV channel to HDMI. Your TV should then display the computer’s desktop, and you’ll be able to use it as a monitor for watching movies and videos.Method 2Method 2 of 2:Using a WHDI Kit
1Purchase a WHDI kit. This will enable wireless display streaming between your PC and TV at 1080p resolution.
2Connect the transmitter to your PC. Plug the HDMI cable into your PC, and plug the other end into the transmitter.Some kits just have a USB dongle as a transmitter. Some have small boxes that require additional power.
3Plug in the power adapter. Plug one end into the transmitter, and the other end into a wall socket (the end that fits into the wall socket).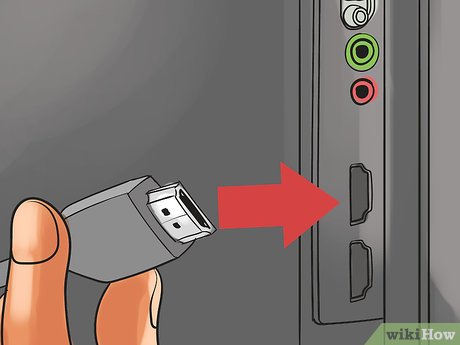
4Do the same for the receiver. This time, connect the HDMI cable to the back of your TV.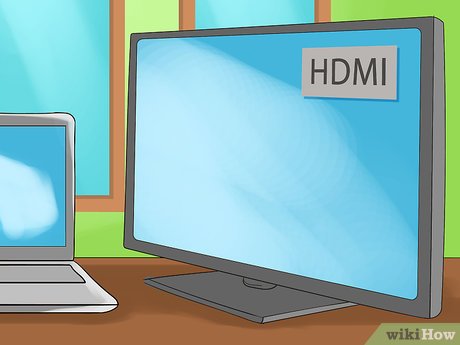
5Turn all the devices on. Switch the source of the TV to the HDMI channel.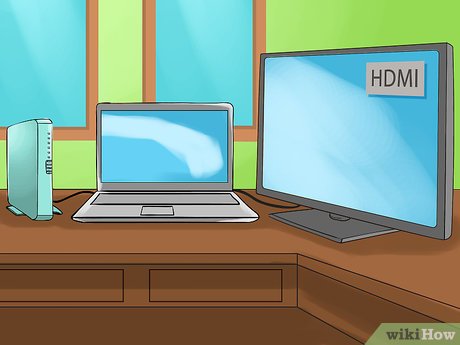
6Test out the connection. Load and view movies and videos through your TV with your PC.


