
The Kindle Fire tablet can be connected to any Wi-Fi network so you can browse the Web and enjoy the full benefits the Kindle Fire has to offer. You can connect the Kindle Fire to your private at-home Wi-Fi network, or to any other public network as long as you have the necessary login credentials.
StepsMethod 1Method 1 of 2:Connecting to an Existing Wi-Fi Network
1Swipe down from the top of the screen on your Kindle Fire, and select “Wireless.”
2Verify that the Airplane Mode setting is switched to “Off.”
3Tap on “Wi-Fi,” then tap the “On” button next to Wi-Fi. A list of Wi-Fi networks within range will display on-screen.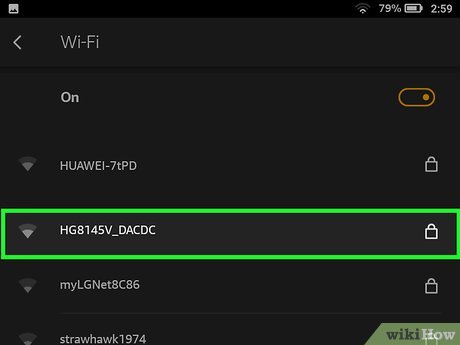
4Tap on the wireless network you want to connect to. Networks labeled with a lock icon will require you to enter a password to access those particular networks.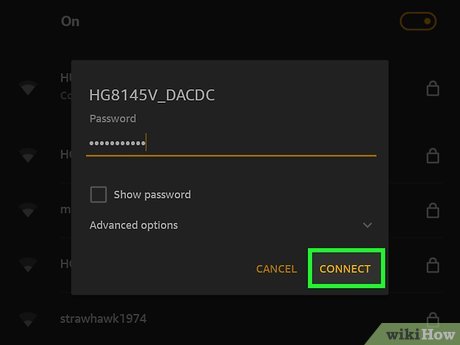
5Enter the password if required, then tap on “Connect.” Your Kindle Fire will then connect to the Internet using that particular network.XMethod 2Method 2 of 2:Adding a Wi-Fi Network Manually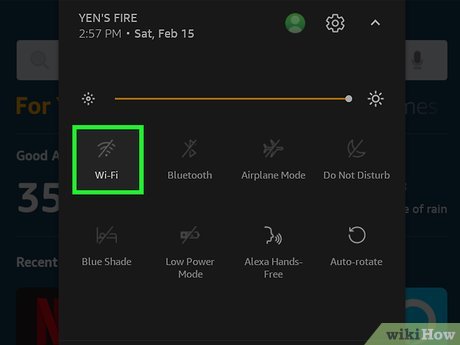
1Swipe down from the top of your screen and tap on “Wireless.”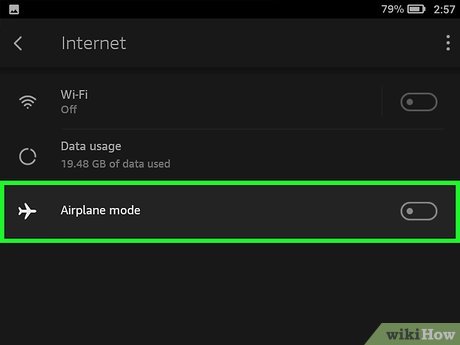
2Verify that Airplane Mode is set to “Off.”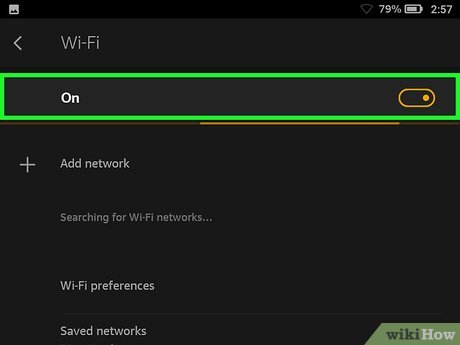
3Tap on “Wi-Fi,” then toggle Wi-Fi to “On.”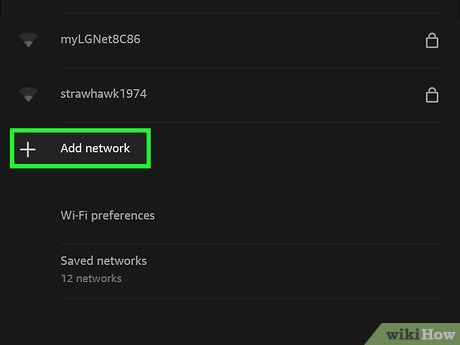
4Tap on “Join Other Network.”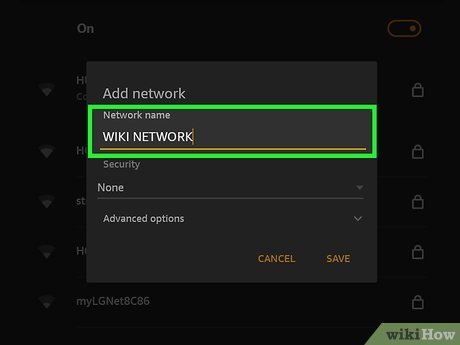
5Enter the name of your network into the “Network SSID” text field.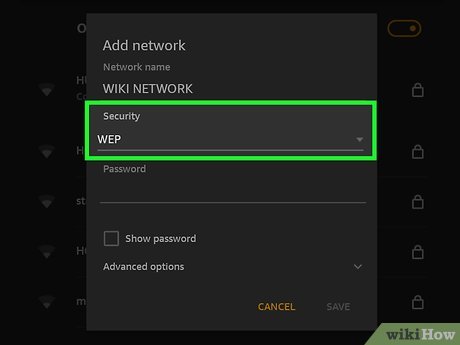
6Click on the dropdown menu next to “Security,” and select a network security type.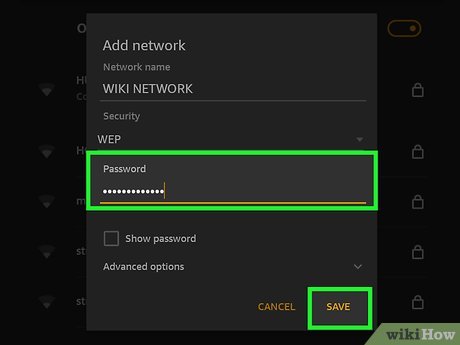
7Enter the network password if required, then tap on “Save.” Your Kindle Fire will then connect to the Internet.X


