
This tutorial will cover an Akai MPD18 (which generally runs around 100 dollars) to sync with FL studio version 10, although the specifics of these should not matter that much. This is a classic piece of gear that can be helpful for making drum patterns and sampling. Most of these have 16 pads that are able to hold drums, sounds or samples that can all be used simultaneously. This version also features a note repeat button, a fader (which doesn’t seem to do much) and bank A, B, and C which are able to switch up the internal presets while playing upon it. The full level button should be kept on to ensure maximum volume and sound input.
Steps
1Get it connected. Your drum pad should have come with a basic printer cable to connect to your computers USB port. Once this is connected, open FL studio and press F10.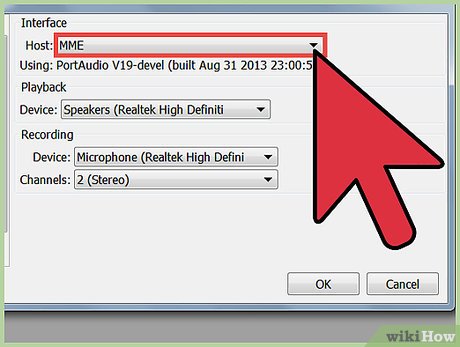
2Rescan. At the bottom of this menu, it will say rescan midi devices. Once you click on that, your drum pad should now appear in the bottom screen of this drop down menu.(Note that this step is necessary for every new time that you plug in your drum pad.) Make sure that the enable button is switched on.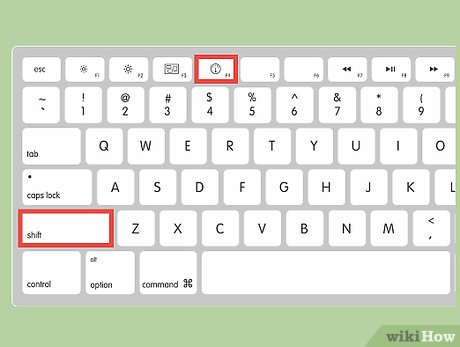
3Insert the FPC application into a blank pattern. To do this, press Shift, F4, enter to create a new pattern. Then right click on a track and scroll down to insert, then select FPC.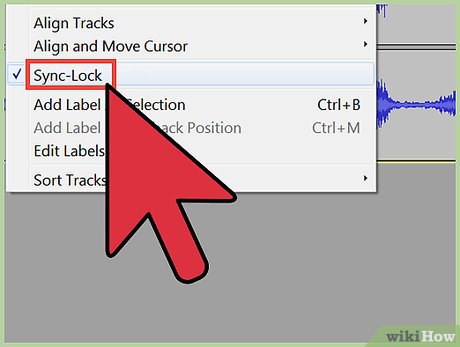
4Once you are in the FPC application, sync the external drum pad with FL Studio so that when you hit a pad, the same corresponding pad is hit in the software. To do this first click on a square and then tap the same square on the external drum pad.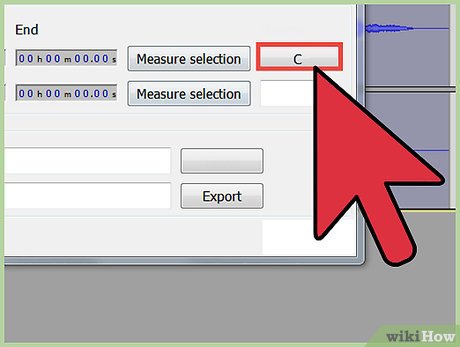
5While still in FPC, in the upper right corner will be a tab next to midi note labeled “C” or “F#” (something of this nature.) Click this option and then choose last hit.
6Your external device will now be synced with FL Studio. Note that step 5 and on is not necessary if you choose to only use the presets that come with your drum pad.Part 1Part 1 of 4:PresetsMPD18 comes with hundreds of different preset patterns in 18 different genres. The preset drums can be easily switched out and you can insert your own by deleting each drum layer so that the pad is empty, and then dragging your own drum sounds or samples into the desired pad. These can then be individually panned, layered, and controlled in volume.
Part 2Part 2 of 4:Effects and editingOnce your FPC drum pattern is inserted into the playlist, you can alter the drum pattern in the piano roll where drums can be removed, added, or rearranged. You can also adjust velocity in the piano roll as well by double clicking on a drum note and then turning the velocity switch either up or down. By default the velocity varies each time you hit a pad because they are velocity sensitive. If you prefer to adjust the velocity yourself manually, you can turn off the velocity sensitive pads in the midi options by changing where it says velocity and changing this option to none.’Unfortunately it does not seem possible to send individual drums from the FPC to their own mixers. The entire FPC must be sent to its own mixer to add effects. Many people prefer to add reverb to just the snare, so in the case I would suggest using the fruity loops reverb 2, and then adjusting the high and low cut so that the kick drum would not be effected by it.
Part 3Part 3 of 4:TroubleshootingIf no sound is coming through, go back to midi options in the F10 drop down menu. Disable the controller, and then re enable the controller.If there is latency (where there is a delay from the time that you hit a pad and then hear the sound in the computer) adjust the sample rate to be slightly higher than what it previously was until no latency exists.
Part 4Part 4 of 4:HistoryThe first Akai MPC was designed by Roger Linn and produced by the Japanese company Akai from 1988 on to now. They were intended to function as a powerful drum machine that gave users the ability to sample their own sounds.There have been many different models that vary in their ability to sample sounds, as well as the different inputs and outputs that they offer.


