
This wikiHow teaches you how to connect a scanner to a computer wirelessly or with a USB cable. Luckily, this process is usually as simple as plugging the scanner into your computer, but if that isn’t immediately working, there are steps you can take to manually add your scanner.
StepsMethod 1Method 1 of 4:Connecting Wirelessly on Windows 10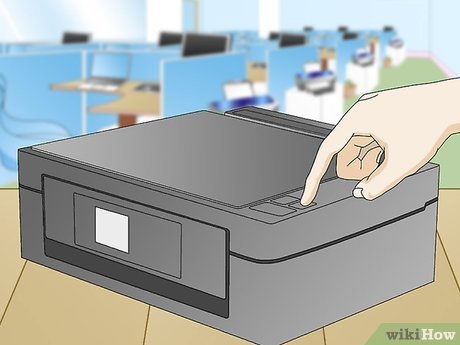
1Plug in your scanner to a power source and turn it on (if it’s not already on). You need it powered on so your computer can detect it.If your computer detects the scanner once they are both powered on, you need to follow the on-screen prompts to download any necessary drivers and skip the rest of this method.
2Click the Start Logo 
. You’ll see this in the lower left corner of your screen.
3Click the settings icon 
. You’ll see this gear icon on the left of your screen.
4Click Devices. You’ll see this with an icon of a speaker and keyboard in the second column.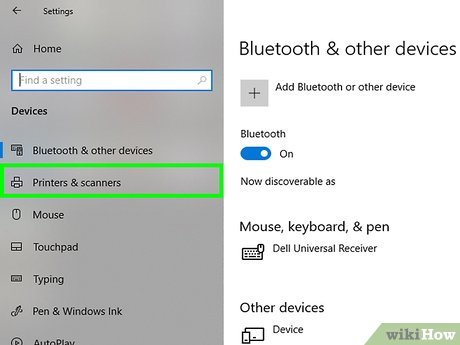
5Click Printers & Scanners. You’ll see this in the vertical menu on the left side of the window and a list of available scanners will populate.
6Click Add a printer or scanner. You’ll see this at the top of the window.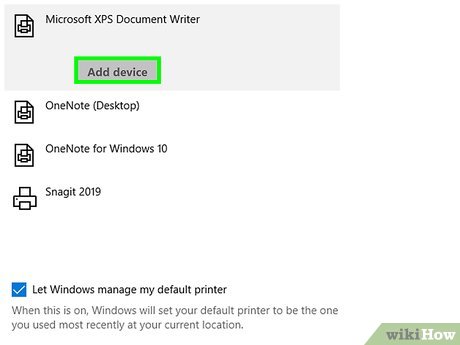
7Click your scanner’s name and click Add device. In the list that populates, the scanner you want to add will most likely display with the manufacturer name, the model name, and/or the model number.Your computer must be on the same Wi-Fi network as your scanner for it to detect it. If you’re using Wi-Fi extenders for either device, connecting might not be successful.XTrustworthy SourceMicrosoft SupportTechnical support and product information from Microsoft.Go to sourceSome scanners, especially scanners that use Bluetooth to connect wirelessly, require you to put them in pairing or discovery mode first. You can do this by pressing the Bluetooth button on the scanner. Refer to the manual that came with it for more information.XMethod 2Method 2 of 4:Connecting with a Cable on Windows 10
1Plug in your scanner and computer. Using the USB cable that came with your scanner, plug it into an open USB port on your computer. If you don’t have a USB cable that came with your scanner, usually any USB cable will work.If your computer detects the scanner once they are both powered on, you need to follow the on-screen prompts to download any necessary drivers and skip the rest of this method.
2Plug in your scanner to a power source and turn it on (if it’s not already on). You need it powered on so your computer can detect it.
3Click the Start logo
. You’ll see this in the lower left corner of your screen.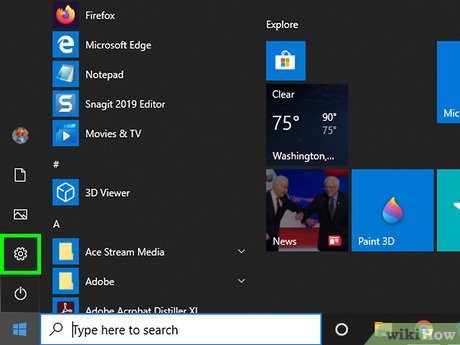
4Click the settings icon
. You’ll see this gear icon on the left of your screen.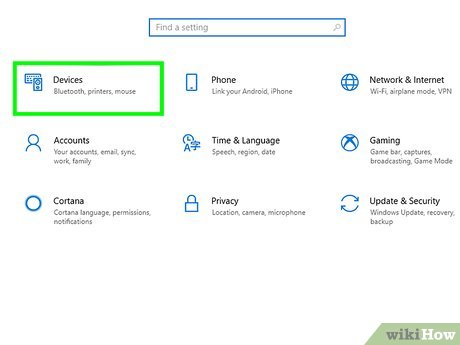
5Click Devices. You’ll see this with an icon of a speaker and keyboard in the second column.
6Click Printers & Scanners. You’ll see this in the vertical menu on the left side of the window.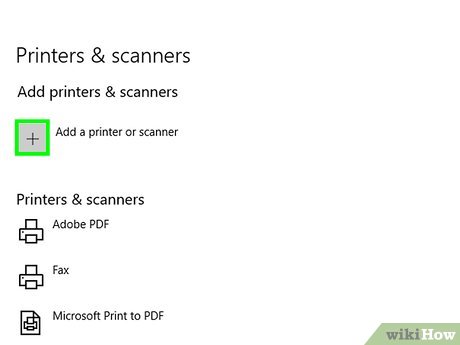
7Click Add a printer or scanner. You’ll see this at the top of the window.
8Click your scanner’s name and click Add device. In the list that populates, the scanner you want to add will most likely display with the manufacturer name, the model name, and/or the model number.Follow any on-screen instructions if any pop-up. For instance, if your Windows Security asks for permission to allow your scanner to install software and drivers, click Yes.XTrustworthy SourceMicrosoft SupportTechnical support and product information from Microsoft.Go to sourceMethod 3Method 3 of 4:Connecting Wirelessly on Mac
1Plug in your scanner to a power source and turn it on (if it’s not already on). You need it powered on so your computer can detect it.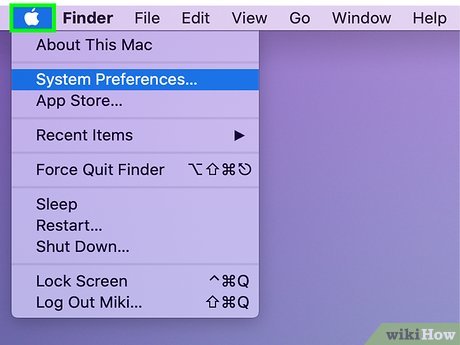
2Click the Apple logo 
. You’ll see this in the menu bar that runs horizontally across the top of your screen.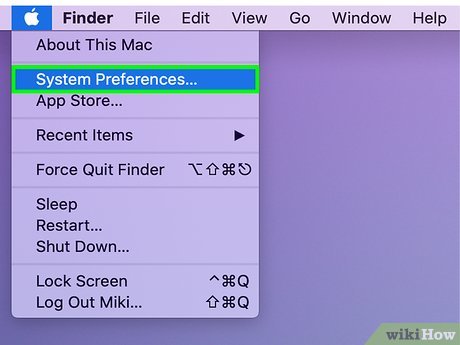
3Click System Preferences. This is generally the second listing in the drop-down menu.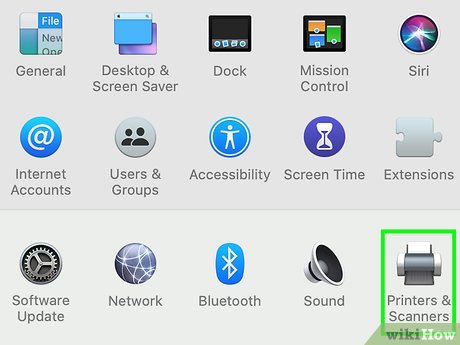
4Click Printers & Scanners. You’ll see this next to an icon of a printer.
5Click + (if you don’t see your scanner listed). You’ll see this in the bottom left corner of the window. If, however, you see your scanner listed, skip this step.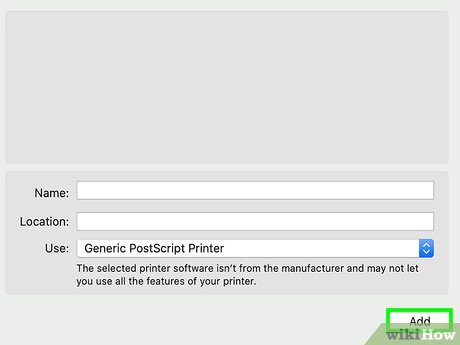
6Select your scanner. When you click your scanner, your Mac will begin the process of setting up that device so you can easily use it.XIf you’re having issues, make sure your macOS is updated.Method 4Method 4 of 4:Connecting with a Cable on Mac
1Plug in your scanner to a power source and turn it on (if it’s not already on). You need it powered on so your computer can detect it.
2Plug in your scanner and computer. Using the USB cable that came with your scanner, plug it into an open USB port on your computer. If you don’t have a USB cable that came with your scanner, usually any USB cable will work.If your Mac only has one USB-C port and you have a USB connection, you can use a multiport adapter.X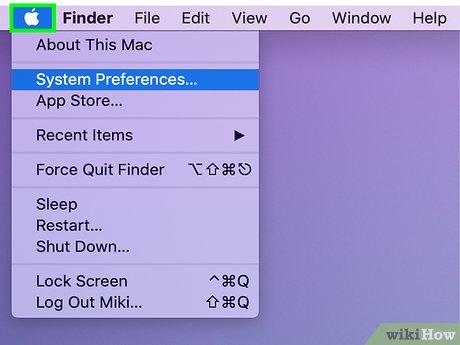
3Click the Apple logo
. You’ll see this in the menu bar that runs horizontally across the top of your screen.
4Click System Preferences. This is generally the second listing in the drop-down menu.
5Click Printers & Scanners. You’ll see this next to an icon of a printer.
6Click + (if you don’t see your scanner listed). You’ll see this in the bottom left corner of the window. If, however, you see your scanner listed, skip this step.
7Select your scanner. When you click your scanner, your Mac will begin the process of setting up that device so you can easily use it.XIf you’re having issues, make sure your macOS is updated.


