
This wikiHow will teach you how to charge a Kindle Paperwhite using your computer or a wall socket. The USB cable your Kindle Paperwhite came with can be used to charge it using either a computer or a wall socket, if you have the necessary plug.
StepsMethod 1Method 1 of 2:Using a Computer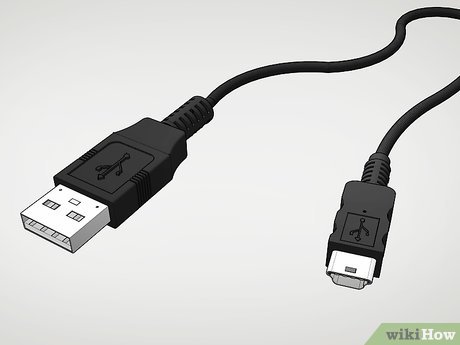
1Make sure you have the correct USB cable. Your Kindle Paperwhite comes with a USB-to-micro-USB cable. If you don’t have the original cable, you can buy a USB-to-micro-USB from many retailers.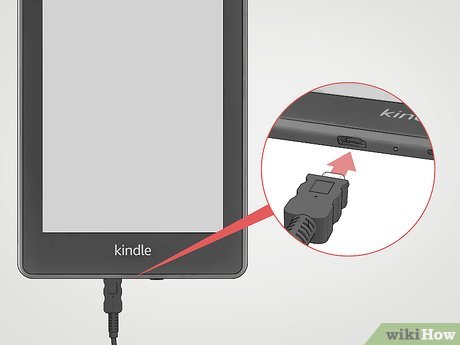
2Plug the small end of the cable into the bottom of your Paperwhite. You’ll find the small oval-like port at the bottom center of your Kindle Paperwhite.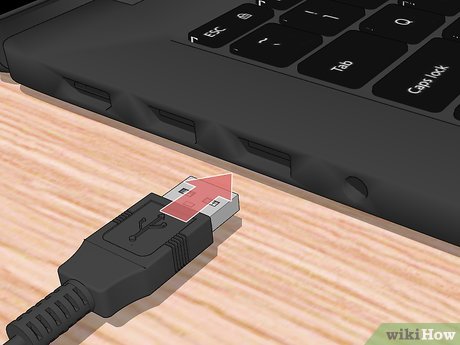
3Plug the larger end of the cable into your computer. If you have an all-in-one computer, you’ll find extra USB ports on the back of your monitor; if you have a laptop, you’ll find these on the sides; if you have a CPU tower, you’ll find a few extra USB ports on the front. These USB connections only fit into ports one way, so if it doesn’t go in the first time, flip it 180 degrees and try again.Once your Kindle Paperwhite starts charging, the LED light next to your cable will light amber, to indicate that the battery is charging. On the screen, you’ll see a lightning bolt icon in the battery icon that’s in the top right corner. The light turns green when it’s full.From a dead or drained battery, a full charge might take around 3 hours using a computer.X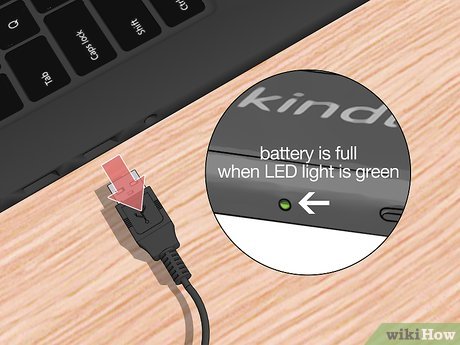
4Unplug your charged Kindle Paperwhite from your computer. When the LED light is green, your battery is full and done charging, so you can unplug it from your computer and use it. Method 2Method 2 of 2:Using a Wall Socket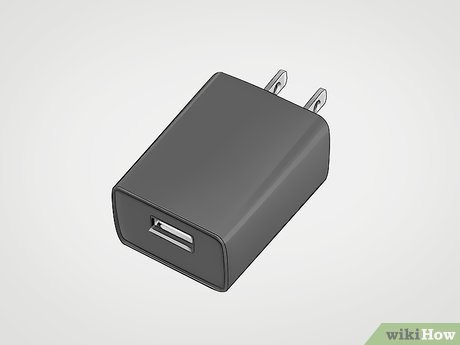
1Make sure you have an appropriate wall adapter. These are the adapters that you plug your USB into and then plug into the wall. You can use the wall adapter that comes with the Kindle 2, Kindle Keyboard, Kindle Fire, and iPhone. The Kindle Paperwhite can accept up to 5,25V, so you can buy wall adapters with an output of 5,25V or lower.You can buy these adapters from many retailers, including Walmart and Amazon.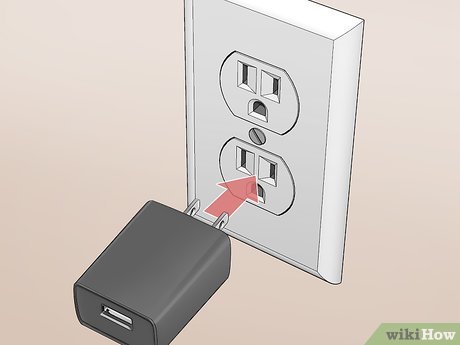
2Plug the wall adapter into a wall socket. This wall adapter should fit into either a wall socket or an extension cord.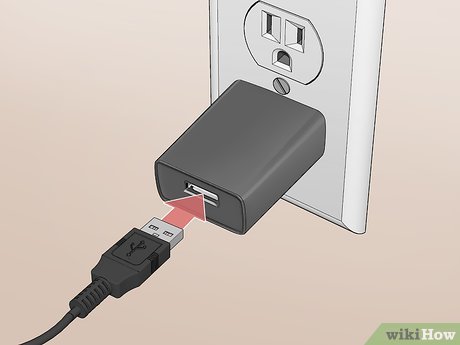
3Connect the larger USB end of the cable into your wall adapter. You’ll see the USB port on your adapter either on the front or on one of the sides.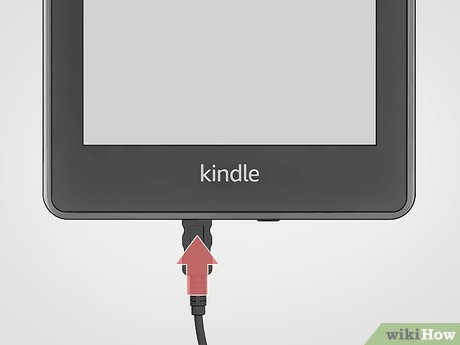
4Plug the small micro-USB side of the cable into the bottom of your Paperwhite. The small oval-like port is located at the bottom center of your Kindle Paperwhite. Once Paperwhite starts charging, the LED light will turn amber to indicate that the battery is charging. The light turns green when it’s full.From a dead or drained battery, a full charge might take around 1-2 hours using a wall socket and adapter.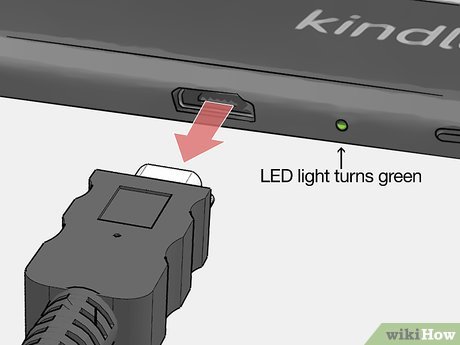
5Disconnect your Kindle Paperwhite from the wall adapter. When the LED light is green, your battery is done charging and you can remove the USB cable from your Kindle.


