
If you want a quick way to add empty rows to your Excel spreadsheet, you may be surprised to learn that there’s no Excel function or formula that adds rows. But you can write a macro that will instantly add a certain number of rows at the location you specify. This wikiHow article will show you how you can write a simple macro that adds to new rows to your Excel spreadsheet. If you’re just looking to learn how to add existing formulas to new rows in your spreadsheet, we’ll show you that, too! But if you want to find the sum of two or more rows instead, see How to Sum Multiple Rows and Columns in Excel.
StepsMethod 1Method 1 of 2:Adding Rows to a Sheet with a Macro
1 Open your project in Excel. To do this, double-click the Excel document that contains your data in Finder (Macs) or File Explorer (Windows). Alternatively, if you already have Excel open, click File > Open and select the file that has your data. 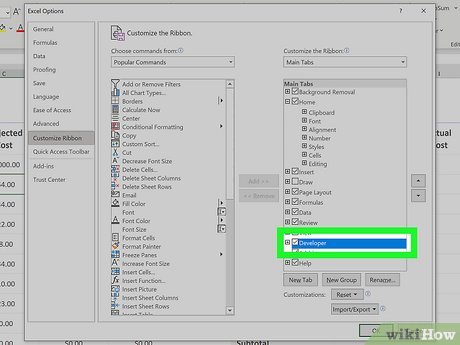
2Make sure the Developer tab is displayed on your editing ribbon. If it isn’t and you’re using Windows, go to the File tab and click Options > Customize ribbon. Under “Main tabs'” check the box next to “Developer.” If you’re using a Mac, enable the Developer tab by clicking the Excel menu at the top of the screen and selecting Preferences. Click Ribbon & Toolbar, check the “Developer” box in the “Customize this Ribbon” category, and click Save.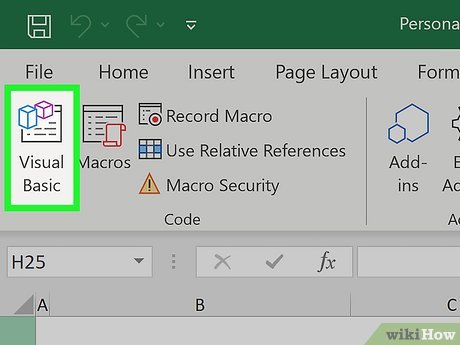
3Open the VBA editor. Click the Developer tab and select Visual Basic to do so. Alternatively, you can press Alt + F11. 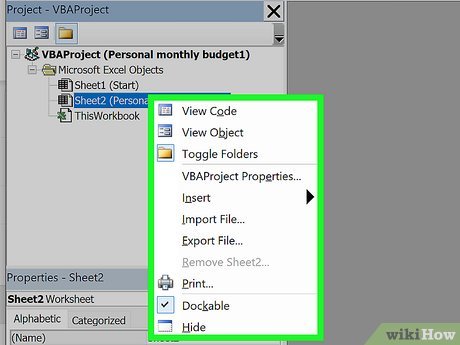
4 Right-click a sheet. In the vertical menu on the left side of the window, you’ll see a list of your workbook’s sheets. Right-click on any of these to get another drop-down menu. 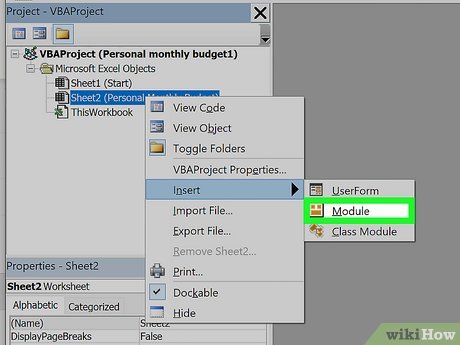
5 Hover your cursor over Insert and click Module. When you hover over Insert, a menu will pop out to the right of the menu. Clicking on Module will create a space for you to enter a VBA code and run it. 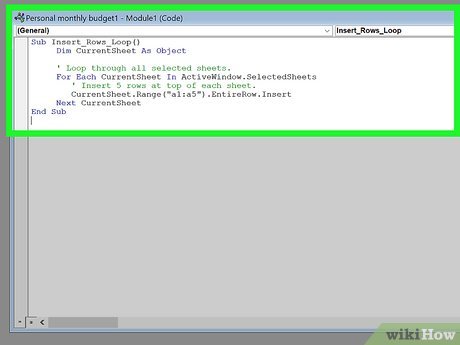
6 Enter this code into your VBA window: Sub Insert_Rows_Loop() Dim CurrentSheet As Object ‘ Loop through all selected sheets. For Each CurrentSheet In ActiveWindow.SelectedSheets ‘ Insert 5 rows at top of each sheet. CurrentSheet.Range(“a1:a5”).EntireRow.Insert Next CurrentSheetEnd Sub With this code, you’ll be inserting rows starting at A1 and ending at A5—that’s 5 empty new rows at the top of the sheet.X You can replace these cell addresses with the location into which you want to place the code, such as beginning with the last row in the sheet to any ending point. 
7 Press F5. Alternatively, you can click the green Play icon above the VB editor writing space. 
8 Click OK to continue. This adds the rows to your sheet. Method 2Method 2 of 2:Adding Formulas to New Rows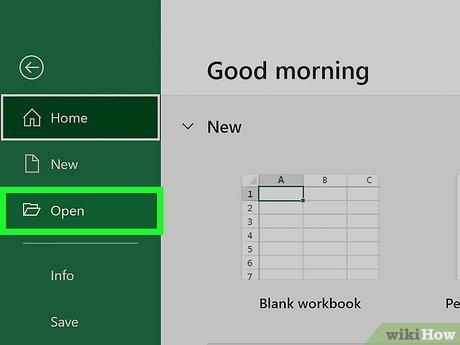
1Open your project in Excel. To do this, double-click the Excel document that contains your data in Finder (Macs) or File Explorer (Windows). Alternatively, if you already have Excel open, click File > Open and select the file. Use this method if you want to learn how to copy existing formulas into new rows you add to your data.
2Insert a row inside your data. The keyboard shortcut you’ll use can only add a formula from the row above it, so make sure you insert the row in the middle or the bottom of your data collection. To insert a row, right-click the row below where you want the new row to be added, then click Insert.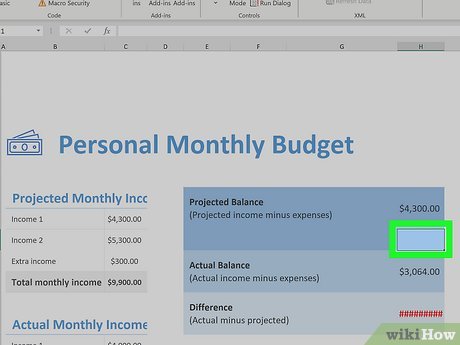
3Click to select the cell in the new row where you want to include the formula. Remember, this keyboard shortcut will copy the formula from the cell above to the cell you have selected. The cell will highlight to indicate that it is selected.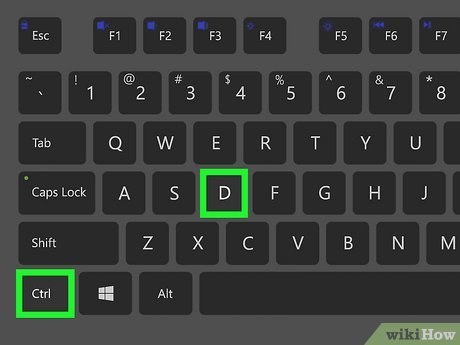
4Press Ctrl+D. The shortcut is the same for Mac and Windows and will fill the formula down from the cell above. X


