
Vinyl wrapping your gas cap is a great addition to your vehicle. Not only does it give your a car a flare of contrast, it also helps build experience with vinyl wrap. This in depth tutorial will you give you all the steps needed to knock this project out of the park, and will help you build confidence while modifying your car. It should be noted that based on your level of experience, some steps may take longer for you than others.
StepsPart 1Part 1 of 2:Preparation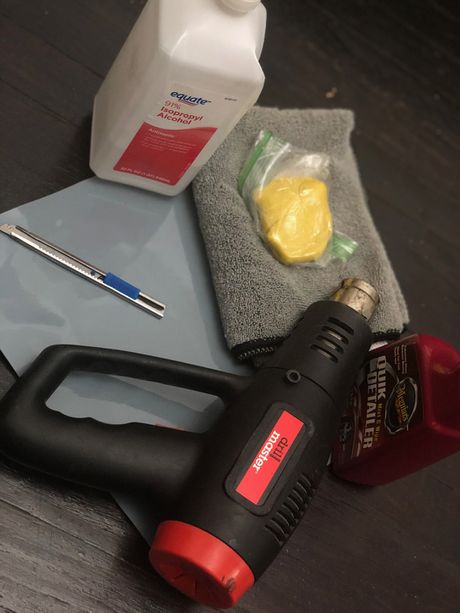
1Buy the needed materials (see Things You’ll Need below). 2Wash the gas cap. Use the car soap and rinse with water.
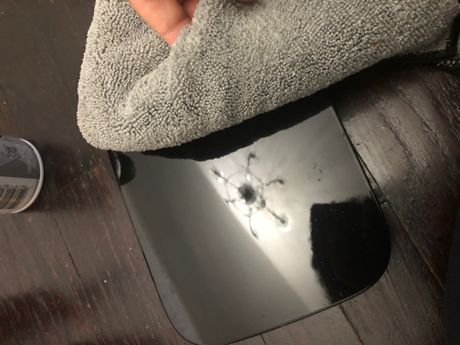
3Dry your gas cap. Use one of the microfiber towels to do so.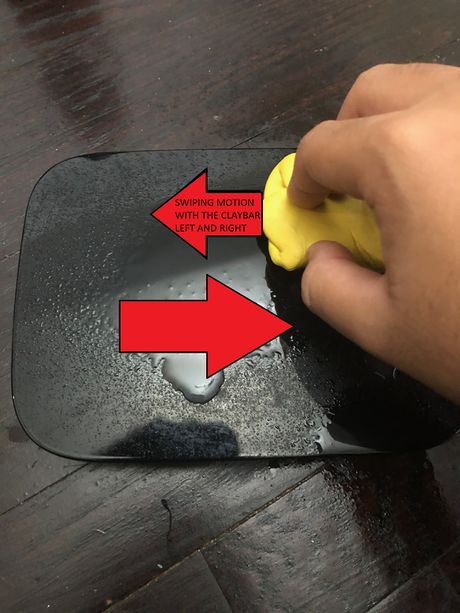
4Clay bar the gas cap. Open your clay bar kit. Wet the area with provided spray. Proceed to go over it with the clay bar.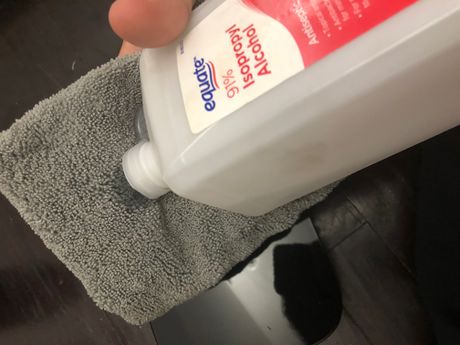
5Clean area with isopropyl alcohol after finishing decontamination of paint with the clay.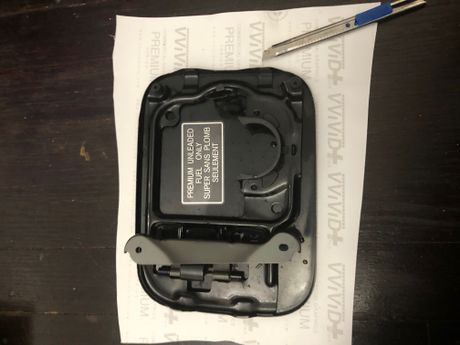
6Cut a piece of vinyl wrap appropriate to the size of your gas cap.Make sure you have an extra 1 inch of vinyl all around.Part 2Part 2 of 2:Vinyl Wrapping Your Gas Cap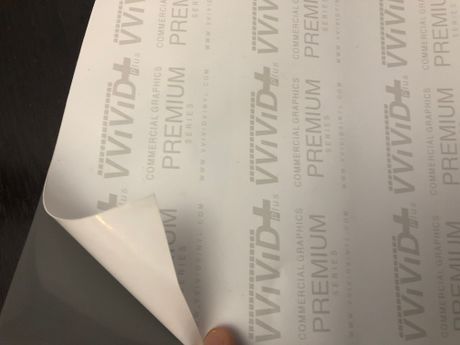
1Peel the backing paper.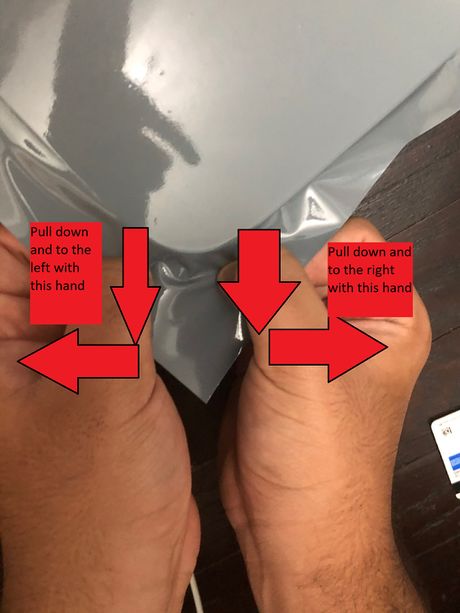
2Stick the vinyl to the clean gas cap surface. Stretch the material pulling at opposite angles at each corner.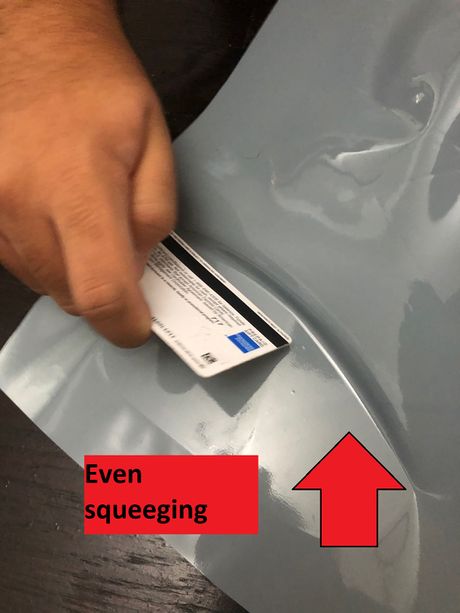
3Use the squeegee to lay your vinyl to adhere to the surface.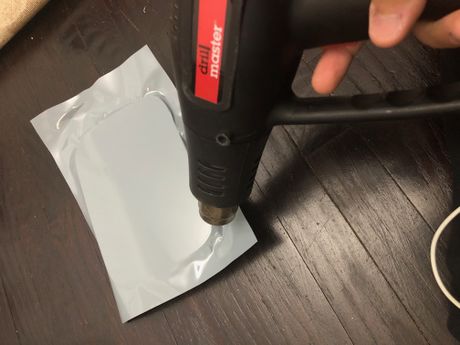
4Use the heat gun to shrink the wrap around the corners. Make sure to only use it in moderation, a few seconds at a time on the low setting to avoid burning through the wrap.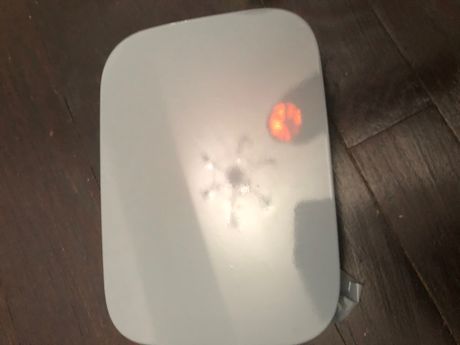
5Heat the vinyl wrap to post heat the surface. Post heating (heating after completing all previous steps) is used to maintain the life of the wrap.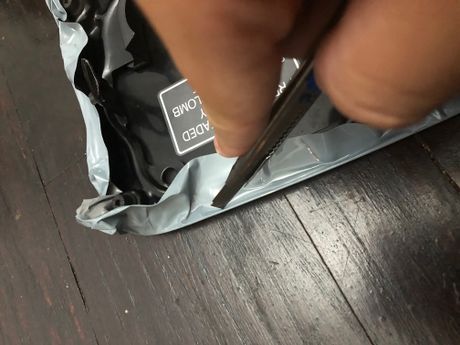
6Trim the excess wrap using your utility knife.


