
Applying tire stickers to your vehicle’s tires is the secret to giving your ride a professional, sponsored look. But, how exactly do you get them to stick to the rubber? It’s actually really easy and you can get kits that come with everything you need to get the job done. Choose temporary tire stickers if you just want them for a special event or photo shoot, or opt for permanent stickers if you want them to be part of your vehicle’s everyday look.
StepsMethod 1Method 1 of 2:Temporary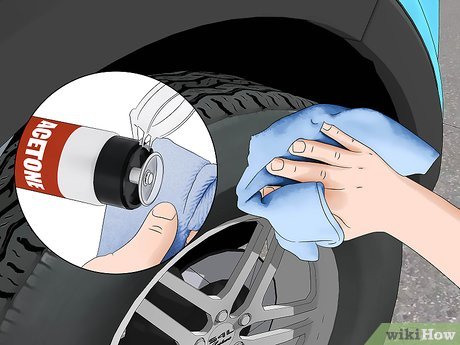
1Wipe the tire sidewalls clean with acetone and a clean rag. Dampen the rag with acetone by tipping the mouth of the container directly onto the rag for a few seconds. Scrub all the surfaces of the sidewalls clean until the rag stops getting more discolored and dirty, applying more acetone and using clean parts of the rag as needed.XUse brake cleaner as an alternative to acetone.This gets rid of dirt and oil, so the temporary tire stickers adhere properly to the sidewalls.Wear latex gloves if you don’t want to get your hands dirty.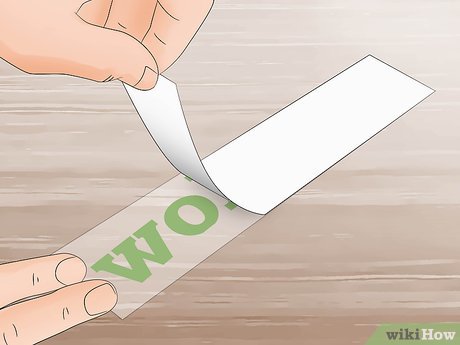
2Peel the paper backing away from the adhesive side of the sticker. Flip the decal over, so you’re looking at the back side of the lettering. Carefully pull the kraft paper backing off and discard it.XTemporary tire stickers are also known as peel-and-stick tire stickers, which is really all there is to installing them.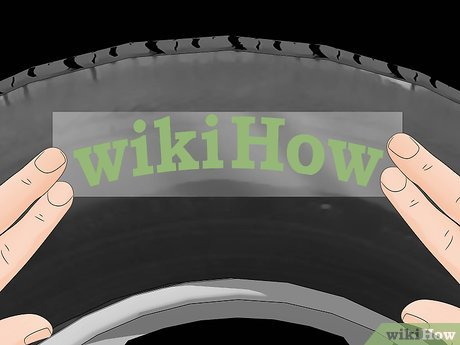
3Press the sticker into place on the tire sidewall. Line up the sticker on your tire’s sidewall, sticky-side-down. When you’re happy with the placement, press it firmly onto the rubber.XUse the tire reference lines to make sure the decal is straight before you press it into place.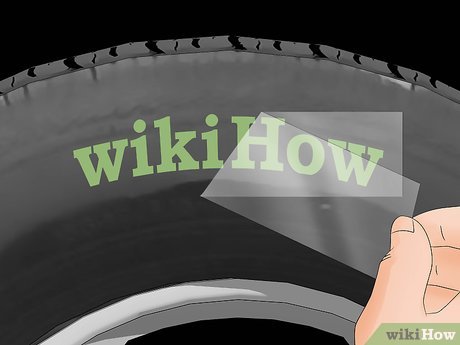
4Peel the transfer film off the front side of the sticker. Carefully and slowly peel up the semi-transparent transfer film. Press back down on the decal if any of the lettering starts to peel up while you pull the film off the front.XThe lettering left behind is also known as the ink.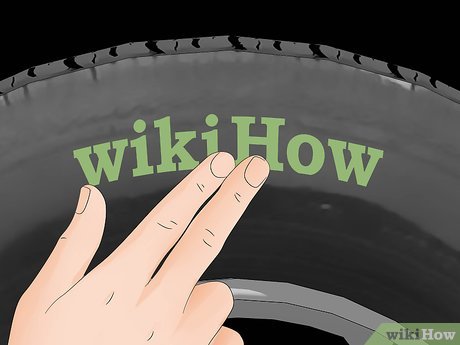
5Apply light pressure to the sticker with your fingers. Press down on the ink of each letter to ensure everything is securely stuck to the tire. Do this twice to be sure.XWhen you want to remove the sticker, peel up an edge with your fingers and roll the sticker off the rubber.Method 2Method 2 of 2:Permanent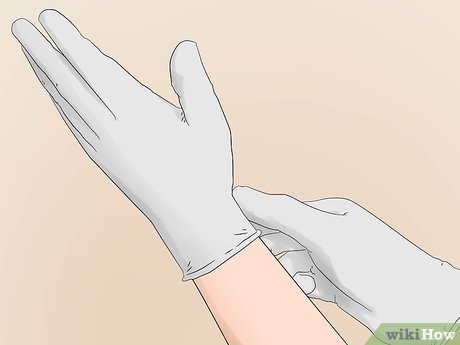
1Put latex gloves on to keep your hands clean. This protects your hands from dirt, grease, adhesives, and chemicals. Keep the gloves on for the entire application process.XPermanent tire sticker kits typically come with gloves, tire decals, adhesive, and touch-up cleaner.You can find permanent tire sticker kits at auto supply shops and online.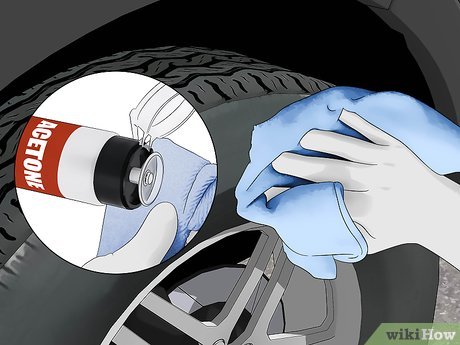
2Scrub the tire sidewalls clean with acetone and a clean rag. Place the rag over the top of a can of acetone and tip the can over for a few seconds to pour some acetone out onto the rag. Wipe down all the sidewall surfaces, using a clean part of the rag and more acetone as the rag gets dirty.XWhen the rag stops getting dirty while you’re wiping the rubber down, it’s clean.As an alternative to acetone, use brake cleaner.You might have to wipe down the tire sidewalls 10 times or more, depending on how dirty they are.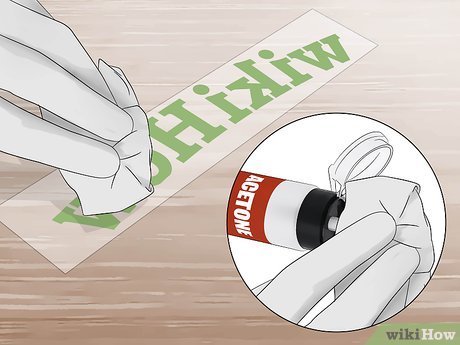
3Wipe down the back of each decal with acetone. Apply a bit of acetone to a clean rag. Gently wipe the rag across the back of each decal you plan to apply to remove any contaminants.XSet the decals face-down on a clean surface after you wipe them with acetone to keep the backsides clean.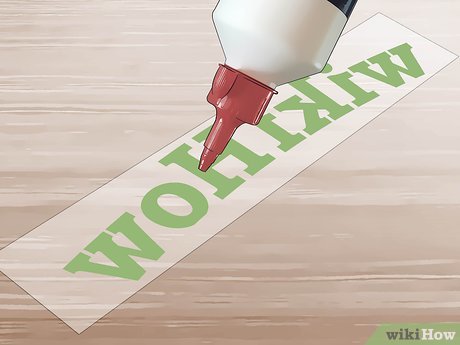
4Squeeze and spread an even layer of adhesive onto the back of each decal. Gently squeeze a medium-sized bead out of the adhesive tube’s nozzle, following the form of each letter or shape on the decal. Use the tip of the nozzle to spread the adhesive out evenly on the back of each letter or shape.XIf your decals are more than 3-4 letters long, start by applying adhesive to only about half the decal to ensure proper adhesion.Don’t apply a thick coat of adhesive or it can end up oozing out from the edges when you apply the decals.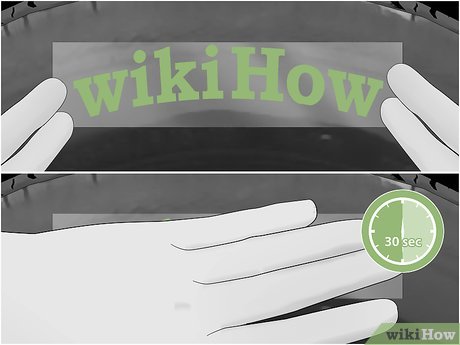
5Position the decal on the tire and apply pressure for 30 seconds. Line up the decal on the tire sidewall and set it into place. Press down on the lettering with both hands for 30 seconds to fix the decal onto the tire.XIf you only applied adhesive to half the decal, go ahead and repeat the process to apply it to the other half and press that into place as well.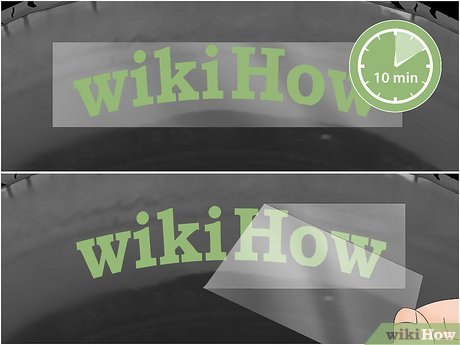
6Remove the transfer film after 10 minutes. Leave the tires and decals alone for 10 minutes, so the adhesive has time to set. Carefully and slowly peel the transfer film off the front of the decals and discard it.XIf you see any air bubbles or areas that don’t look fully bonded, smooth them out by applying light pressure from the center out towards the edges of the decals.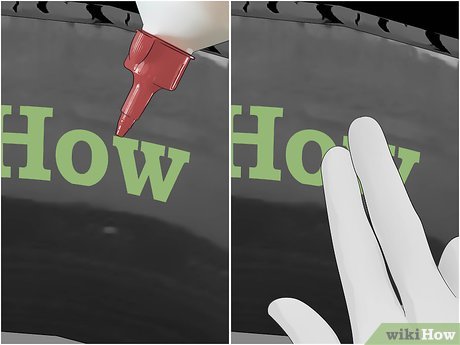
7Apply more adhesive and pressure to any edges that aren’t sealed. Inspect all the edges of the decals to spot any that are lifting up. Squeeze a small amount of adhesive under any lifted edges and press them down onto the tire for 30 seconds to seal the decals.XIf you squeeze out too much adhesive by accident, wipe it off with the provided touch-up cleaner or acetone and a clean rag.
8Let the decals dry for 1-2 hours before you drive or wash your car. This gives the adhesive time to fully dry and ensures proper adhesion of the decals. After an hour or 2, you can drive and wash your car as normal!XAvoid oil-based tire shines when you wash and detail your car. They can wreck the decals.If you ever want to remove permanent tire stickers, peel them off with pliers. Wipe off any remaining adhesive with acetone and lightly sand the tire sidewall with 220-grit sandpaper.


