
Ever wanted to do your own tattoos to yourself and friends? Tattoos flourish outside the tattoo parlors. Home studios are sometimes how many current tattoo artists got their start. Tattoo machines are easy to set up. Make sure you are in a clean environment while setting up your tattoo machine.
StepsPart 1Part 1 of 4:Choosing the Parts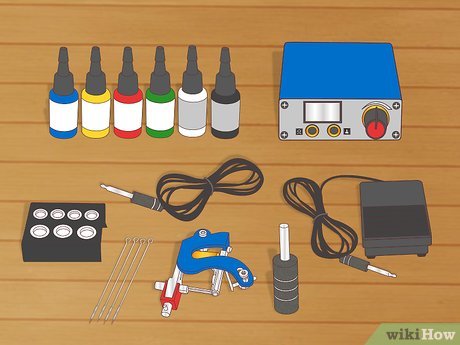
1Buy a starter kit for a convenient option. Starter kits are great because they offer all the parts you need for tattooing. These kits aren’t high in quality, but they are great for beginning to operate and maintain a tattoo machine.Consider the quality of your machine before tattooing anyone. A set up that is cheaper could hurt or infect someone or result in a low-quality tattoo.
2Purchase individual parts if you want them to last longer. For those who want better quality parts, purchasing individual components is the path for you. Buying individual parts gives you the freedom to choose the extensions that you want and set up the machine just the way you want them.XAlso, individual parts generally need to be replaced less often than a starter kit.3Get the tools you need to set up the machine. You’ll need an Allen key set and a small screwdriver, at the minimum. Check out the kit instructions or look over the individual parts to determine if you’ll need any other tools to set up the machine.
4Ask a professional for advice if you’re new to tattooing. If you have a regular tattoo artist, open up a dialogue about home kits. Artists who operate out of tattoo shops often have worked from home at some point. They can offer valuable input.Some professionals may even be willing to give you a tutorial on setting up the machine, for a fee.Part 2Part 2 of 4:Assembling the Machine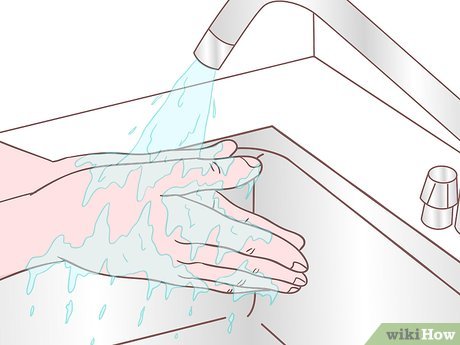
1Sanitize your hands. Tattoo machines need to be treated with the utmost care. Take precaution before handling these machines. Wash your hands with antibacterial soap or wear latex gloves.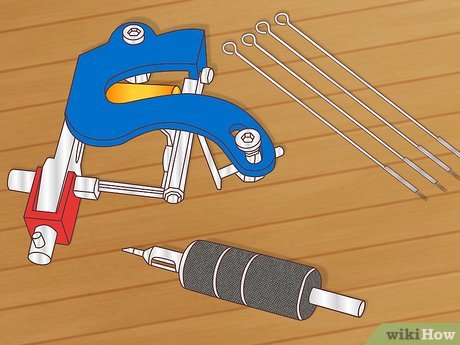
2Familiarize yourself with the machine. The frame holds all the pieces together. Then you have 2 electromagnetic coils which provide the power for the machine. The coils rapidly move the armature bar, which is connected to a barred needle. The power supply connects to the electromagnetic coils.All of these components can be removed or replaced as needed.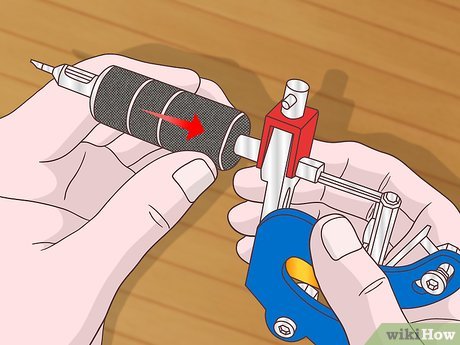
3Assemble the barrel. Inspect the grip of the machine. There are 2 sides of the grip for the tube and the machine’s tip. Set these to the preferable length, and tighten the 2 screws on the grip. On average, the needle shouldn’t exceed the tip more than 2 mm and no less than 1 mm.If there is excessive blood, then your needle is too long.X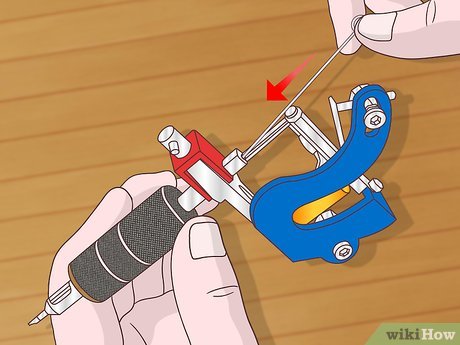
4Set up the needle. Take a look at the needles you received with the machine. You should have a few different types and sizes of needles. Install one of the needles by inserting it through the tube towards the tip. Be careful not to dull a needle while assembling. This could lead to a painful tattoo.For example, RL (round liner), RS (round shader), M1 (magnum 1 layer), M2 (double magnum), RM (round magnum), and F (flat) are all different kinds of needles. The numbers indicate the size and tell how many needles there are.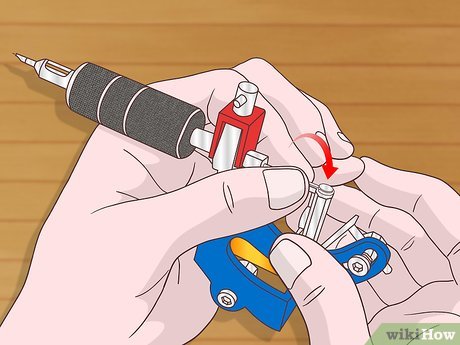
5Secure the nipple. The nipple, also known as a grommet, secures the needle and grip to the machine’s base. Place a nipple on the armature bar pin. Fasten the needle’s round open end onto the nipple.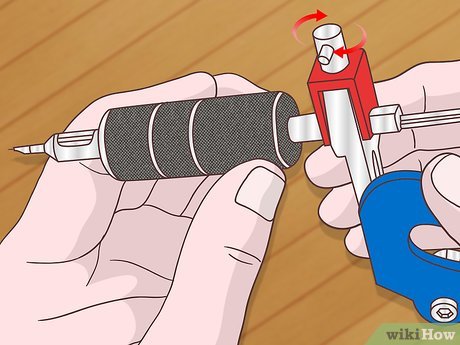
6Adjust the needle. Once you’ve assembled the tube, you need to adjust the length of how much the needle is exposed. You can adjust the needle’s exposure by adjusting the tube vise. The tube vise is the adjustable screw in between the armature and needle.Part 3Part 3 of 4:Putting Together the Power Station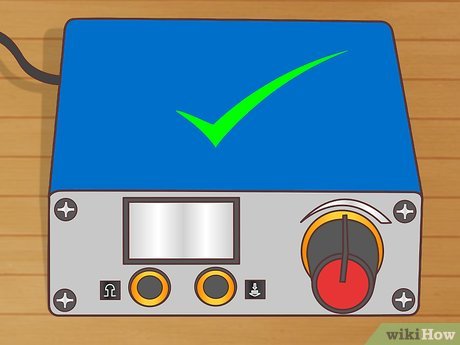
1Choose a power supply. Power supplies vary in specifications and voltages. Some starter kits come equipped with a power supply that isn’t adjustable. You can replace this with a different one, if desired. Your power supply shouldn’t cost more than the tattoo machine.Power supplies with analog or digital displays allow you to adjust the settings.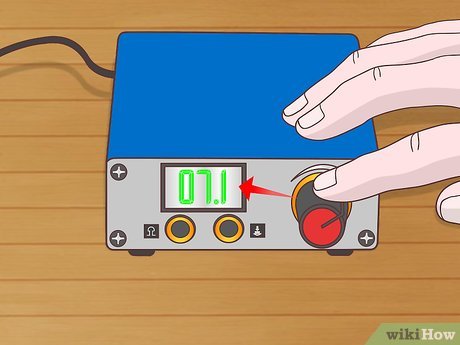
2Examine the power supply. Check the fuse. Make sure you are running the proper voltage into your machine. Most tattoo power supplies will have a regulated control for the amount of fuse and power going into your tattoo machine. Some of the cheaper models don’t have this feature.
3Acquire a footswitch and a clip cord. If your power supply doesn’t come with a footswitch, you’ll need to buy one. A footswitch is fairly inexpensive and doesn’t require a major setup. You’ll also need a clip cord to attach the tattoo machine to the power supply.Part 4Part 4 of 4:Connecting the Parts
1Connect your footswitch. Attach your footswitch to the the power supply. The footswitch activates and regulates the power from the power supply to the needle, similar to a sewing peddle.X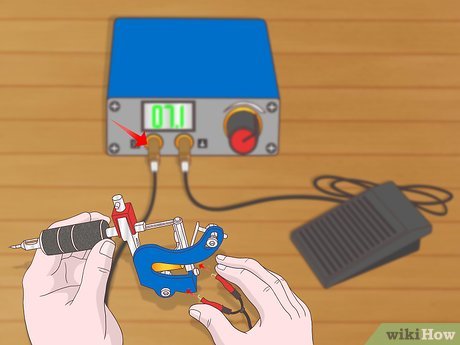
2Connect the machine to the power supply. There is a clear location at the bottom of the machine for the clip cord to connect the machine to the power supply. There should only be 2 inputs on the power supply itself. Make sure you connect the cables in their proper location.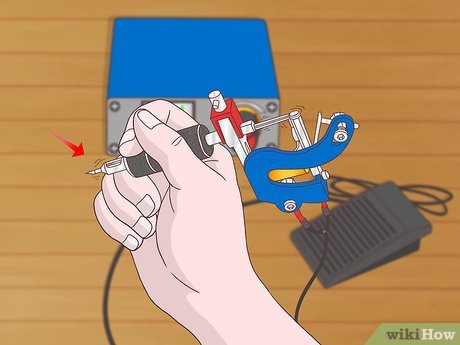
3Test the machine. Once everything is connected and assembled, you’re ready to test the machine. If you are worried about testing the tattoo machine on yourself, just turn everything on and examine it. The needle should vibrate at a consistent speed (without stopping) upon pressing the footswitch.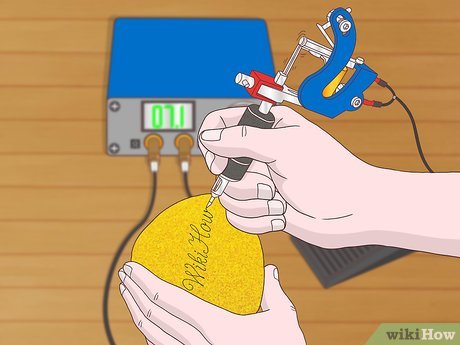
4Practice on fruit. A good way to practice your art is by practicing on apples or pears. The skin on apples and pears are similar to the human flesh. If your fruits become damaged, then you’re puncturing the needle too deep.X


